Work on the upper lighting valance continues with the installation of the drop ceiling grid. This is no ordinary drop ceiling installation. For starters there is no conventional rectangular grid. Instead, the grid work follows the wavy contour of the valance panel and the backdrops. The result is a challenging installation.
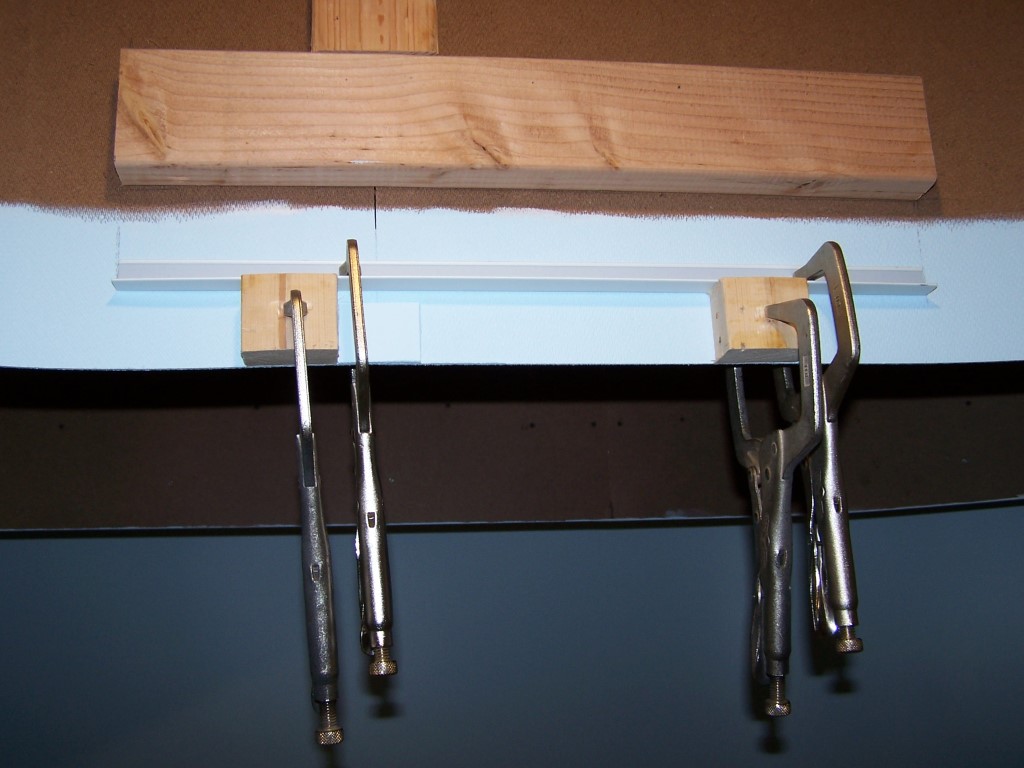
Placement of the wall angle was first order of business. The straight sections were easy enough. The mounting points on the backdrops were determined using a water level. Next, I cut a pair of wood blocks to 2″, the recessed amount above the bottom of the valance, and clamped them in place. This made it easy to properly position the wall angle. The wall angle was cut to the same length as the respective straightening board above it. Once in position the wall angle was secured with drywall screws (if on a backdrop or wall) or #6-32 x 3/8 machine screws (if on valance panel).
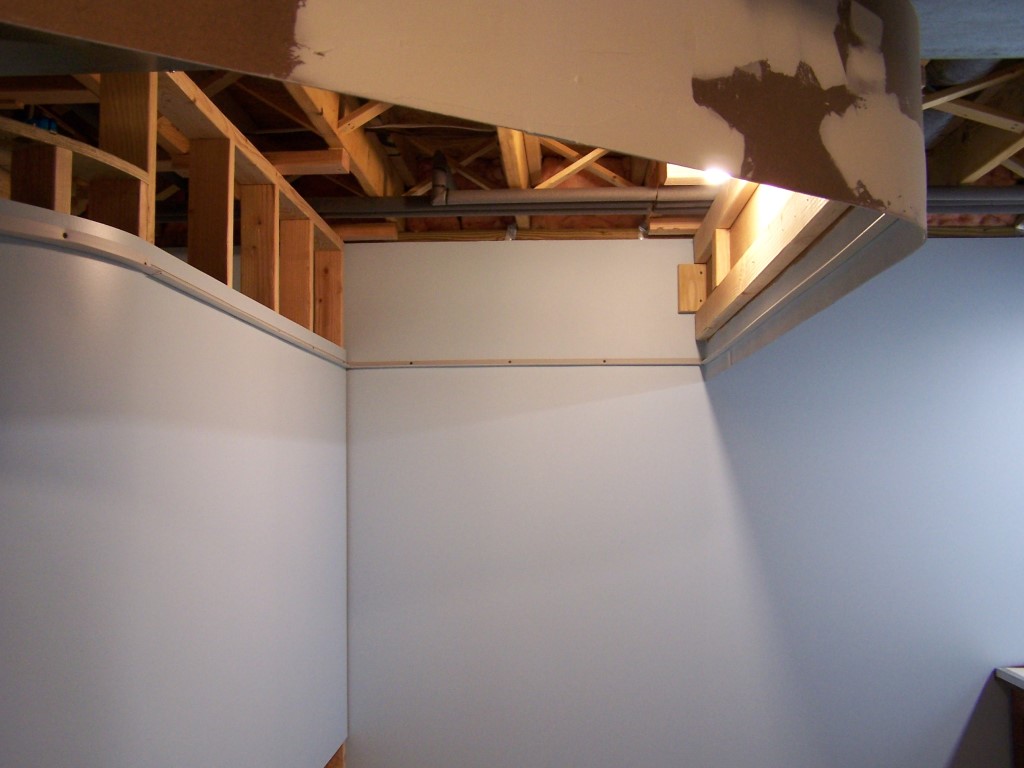
Next came the curved sections after all of the straight sections were in place. My original idea was to notch wall angle so it could be bent. After a little experimentation I quickly abandoned that idea. The notched channel was unsightly and it would not form a smooth continuous bend. I went on the search for a better solution and found a company called Trim-Tex that makes flexible vinyl wall angle. Rob Spangler, one of the experienced guys on MRH, recommended it. Trim-Tex Pt.# 8159 seemed like the best choice and a building supply firm in Flint had it in stock. The Trim-Tex flexible wall angle is rigid PVC on one side bonded to flexible PVC on the other. Trim-Tex offers it in two different sizes and two colors – black and white. They even have a UV stabilized product for applications that will receive a lot of direct sunlight. I selected #8159 white since it has the smallest minimum radius. The white color is not an exact color match to the steel angle but certainly close enough.
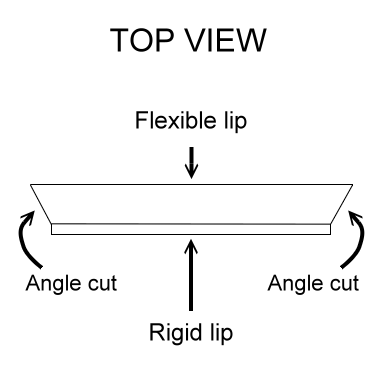 A length of masking tape was placed on the curved panel between the steel wall angles and marked with the end points. The tape was then laid flat on the work bench and the distance between the marks measured. I found that if I cut the Trim-Tex material at 90 degrees the flexible part came up short of meeting the steel angles. Better results were obtained by cutting the flexible part at an angle on each end and then trimming to size with a razor blade after installation.
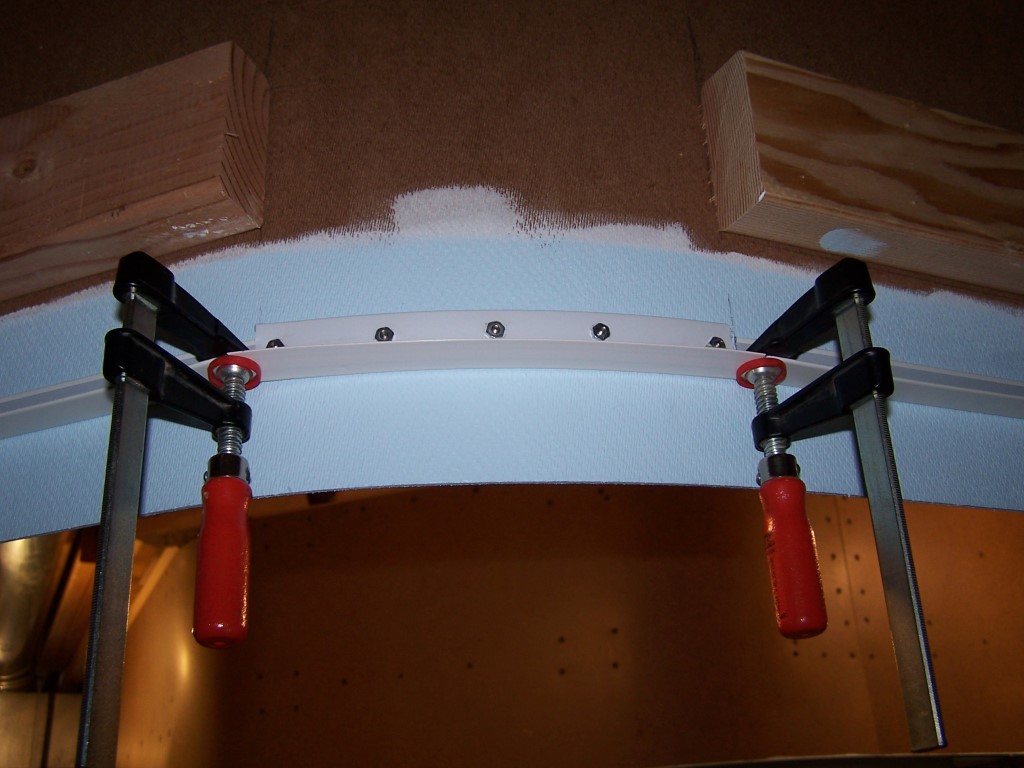
Trim-Tex is some pretty cool stuff. The flexible lip on inside curves gets all wavy when it is installed but a few passes with a heat gun magically straightens it out. The ends do need to be clamped else they will curl up from the heat. All and all pretty easy stuff to work with. I highly recommend the Trim-Tex wall angle for curved applications.
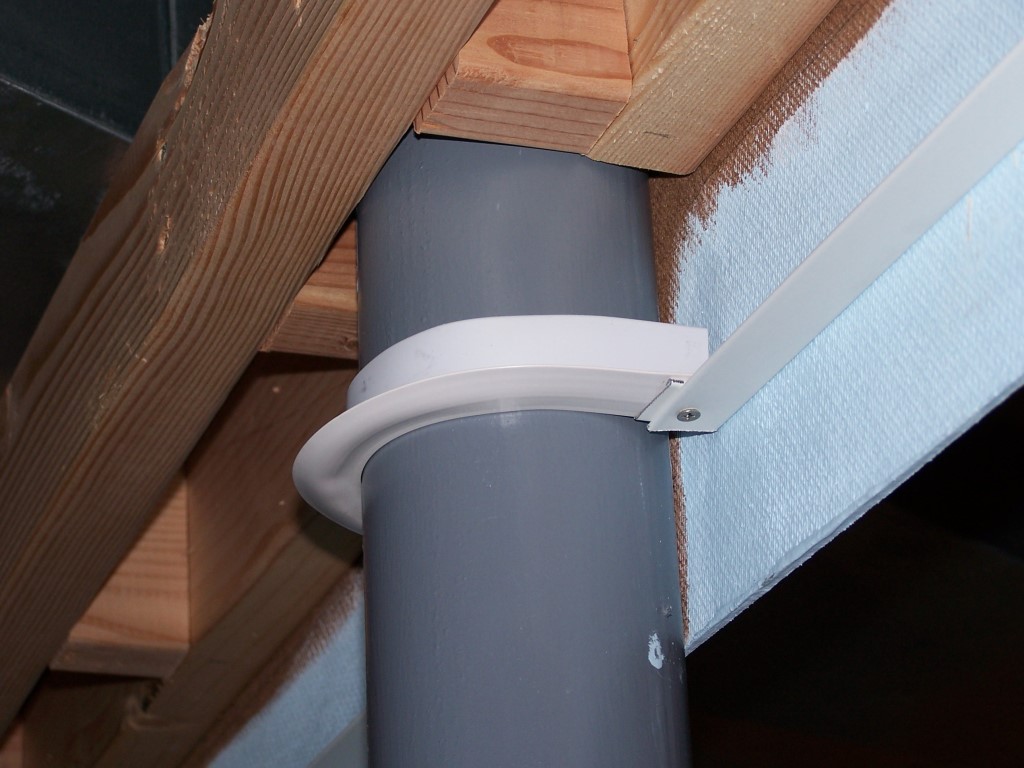
Below is a picture of the Trim-Tex wall angle bent around a 3-1/2″ post. They recommend a minimum diameter of 11″ but I figured what the heck I’ll see if I can convince it to form to a smaller radius since I had to do something to trim in the post. Its position forces me to work around it as it goes up through the lighting panels. I clamped a tin can of the same diameter to the workbench and grabbed the ends of the strip with vise grips. While my wife applied heat with the heat gun the strip was slowly pulled around the can. It took a lot of heat but eventually the molding conceded. Once in place on the valance more heat was used to stretch the flexible lip. As you can see there is a slight amount of deformation but considering it is bent to a fraction of its minimum recommended radius it isn’t too bad. It will look a lot better than if no trim at all were used.
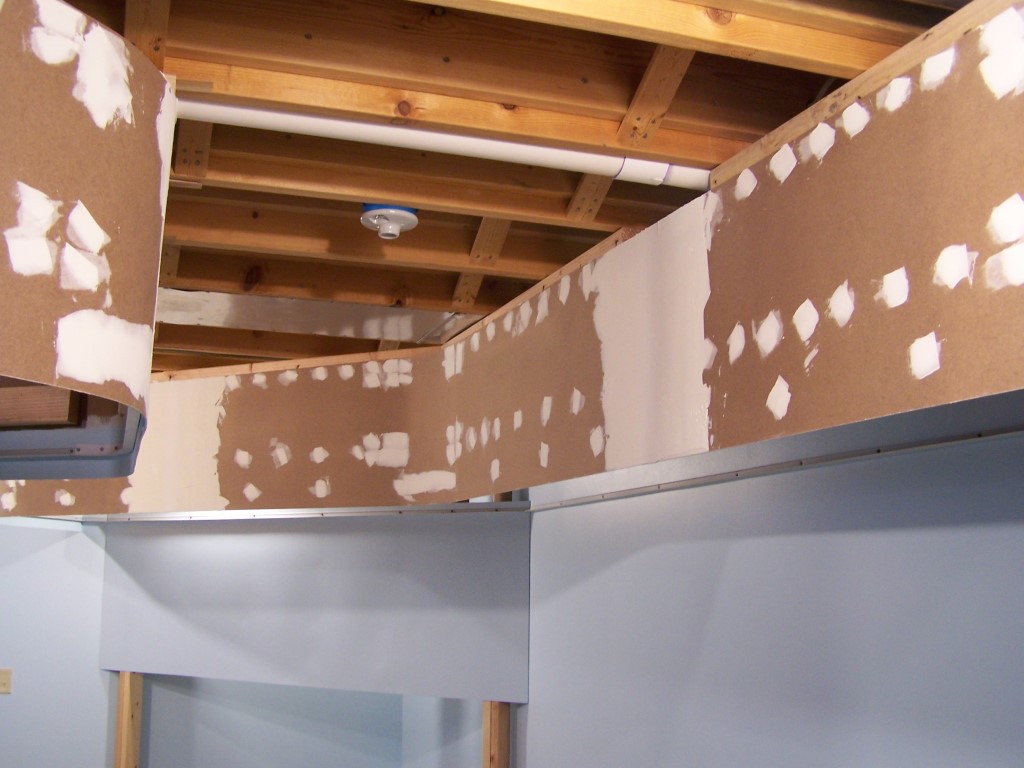
With all of the lighting valance wall angle in place I was able to begin finishing work on the front side of the valance. It seems drywall joint compound will never leave my life! I sanded the entire face of the valance with 150g and began the taping and mud process. Wow, there were a lot of screws to fill. The second coat of mud dried for several days as a break in construction occurred over the Christmas holiday. Now it is time to get busy sanding. Oh, what fun!


Thanks for the detail and products. I was scouring home depot for drop ceiling products and found only metal stuff. Then I remembered your layout and I think I might just have to try that TrimTex.
Trim-Tex 8159 was perfect for my application along my light valance. Thank you so much for the tip, I have been trying to figure this part out for a few months now. Problem solved!
Thanks!
Patrick Welch.
Conrail in proto48