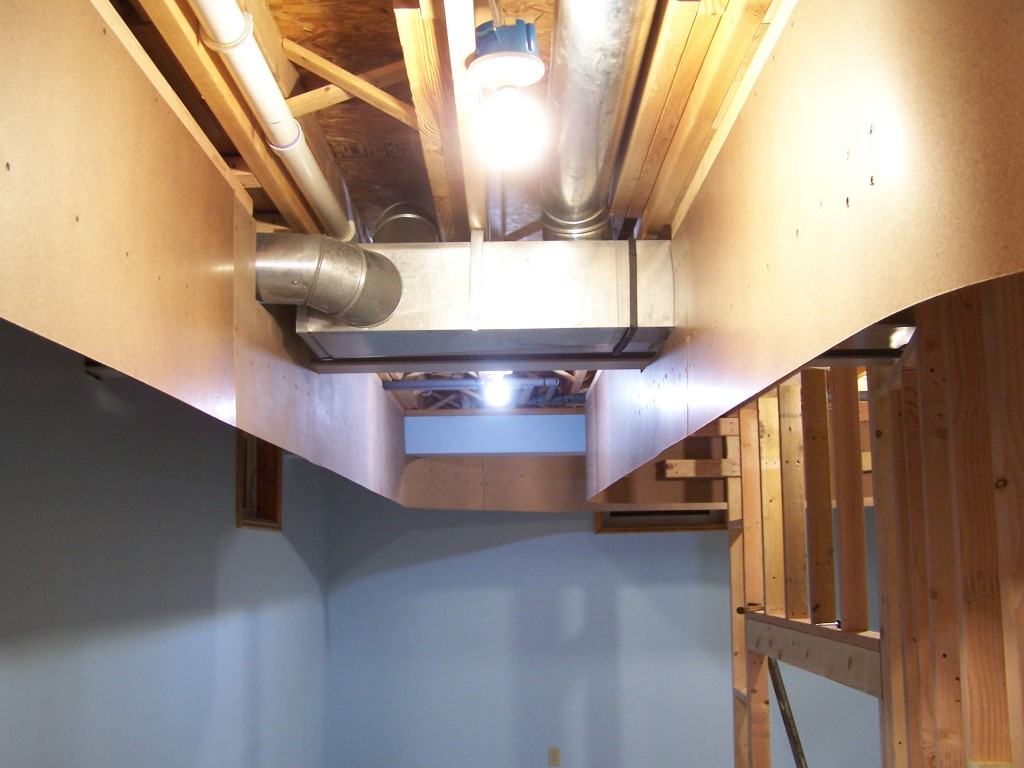
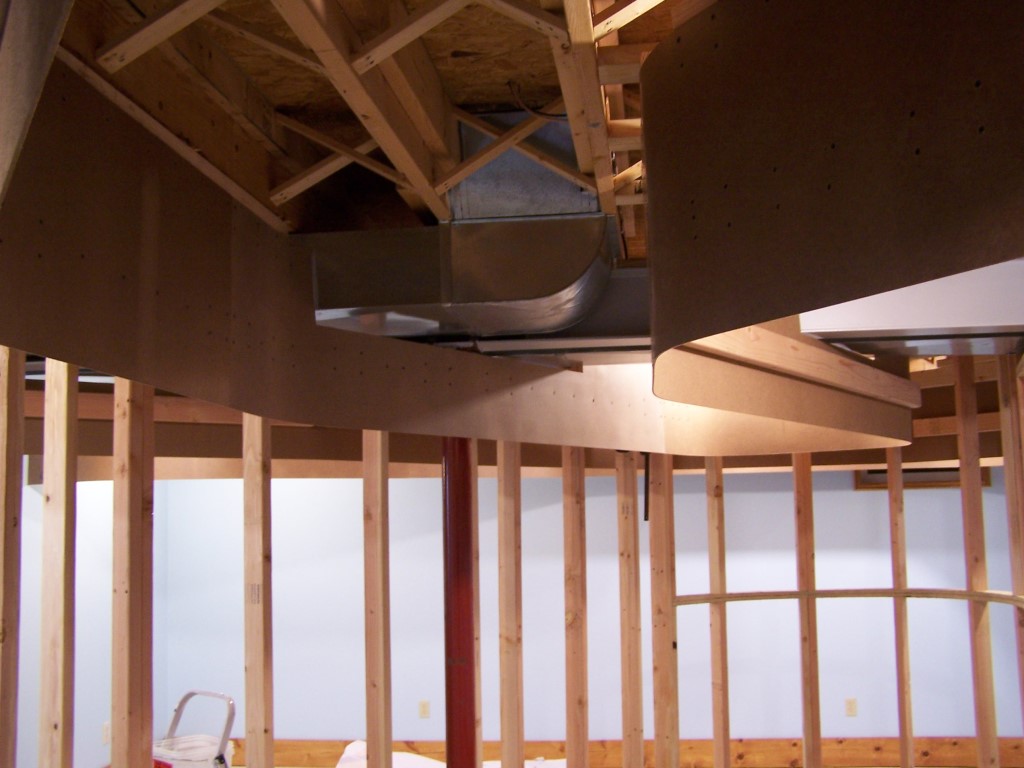
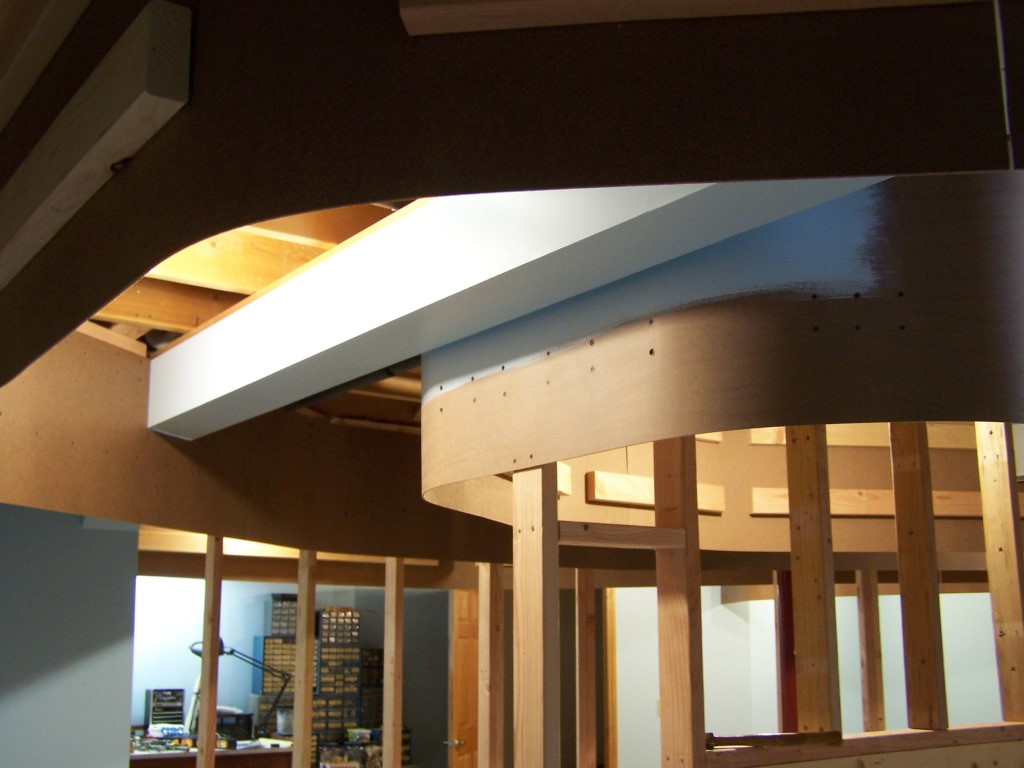
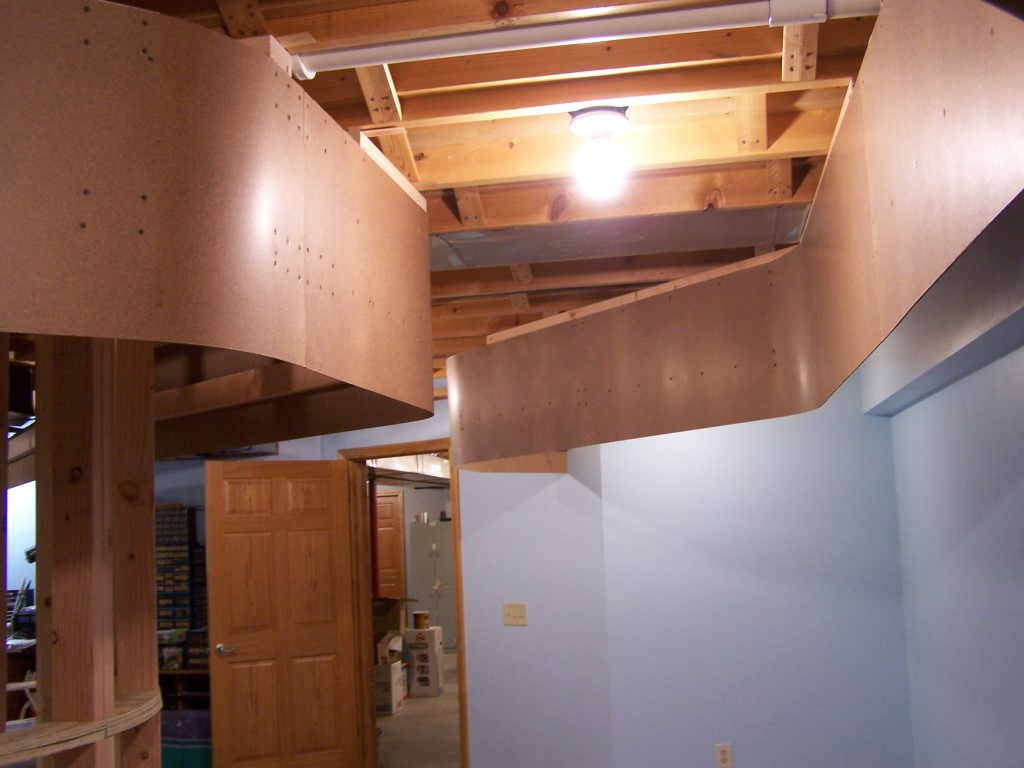
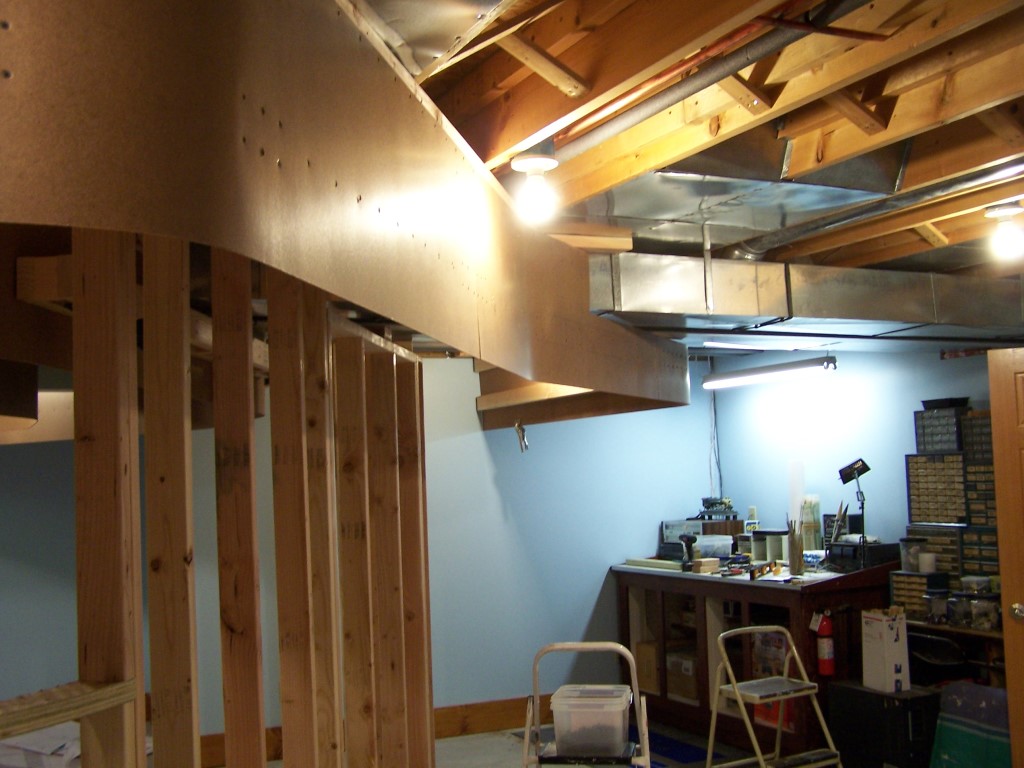
All of the upper valance panels are in place. The piece near the workbench that makes a curve under the HVAC ducting was a bit of a challenge to install. The straightening boards had to be attached before installation due to a joint midway across that has no attachment point to the ceiling. With my wife’s help we put up a 16′ long piece with two bends in it. It was very floppy and awkward. Holding it in place while locating it correctly and then fastening to the ceiling L beams was not easy but we got it done.
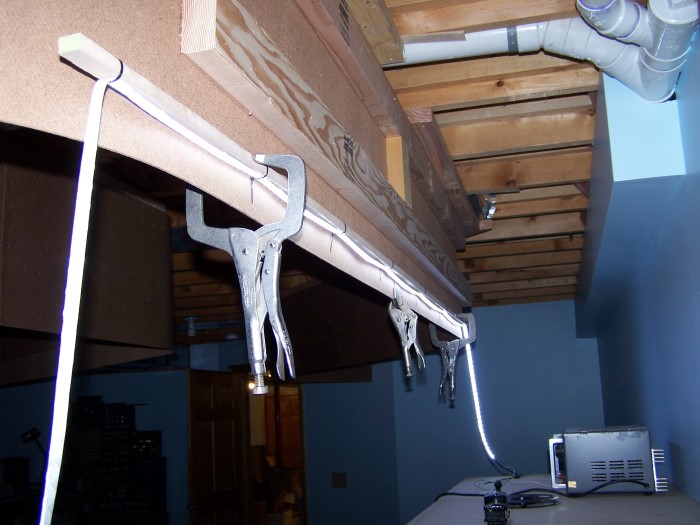
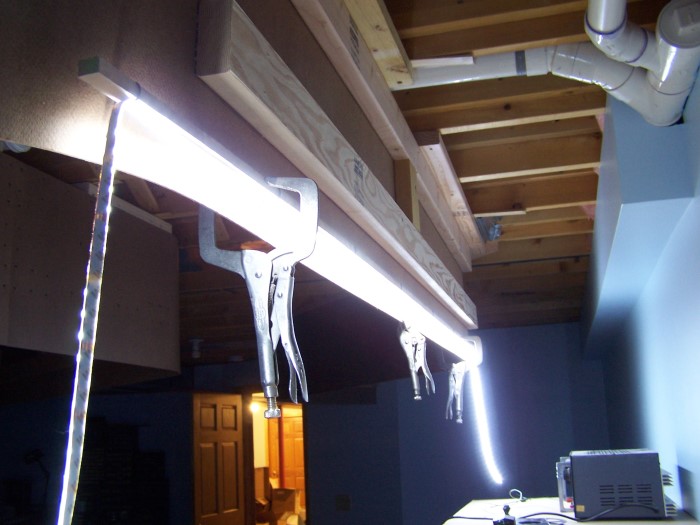
Presently, I am gluing tabs across the end joints of each panel. Welding vise grips work perfect for clamping the tabs but unfortunately I own only a single welding vise grip. One tab a day it goes.
The next step in construction is to build the backdrop support wall for the south helix area. Essentially the same construction method as the north helix area except this will be a stand alone wall.
In the meantime I am testing various lighting methods. I wired the train room with a single 15A circuit for lighting. To my dismay I have discovered I need a higher capacity circuit if I am to use traditional florescent lamps to light the layout. There will be 133 feet of upper deck and 93 feet of lower deck that needs to be lit. Do the math… that’s a lot of florescent fixtures. Way too many for a single 15A circuit. Building code states that a circuit may be loaded only 80% for continuous operation. That means my 15A circuit is really a 12A circuit. Each twin tube florescent fixture draws 0.7A. 12 / 0.7 = 17. 17 x 4′ = 68′. My circuit can drive 68′ of twin tube florescent lighting or 136′ of single tube. My layout is 226′. See my problem?
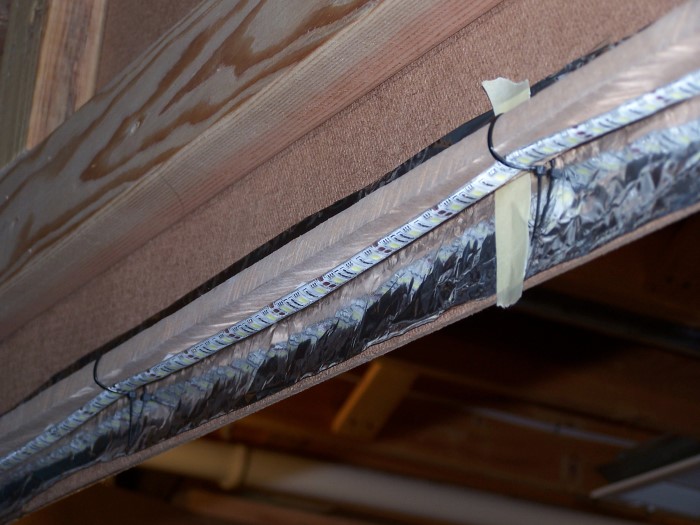
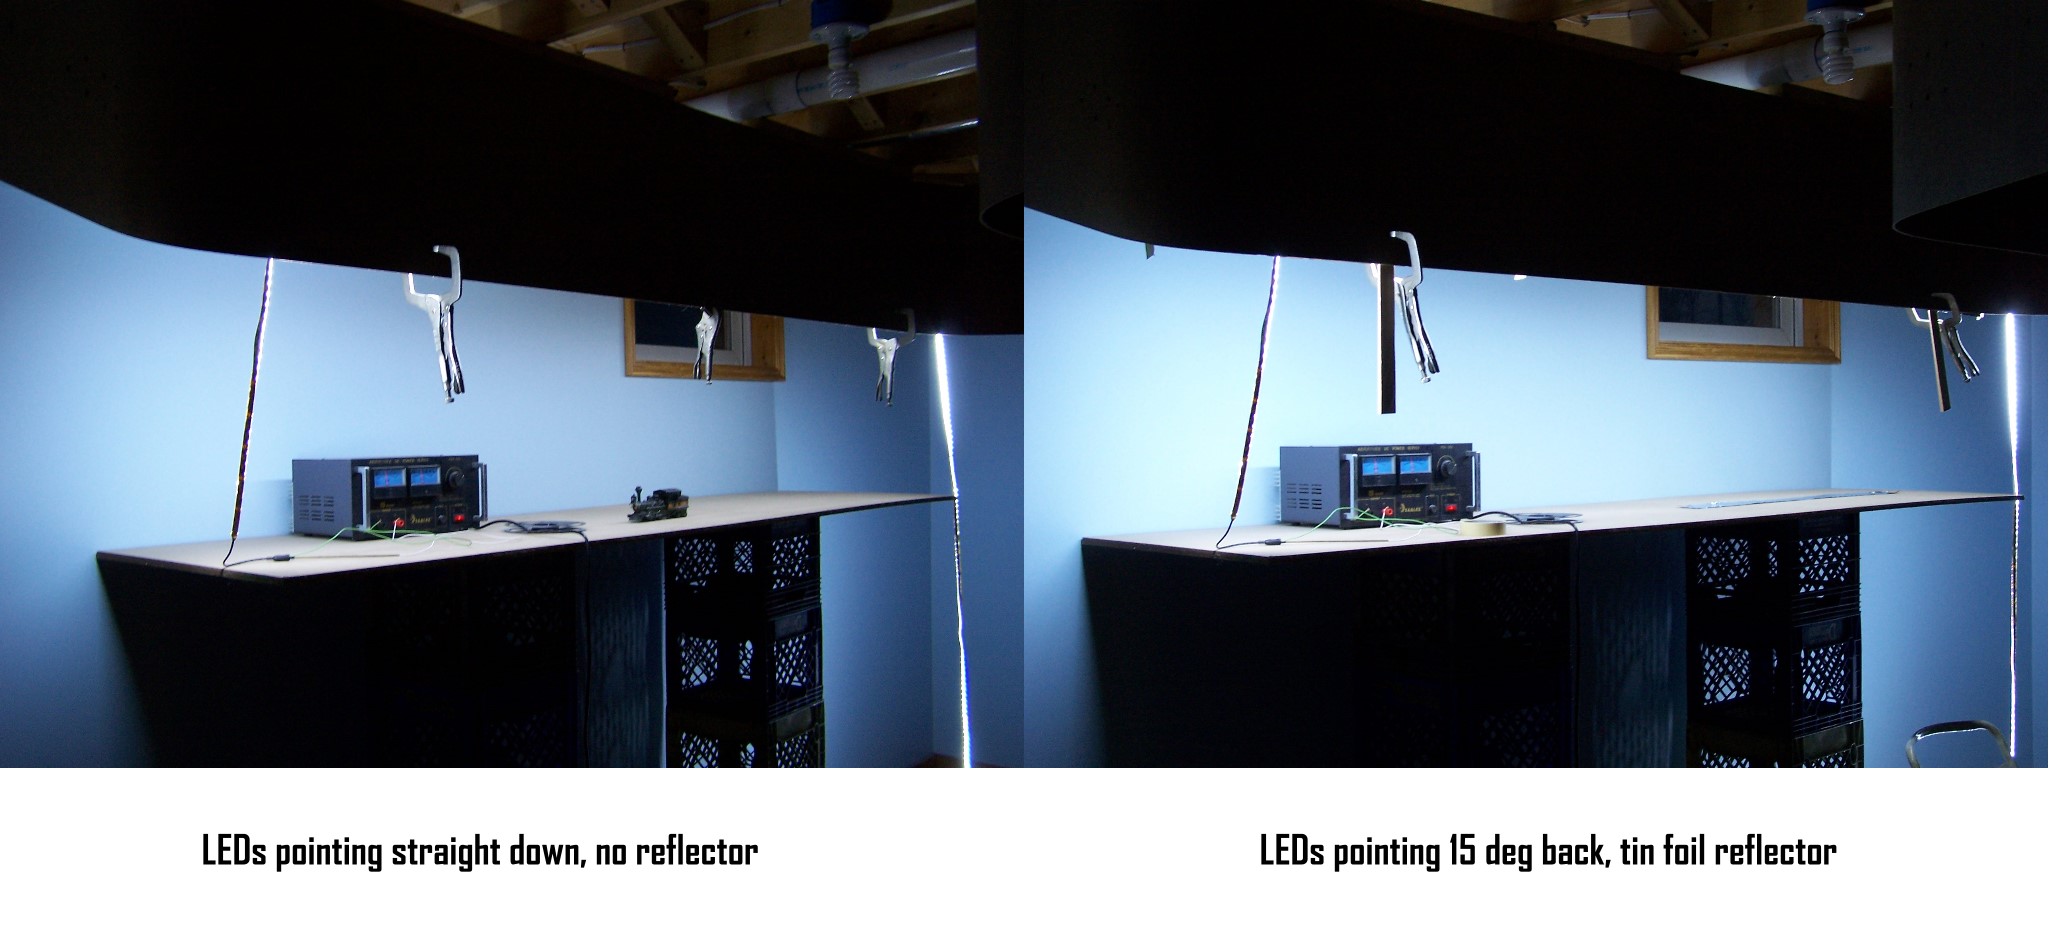
Enter the LED strip. Low power consumption, low heat, uniform light, easy to mount and wire, sounds perfect, huh? I bought a 5 meter strip of SMD 5050 cool white LEDs to test. Temporarily wire tied the strip to a wood strip and clamped onto the valance. Love the color, love the uniformity, but just not bright enough to satisfy me. I installed a temporary tin foil reflector and angled the LEDs slightly which made it better. When I doubled up the strip it worked fine. Only problem with using two rows of LEDs is cost. Doubled up LED strip works out to be roughly $5 per ft for lighting. One could argue that I will recoup my money over time by using less electricity versus florescent but ouch. $1,100 is a big one time chunk of change just to light up the layout. The jury is still out on what lighting I will use. I don’t have to make a decision just yet anyway. There is much construction to be done before lights go in.
For now, it’s back to sawdust and nails as I build the south helix wall.


Leave a Reply