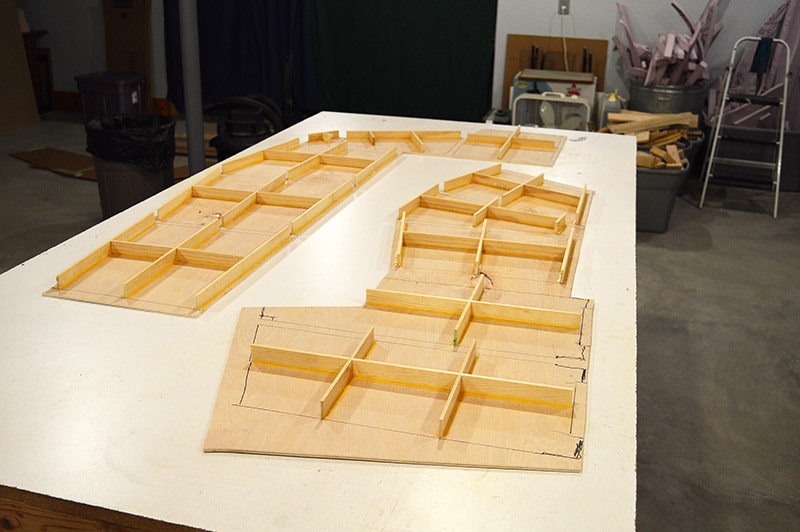
The 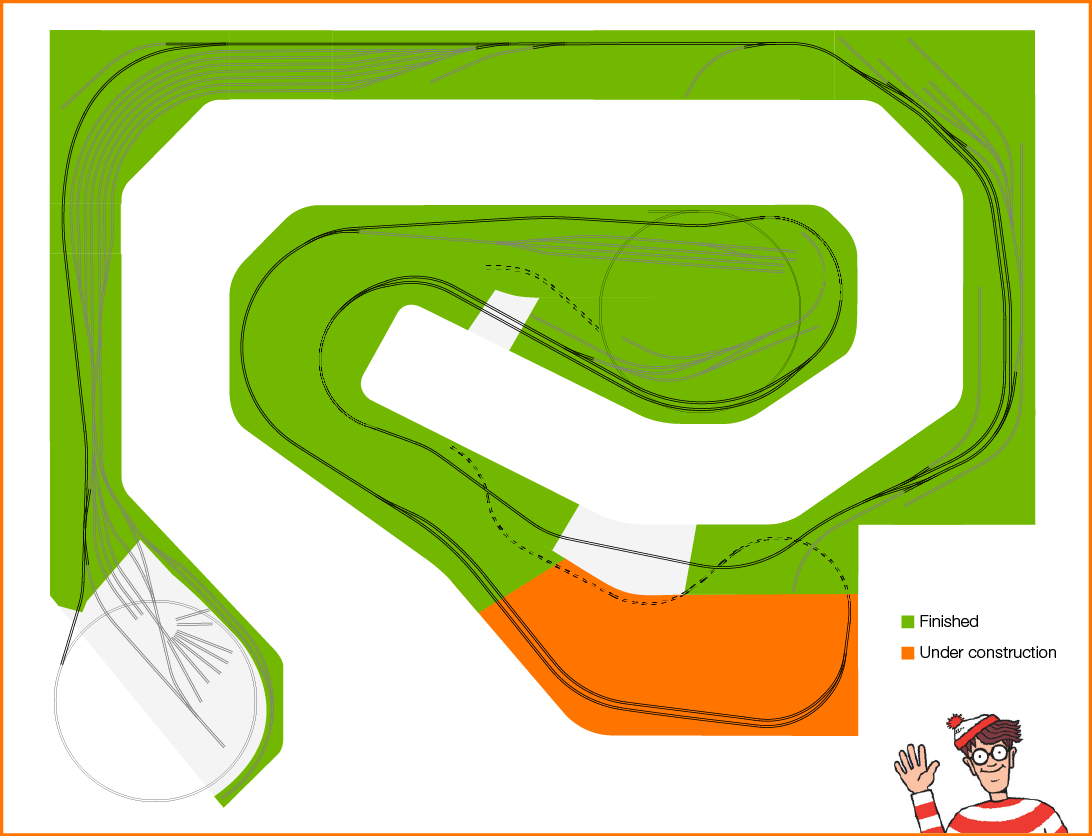 Potomac riverbed is complete and module #13 is installed. Now it is official – all upper deck modules are finished. Well, initial build finished anyway. Bridges, signaling, switchstands, line side structures, and much more on assembly round 2 but more on that later.
Let’s talk riverbed.
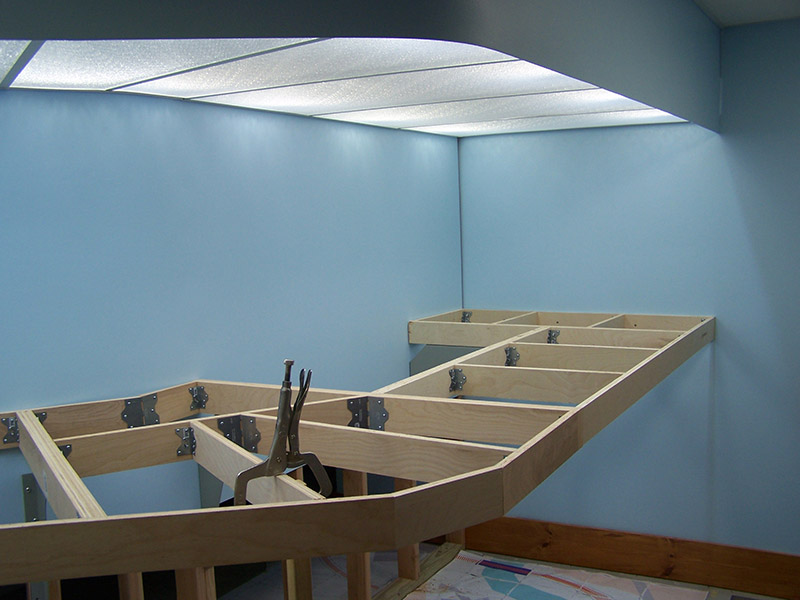
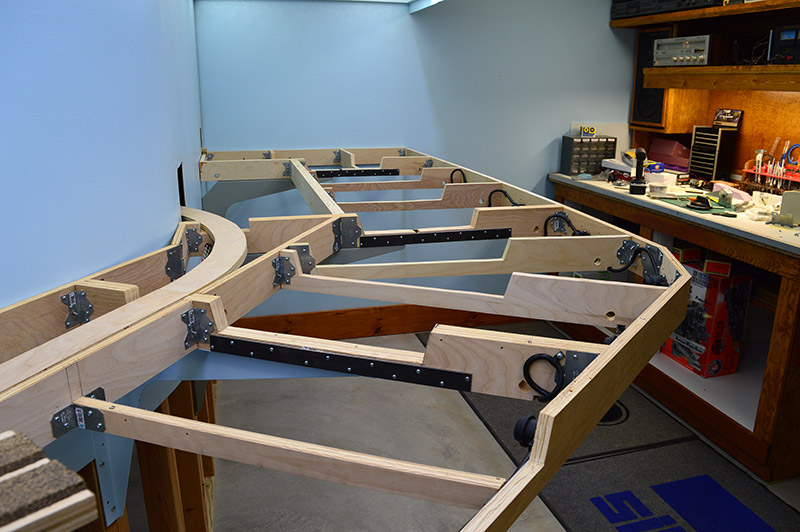
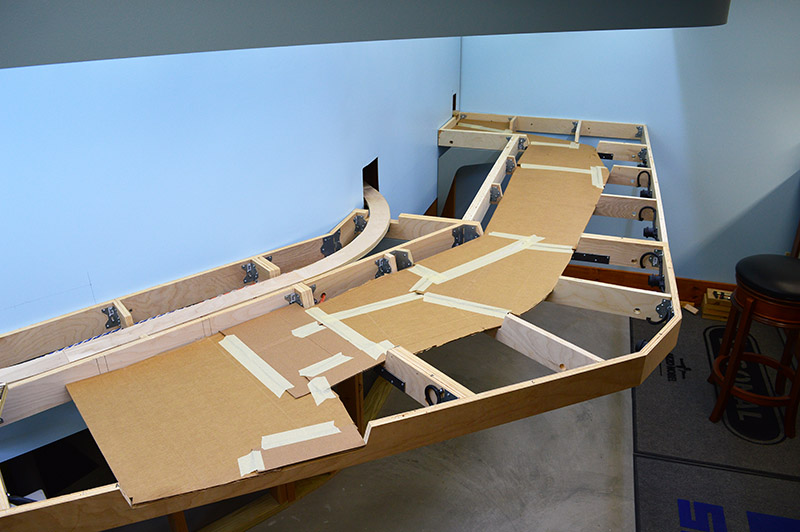
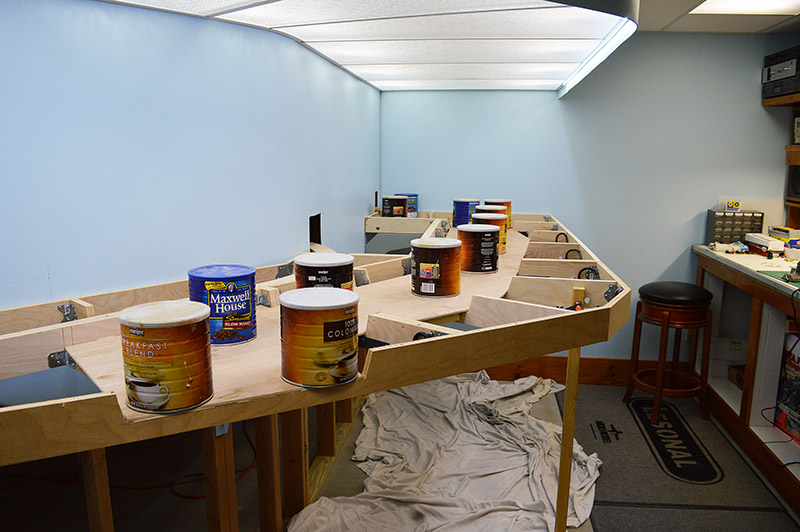
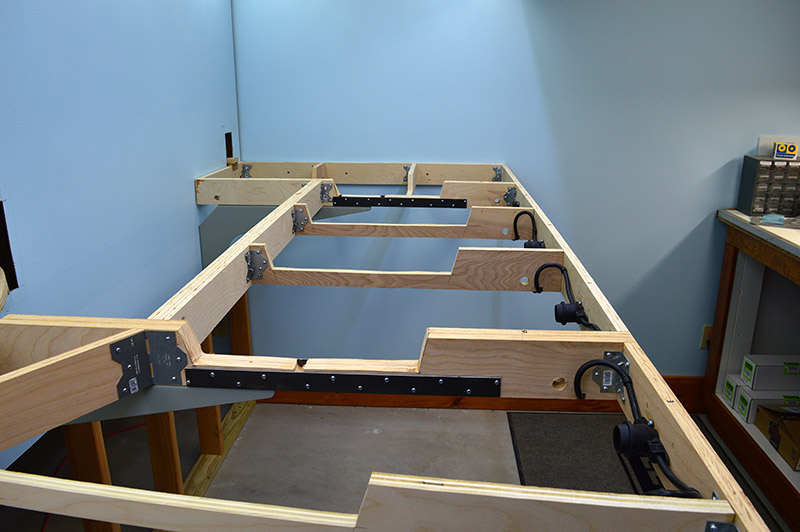
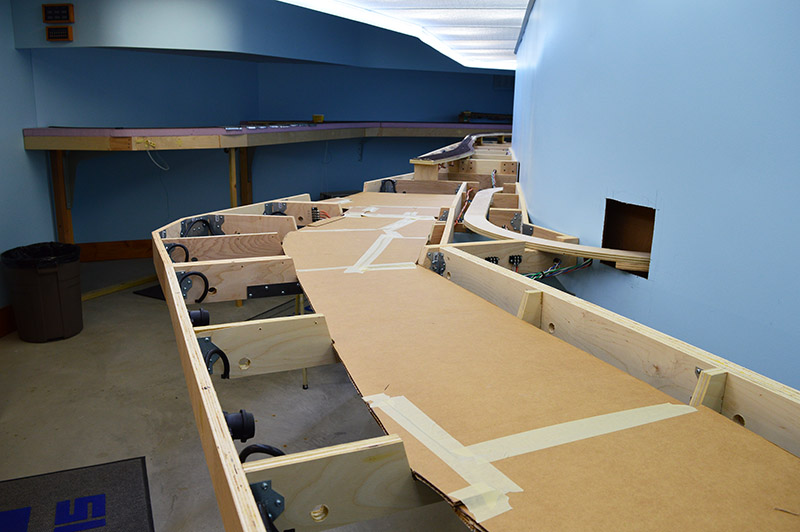
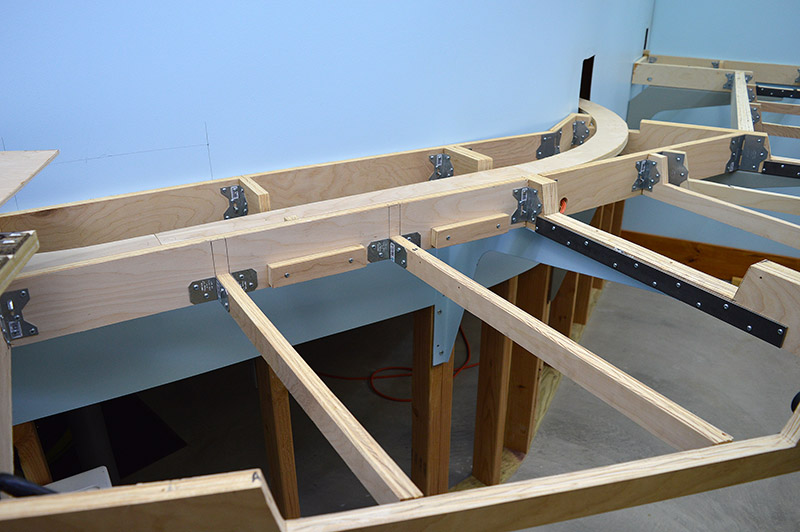
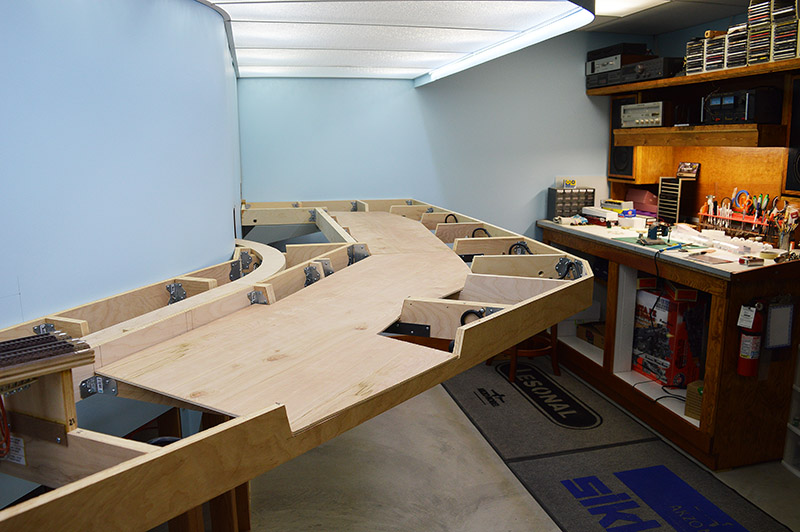
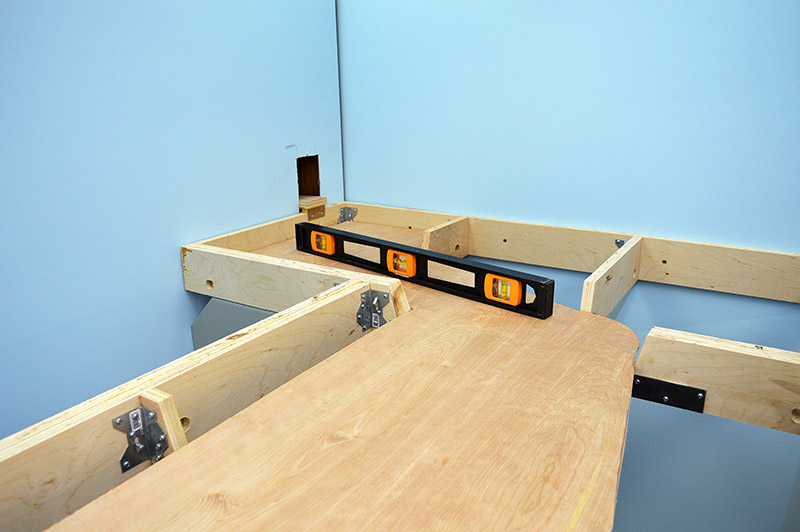
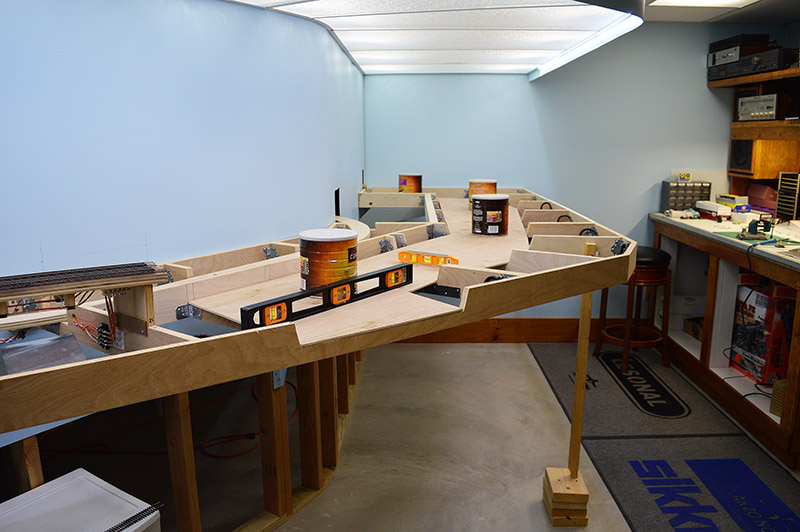
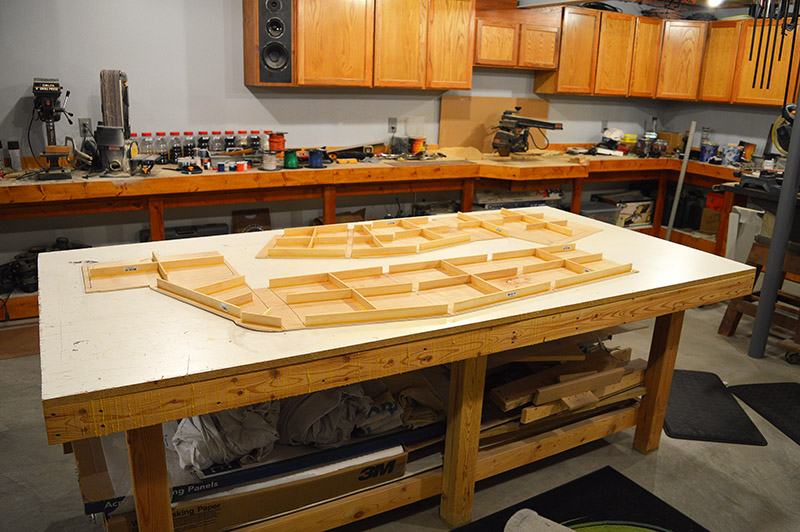
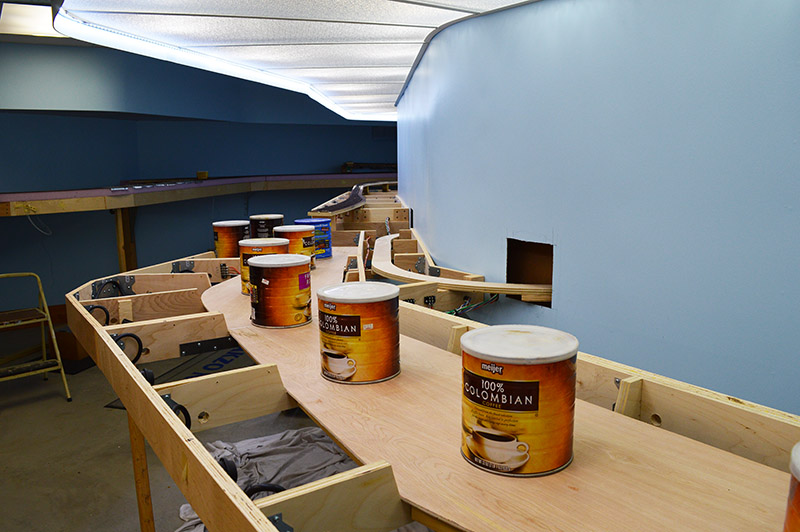
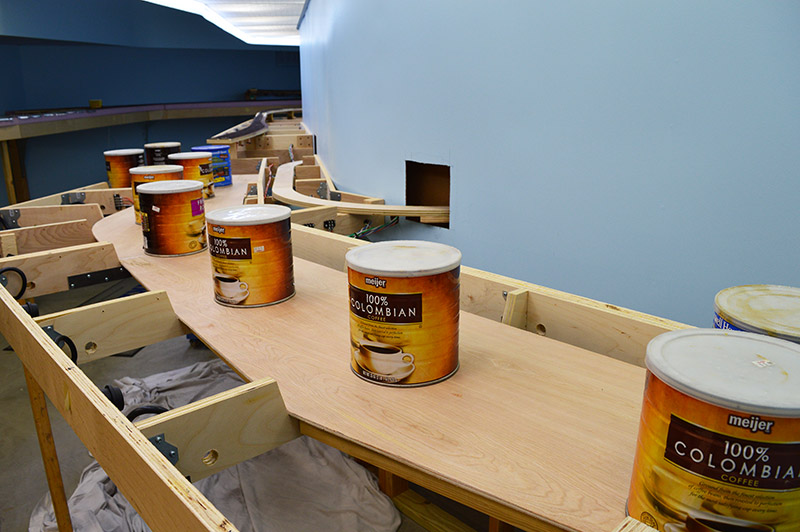
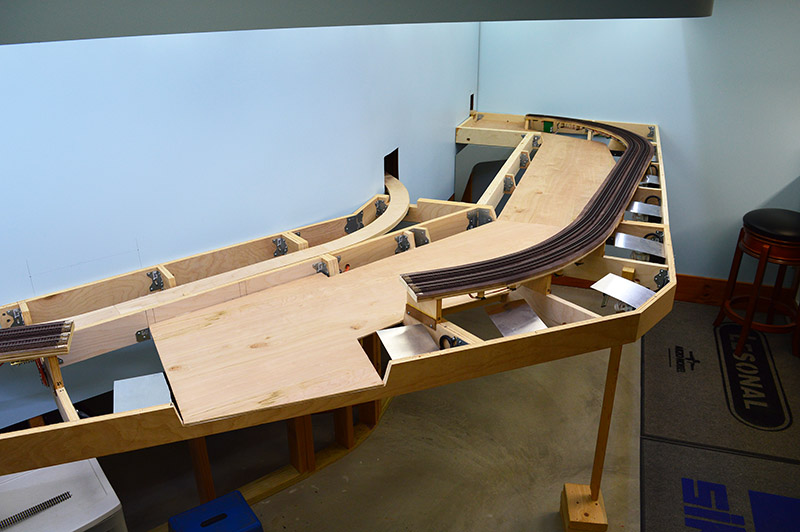
I wasn’t real sure how to set the river in place when the benchwoork was initially built. So I decided to build the benchwork in a straightforward manner and then modify it after-the-fact. This is how it looked when first constructed:
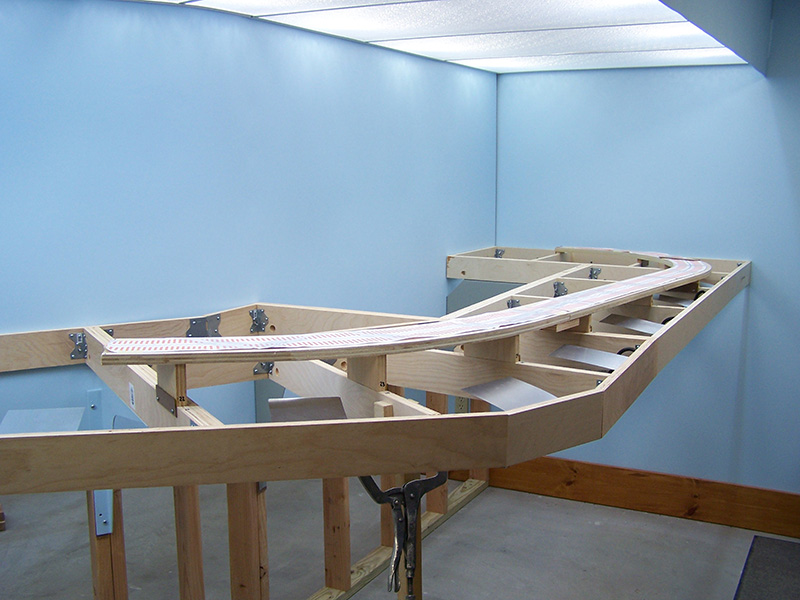
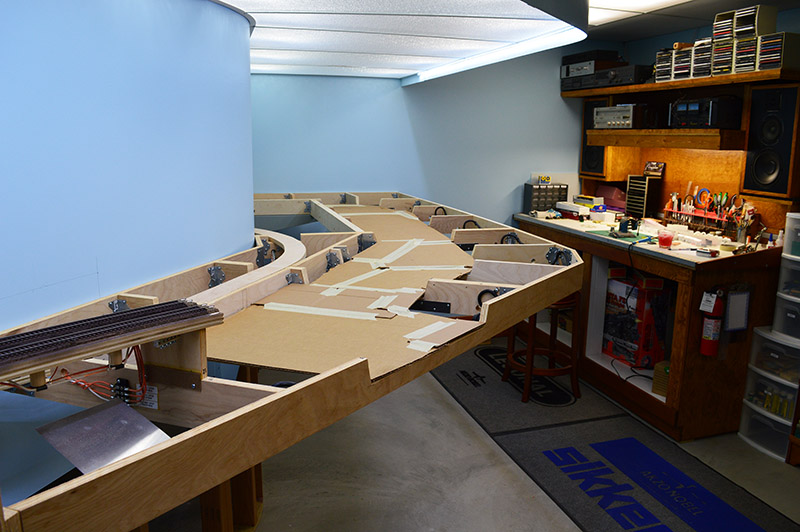
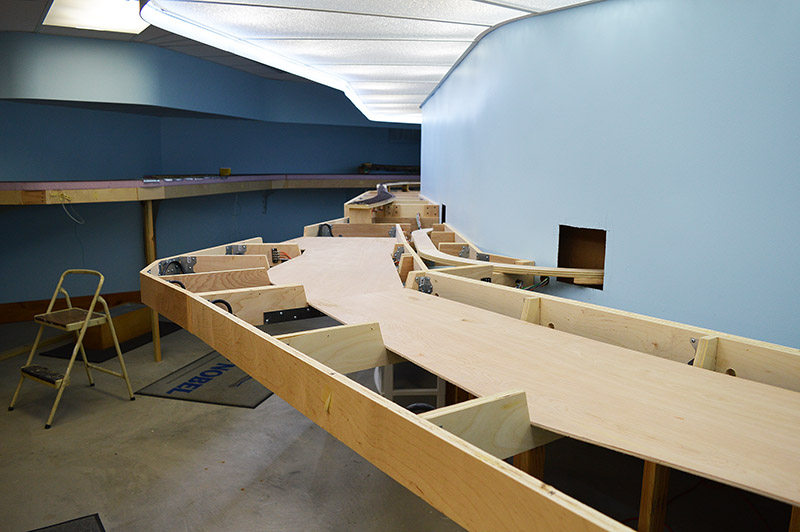
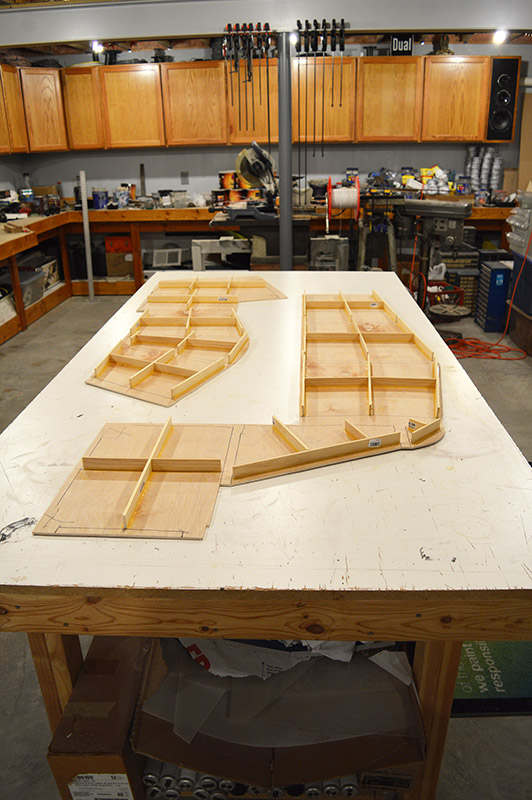
Once the subroadbed was in place it was much easier to get an idea of where to locate the river:
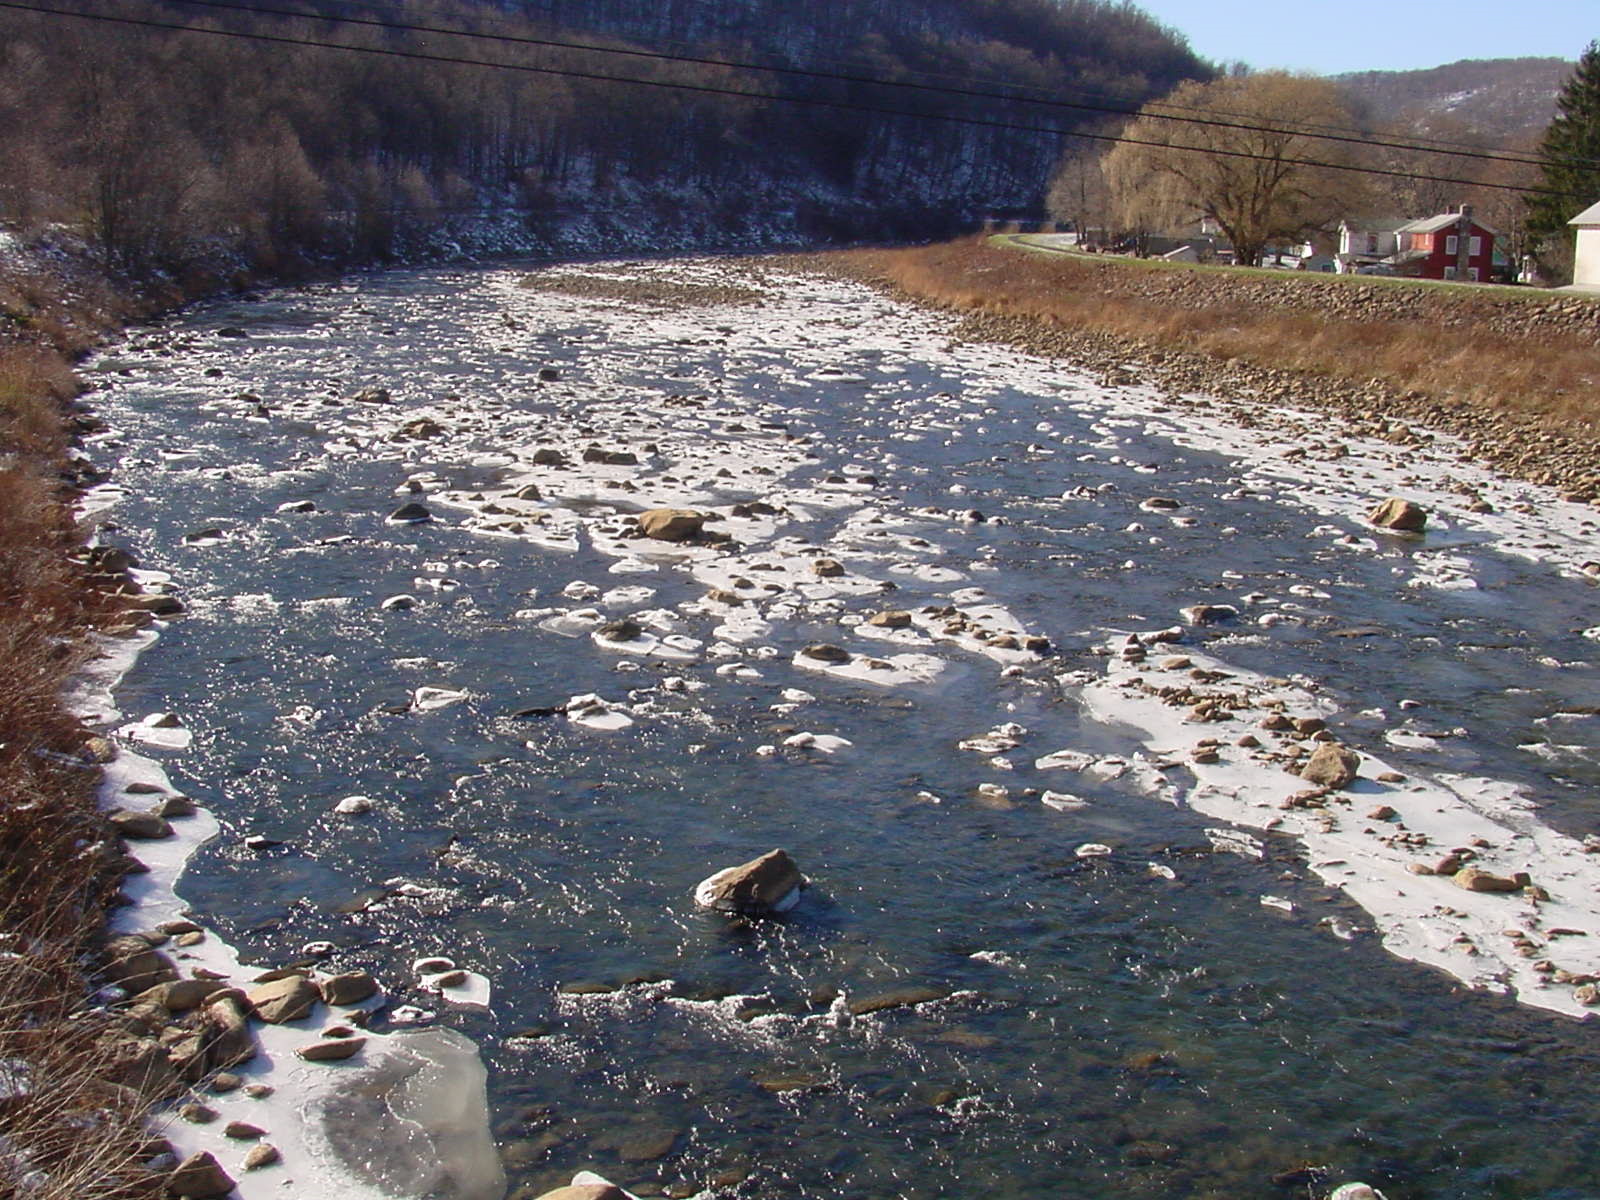
The Potomac River at Kitzmiller is wide and shallow:
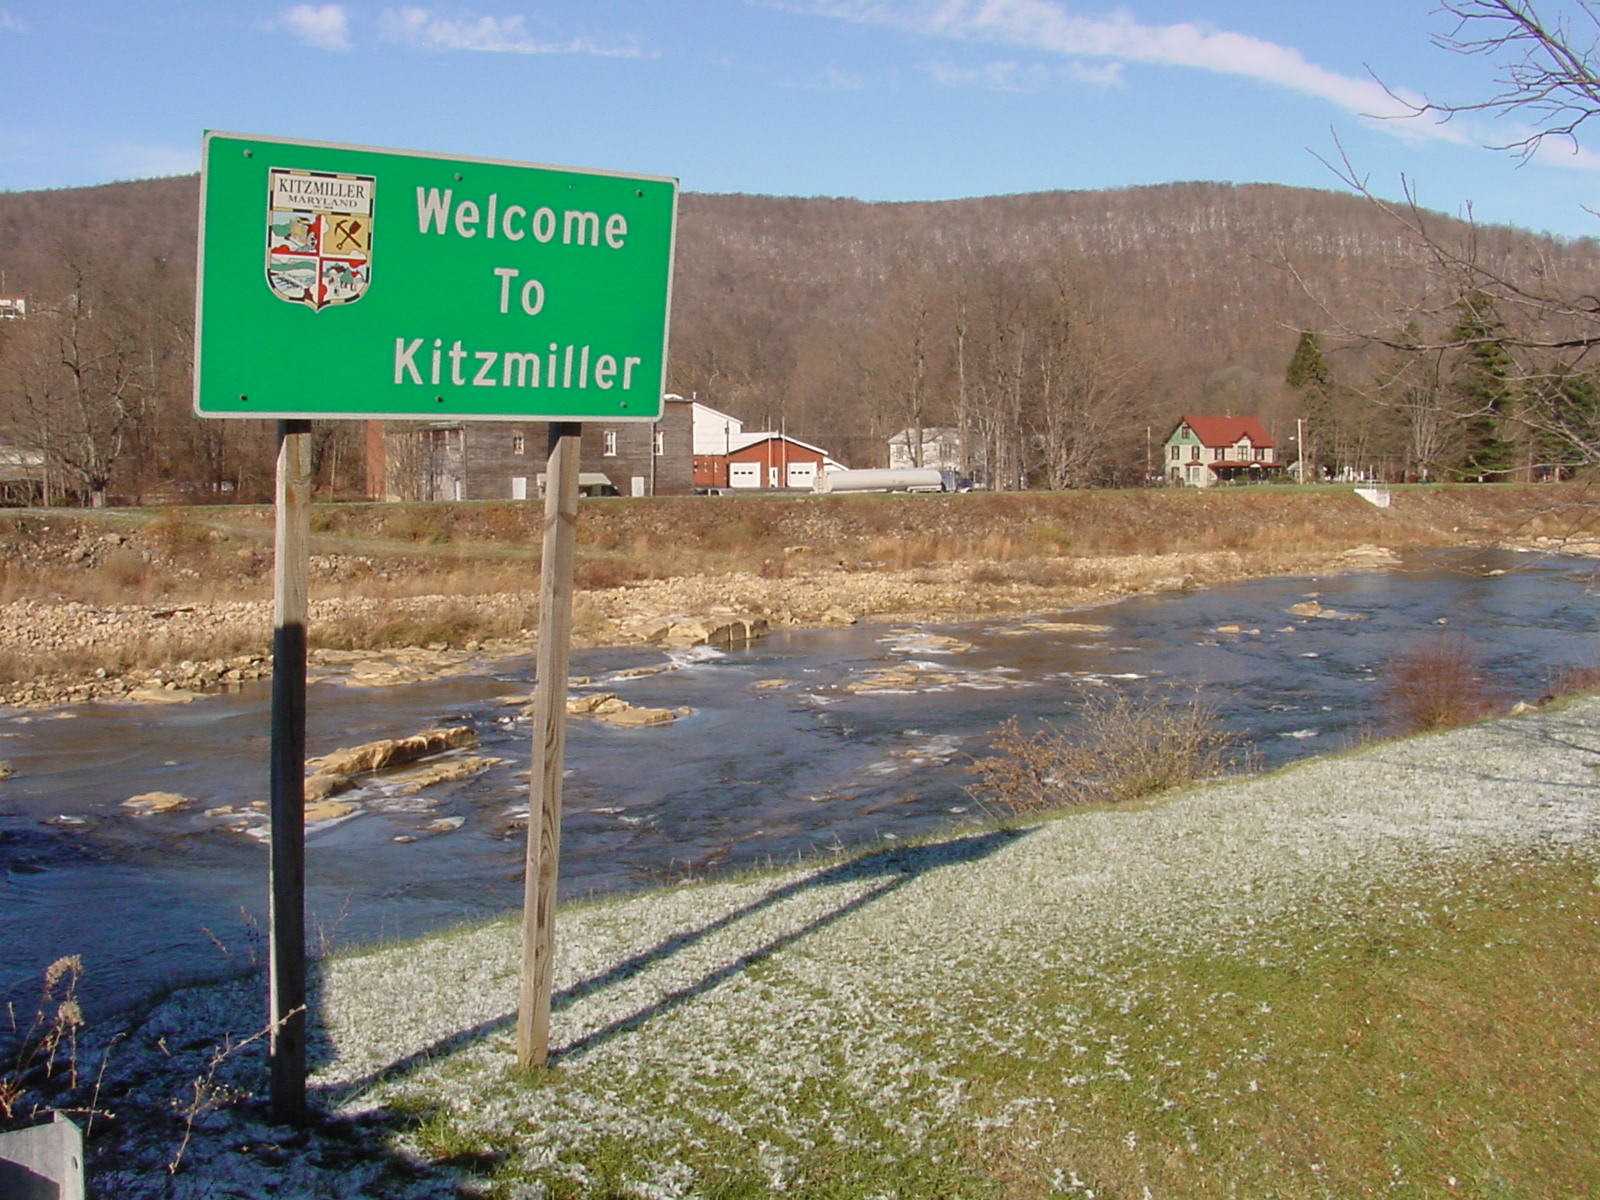
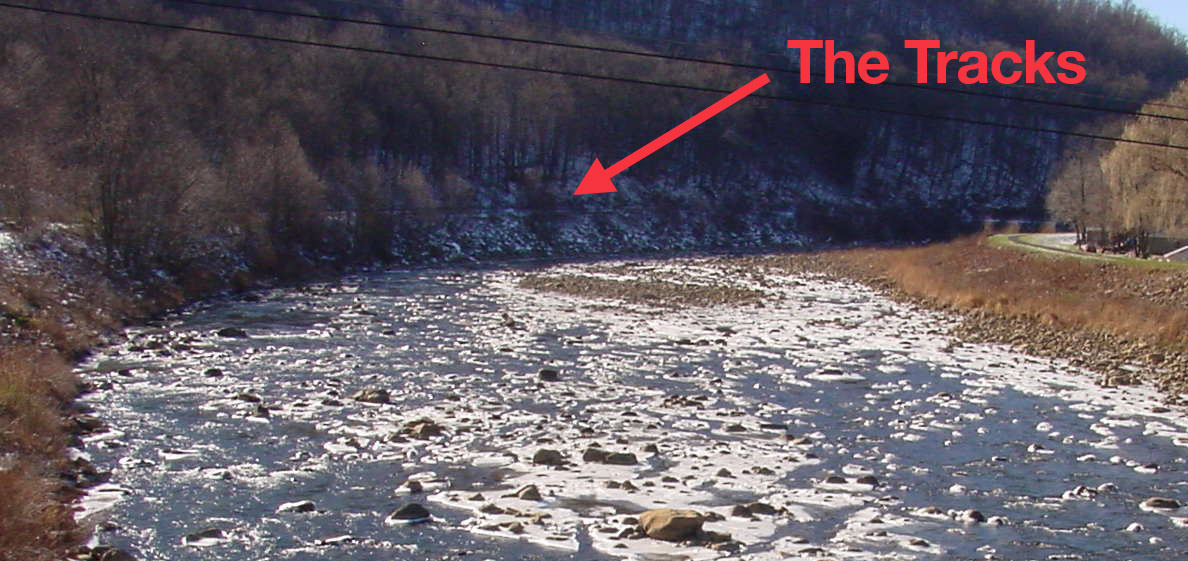
A crop of the above picture shows well the tracks along the river look I need to achieve:
A bit of selective compression is called for. Even compressed the river wasn’t going to fit it the space I allotted. Needed more width.
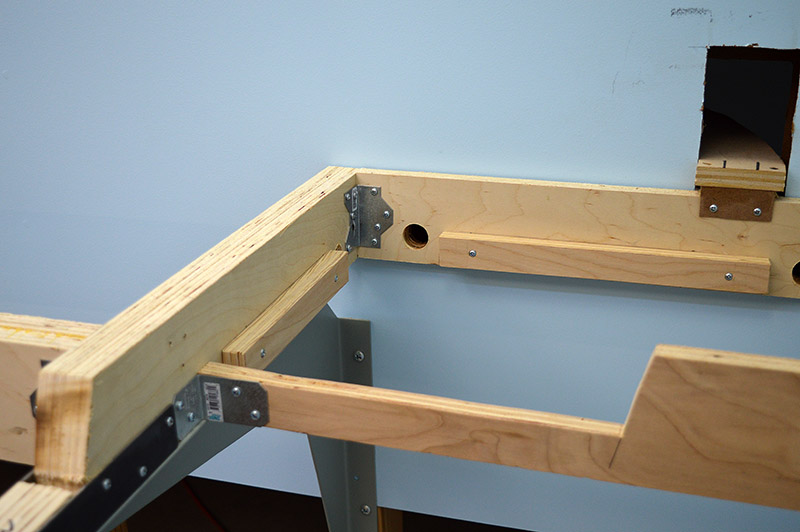
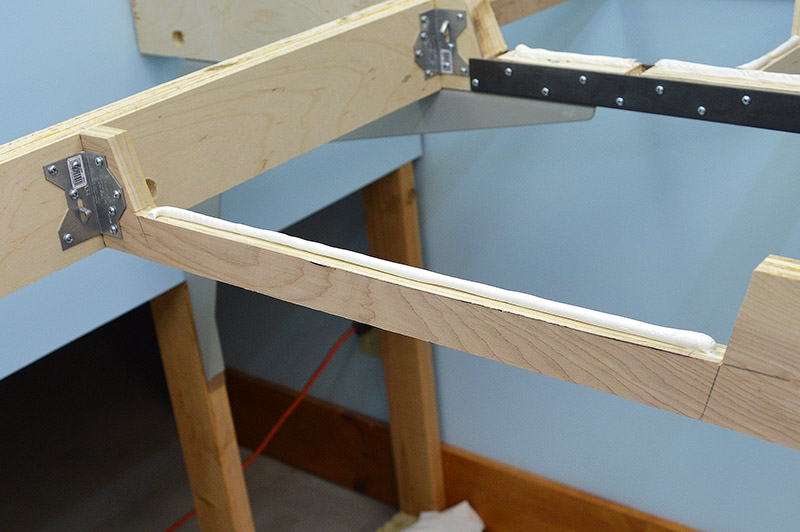
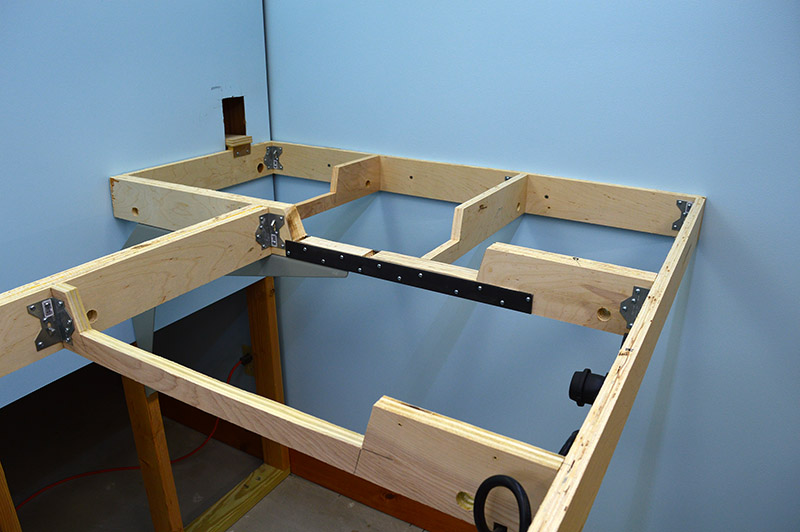
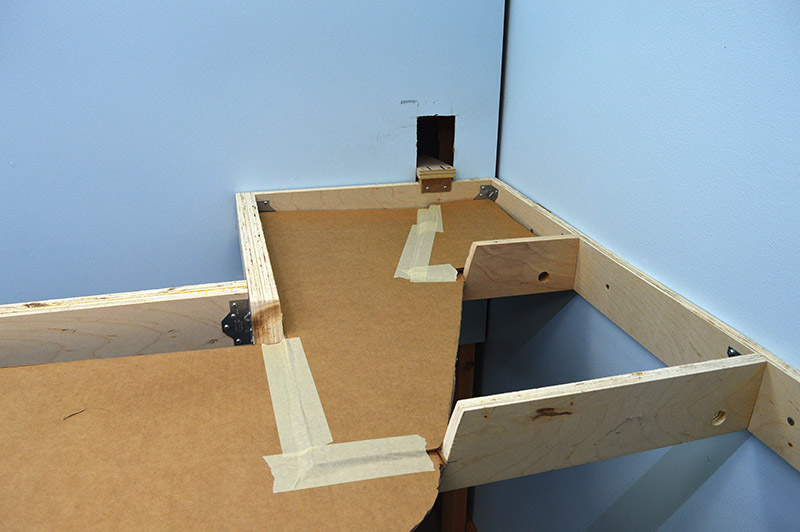
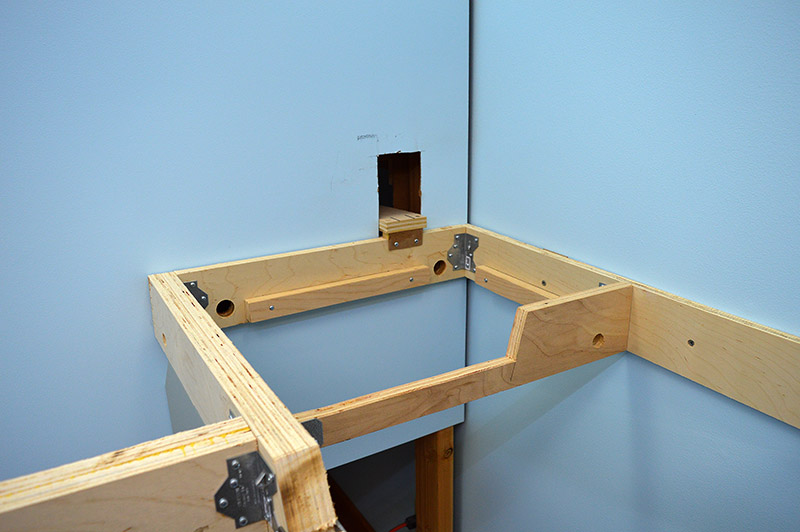
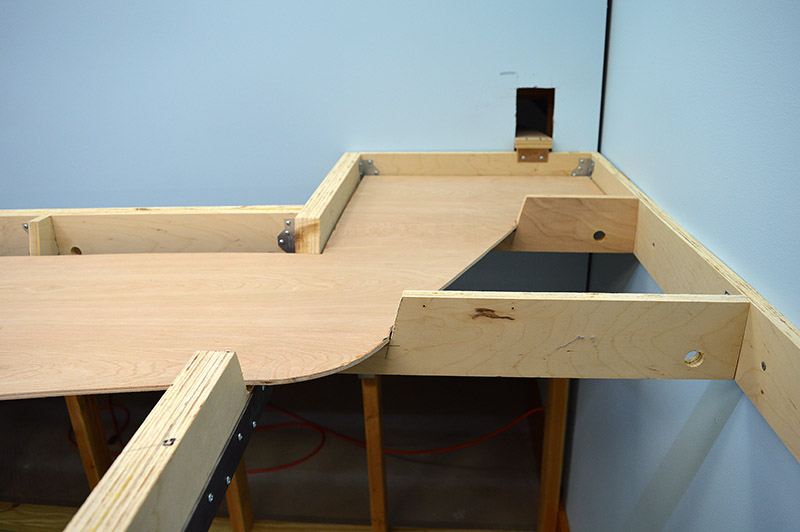
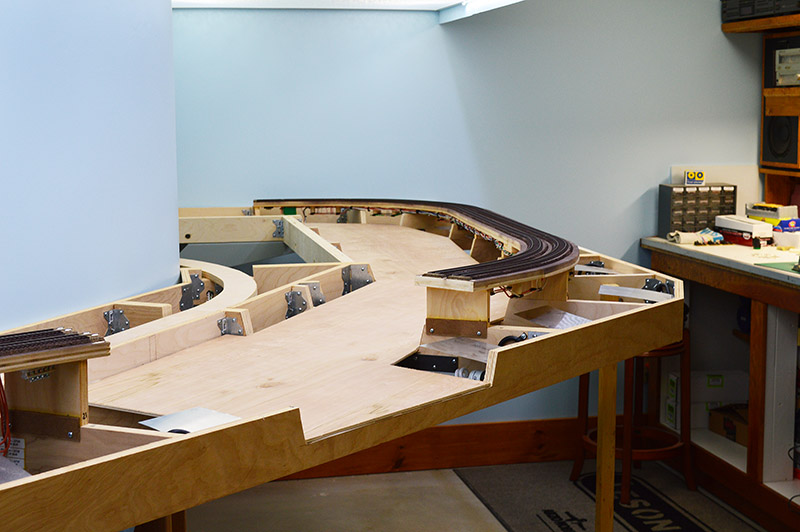
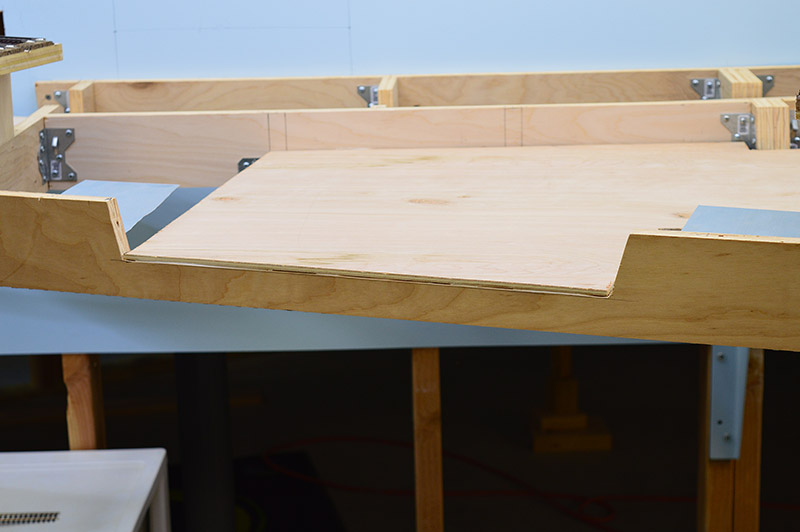
Gained 6″ of width by setting back the front edge of the pop-up hole. My belly seems to get bigger with every passing year so I left enough space for several more year’s growth. 🙂
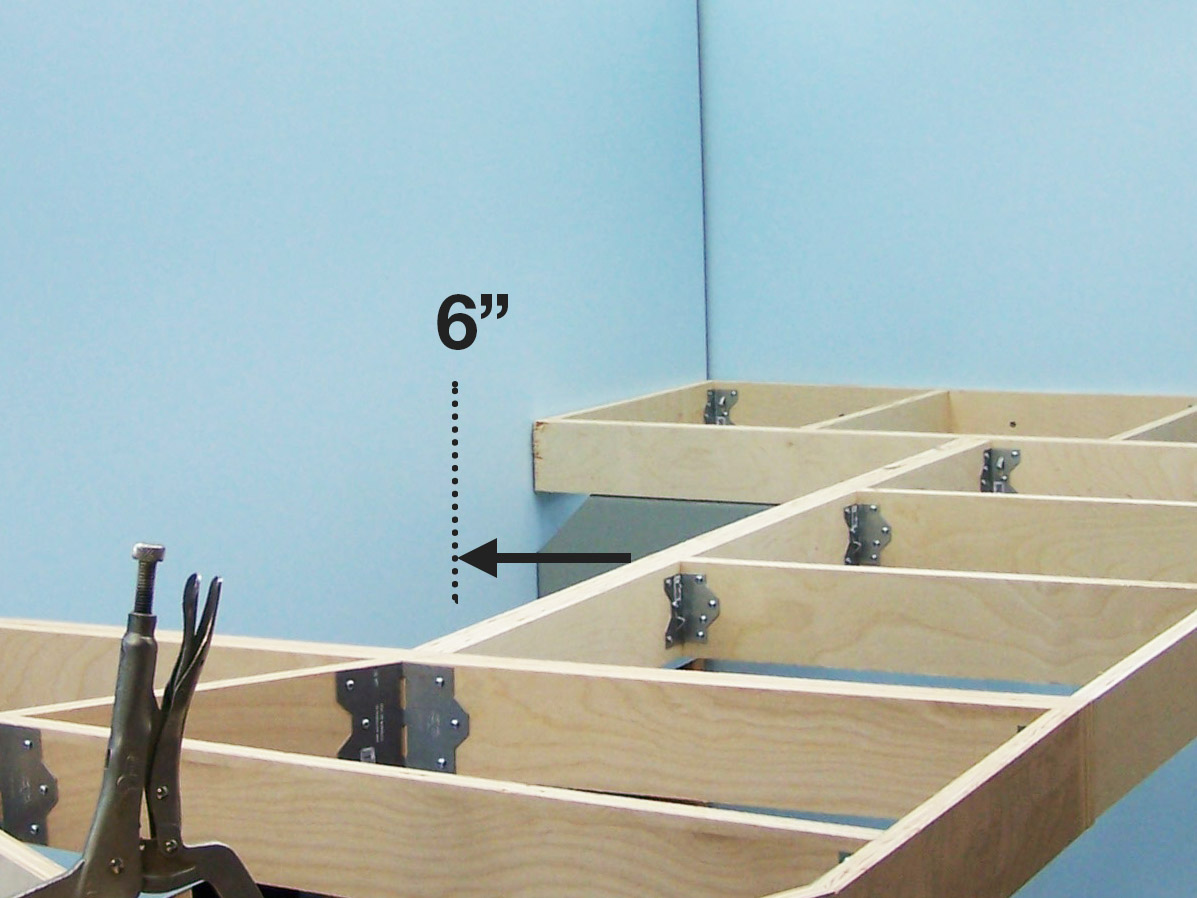
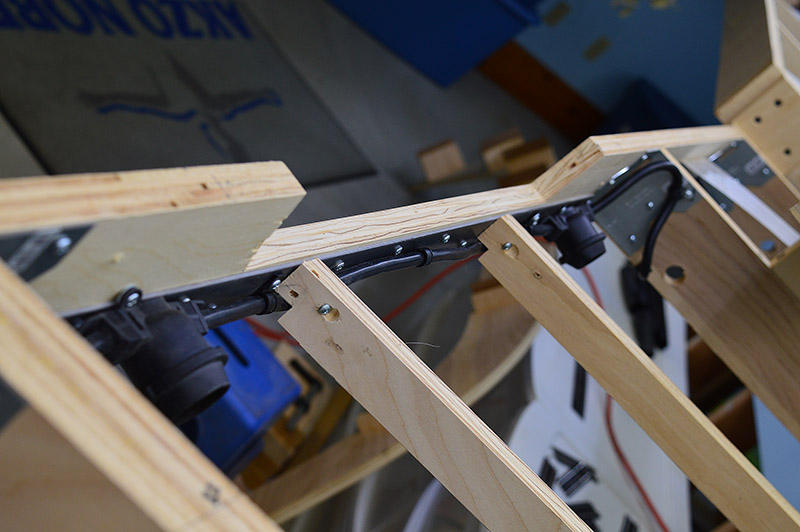
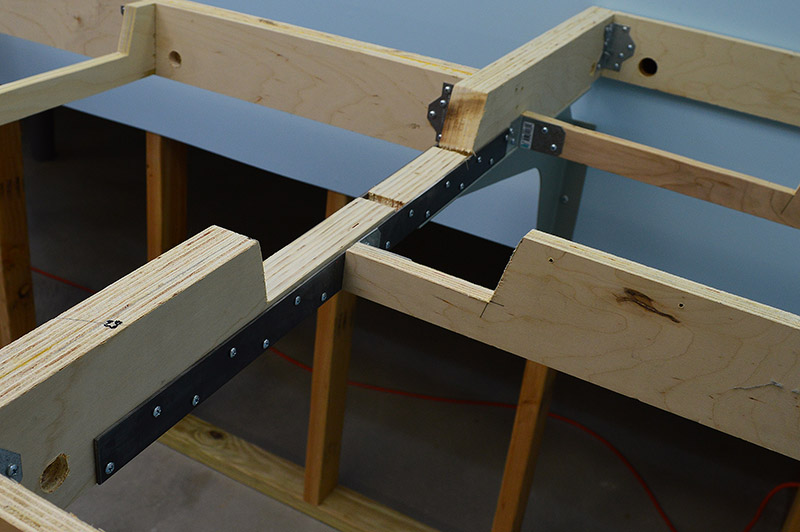
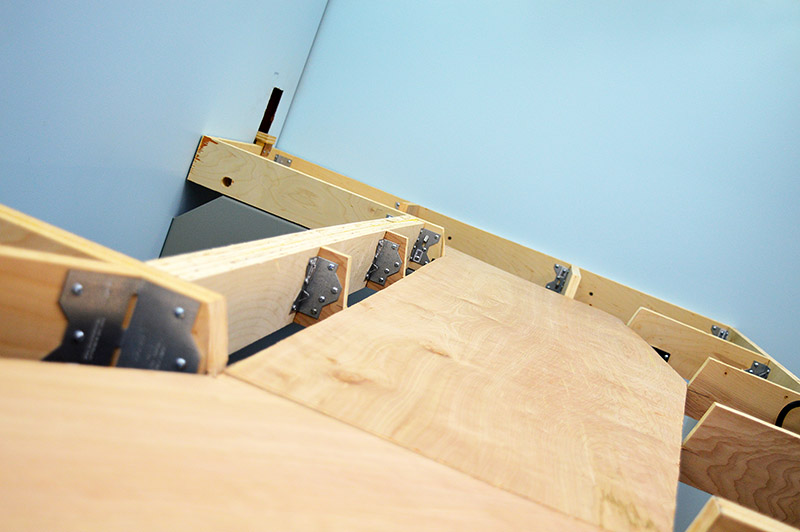
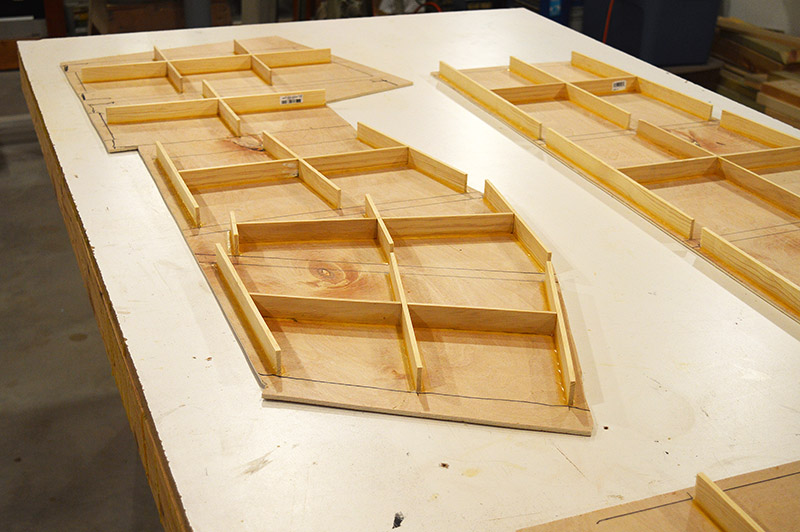
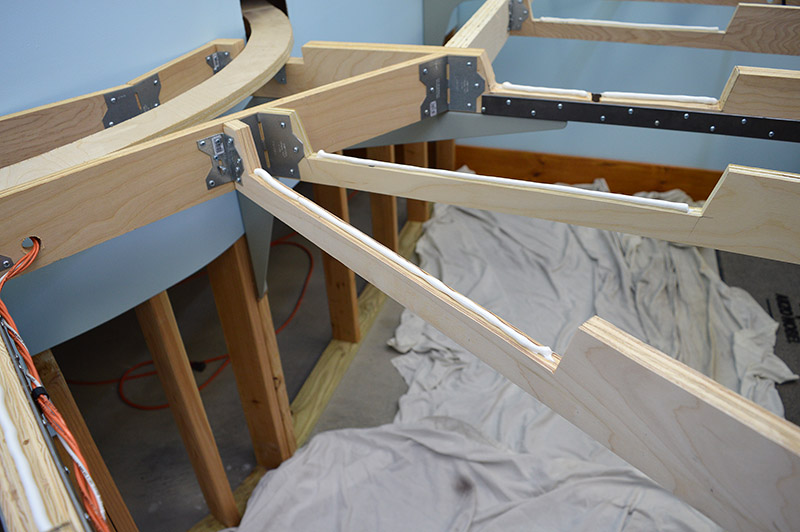
Once again the nailing plate construction method paid dividends. Moving the crossmember was super simple although it did necessitate making two new longer attaching crossmembers (the one at the arrow and the one behind it).
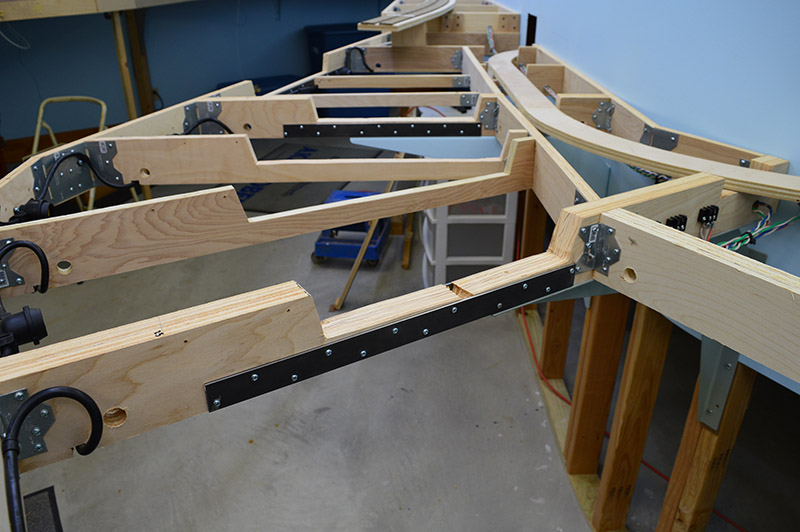
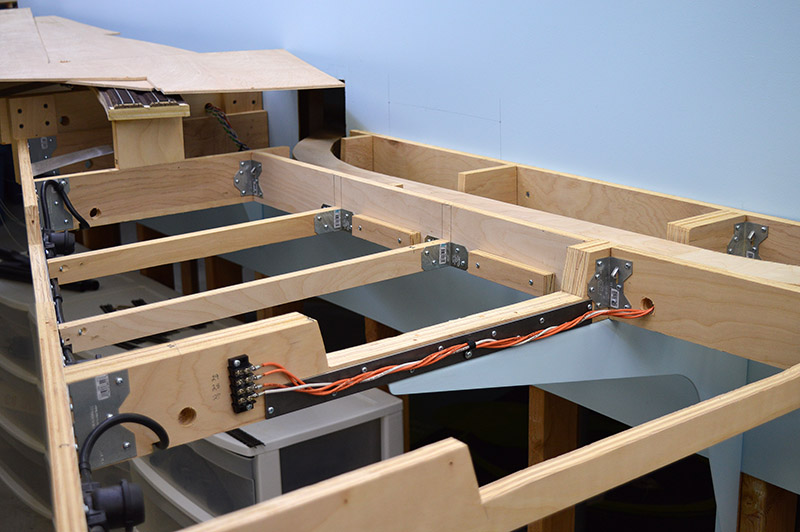
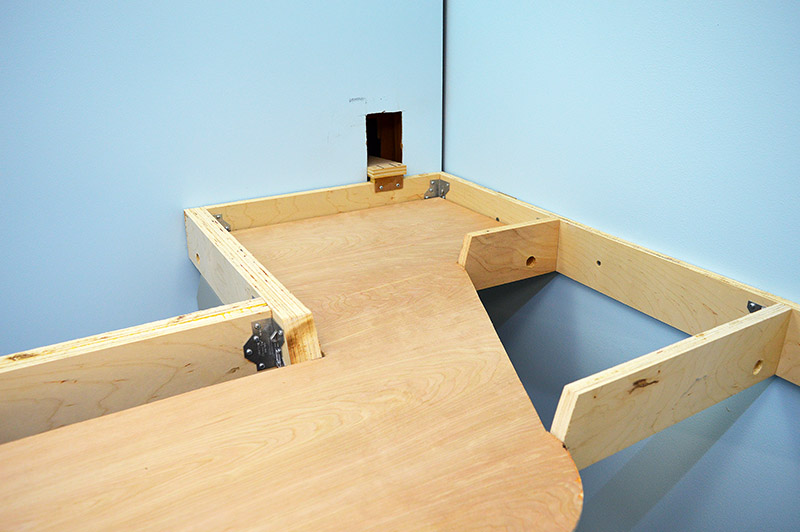
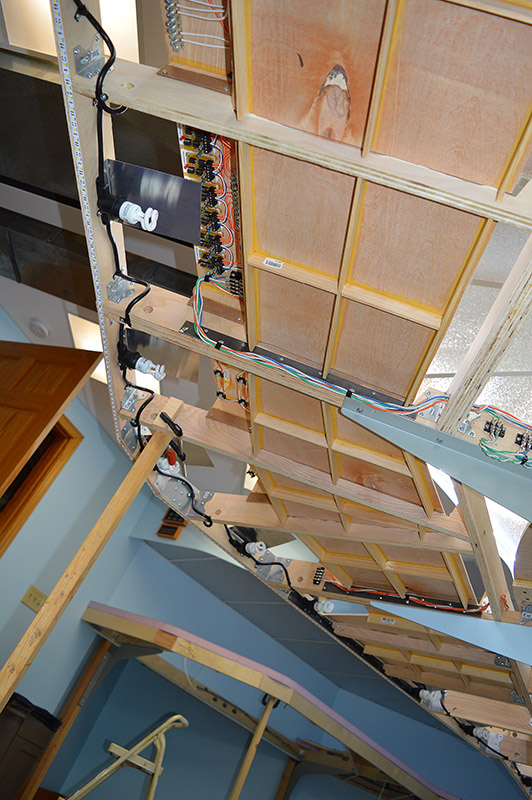
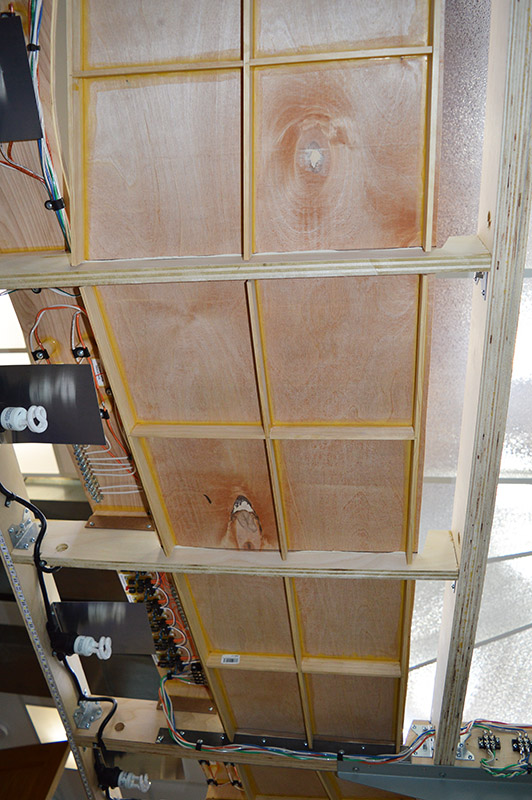
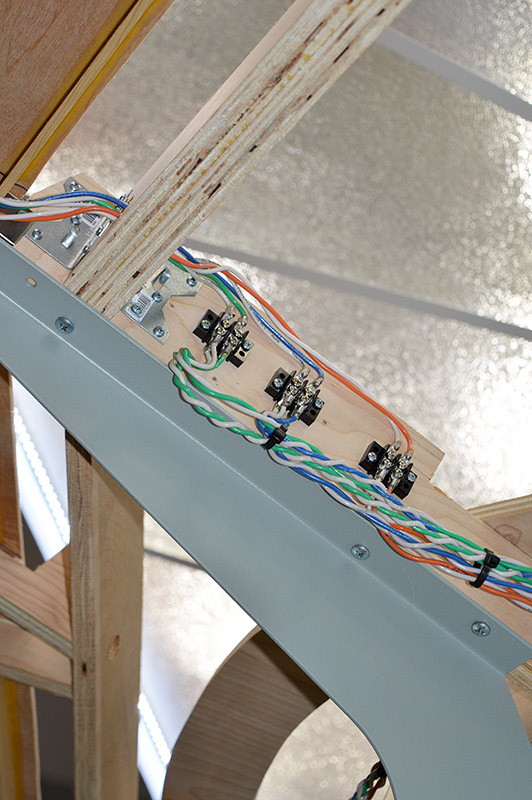
Next came depth. I wanted as much depth as possible to make the bridges look right but at the same time did not want to impose on the (future) deck below. This forced cutting into the crossmembers. The benchwork is nearly four feet deep at this point on the layout supported on 24″ shelf brackets. That leaves 24″ of unsupported overhang. No problem for a full 3-3/4″ crossmember. Might be a problem if I hack into them. Ultimately I decided on 1-3/8″ crossmember thickness supported by 1-1/4″ x 1/8″ steel strapping. A 15° slope on the riverbanks was selected. Out came the jig saw and in no time I had a riverway cutout. The steel strapping was drilled using, what else… a nailing strap template, and screwed to both sides of the load bearing crossmembers. I would have liked to extend the strapping further on some crossmembers but space did not permit. Nonetheless, the modified benchwork seems plenty strong.
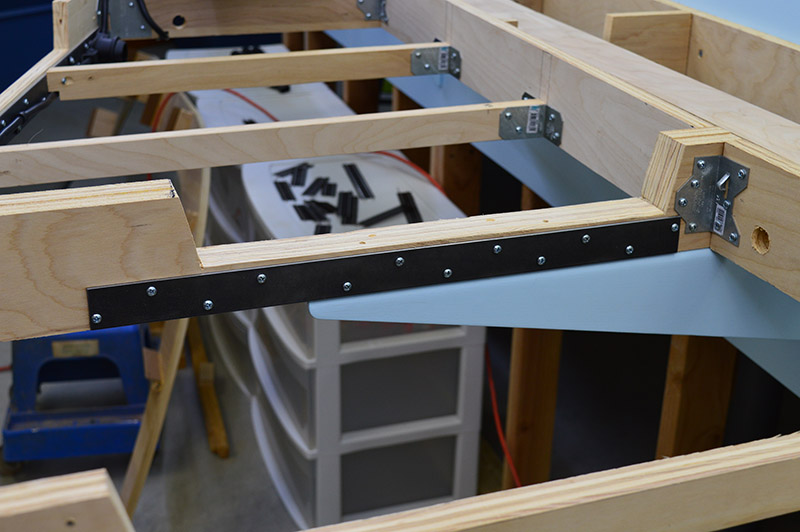
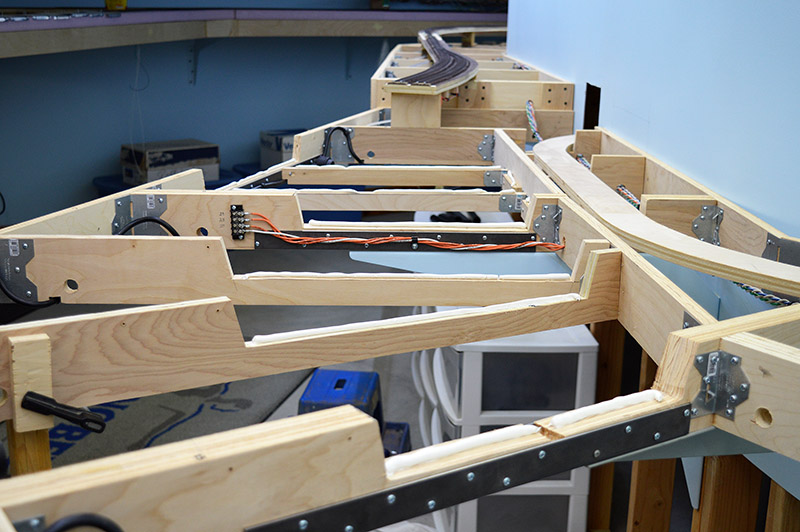
There is also a steel reinforcing strap where the river exits the front of the layout.
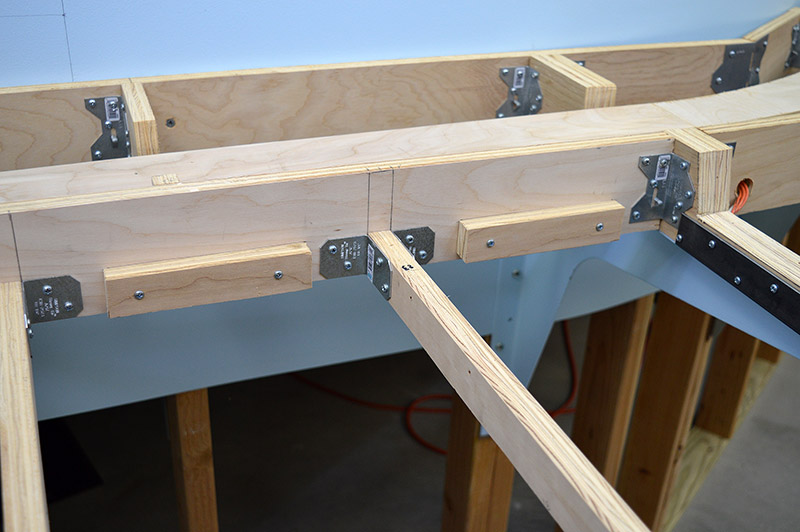
I also added additional mounting blocks along the edges where the riverbed met edge crossmembers.
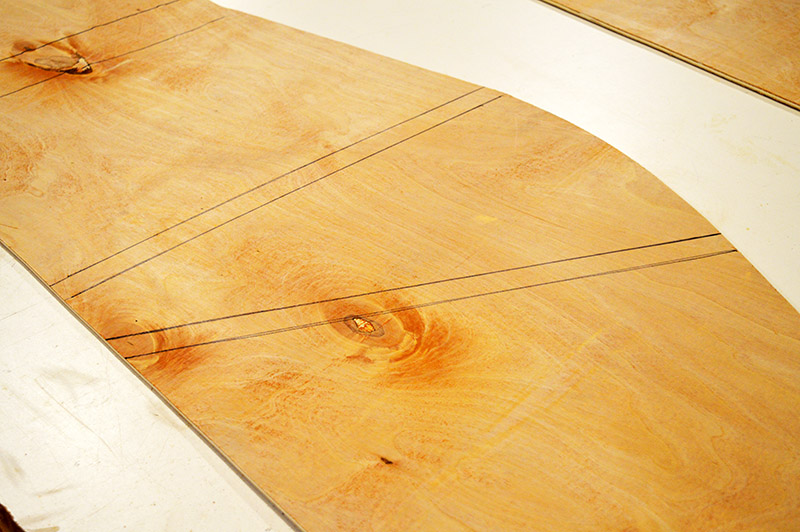
Now for the riverbed itself. Easiest and most accurate way I could come up with to form the shape was with a template. A cardboard box, 2″ masking tape, and a razor blade to the rescue.
For the riverbed I wanted a substrate that would be fairly rigid and resistant to warping. Would be a real bummer to make a beautiful river only to have it sag over time. A 3/4″ plywood bottom would have been plenty rigid but would have eaten up a lot of river depth. I wanted something very thin so to preserve what precious little river depth I have. 1/8″ hardwood underlayment seemed ideal if it could be sufficiently supported. Why not use the 1-3/8″ space below the riverbed between the crossmembers for the support structure? Off to Home Depot I went. Returned with a sheet of underlayment and several strips of 1-1/4″ rectangular trim. Let the riverbed construction commence.
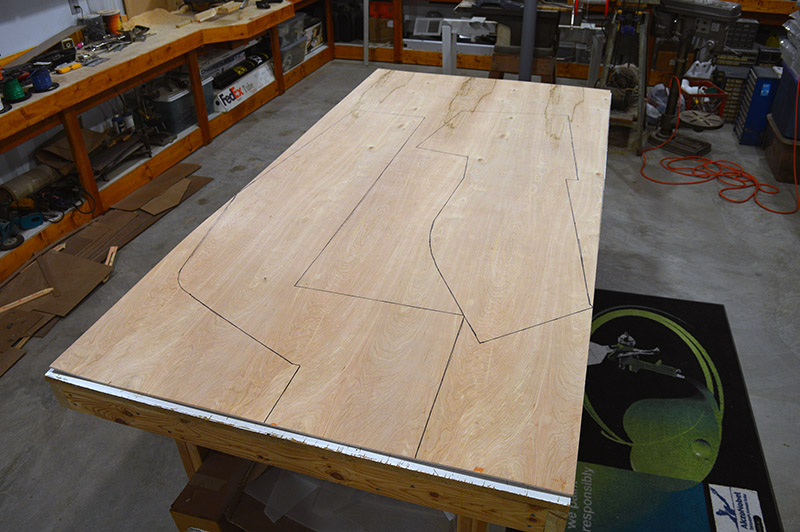
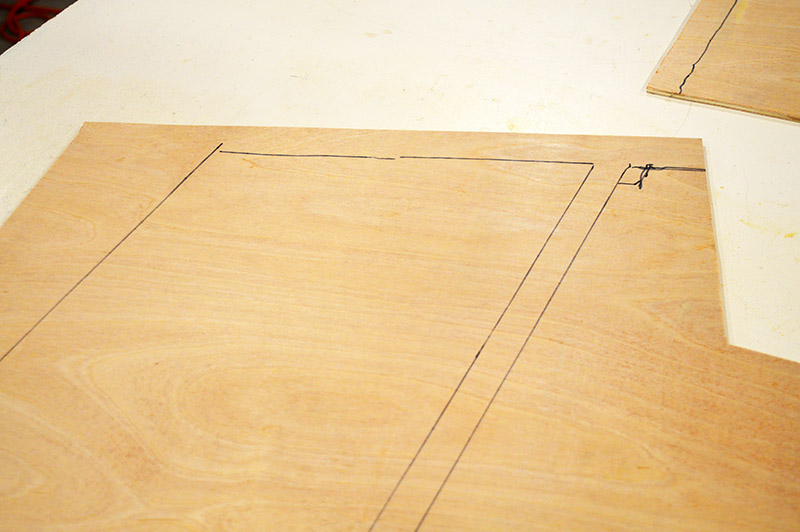
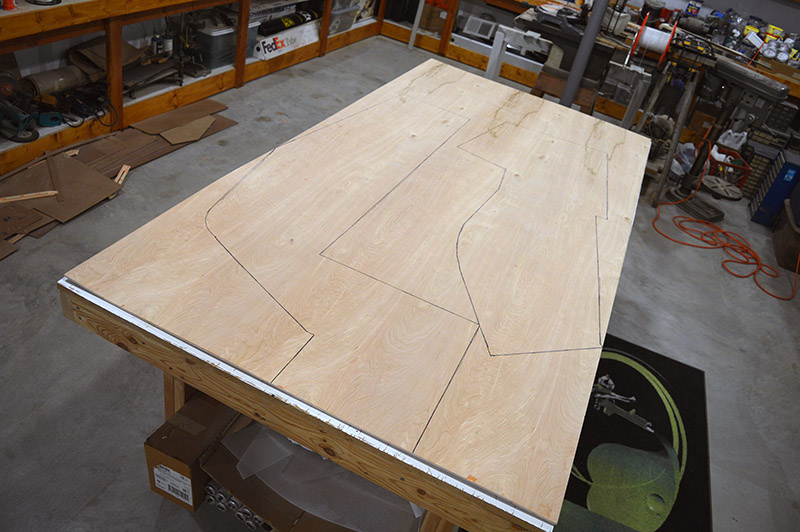
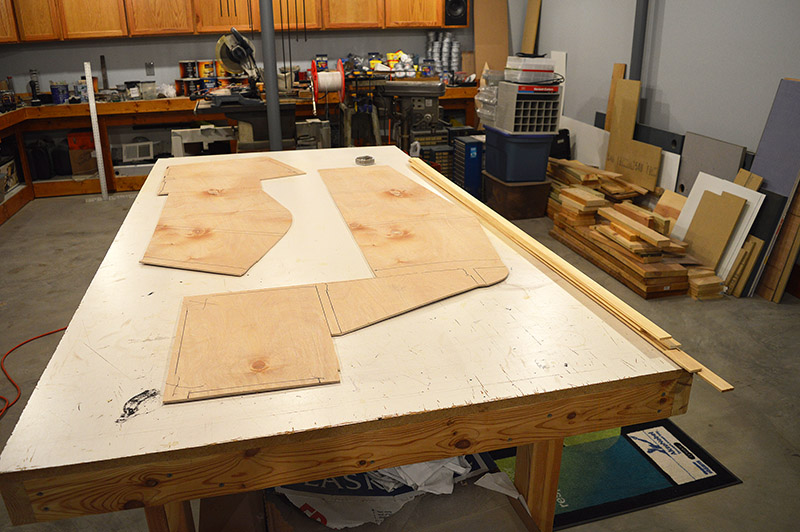
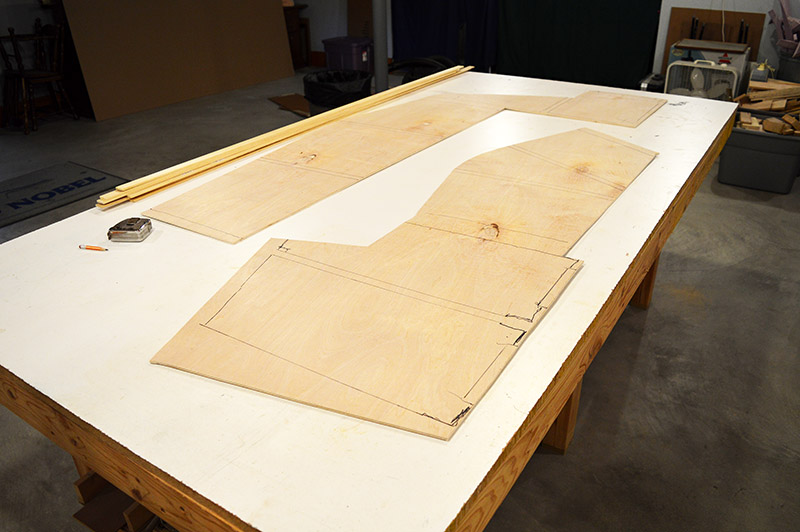
First off, the cardboard template was split into two pieces and traced onto the underlayment. The pieces were cut out with the jig saw and edge sanded.
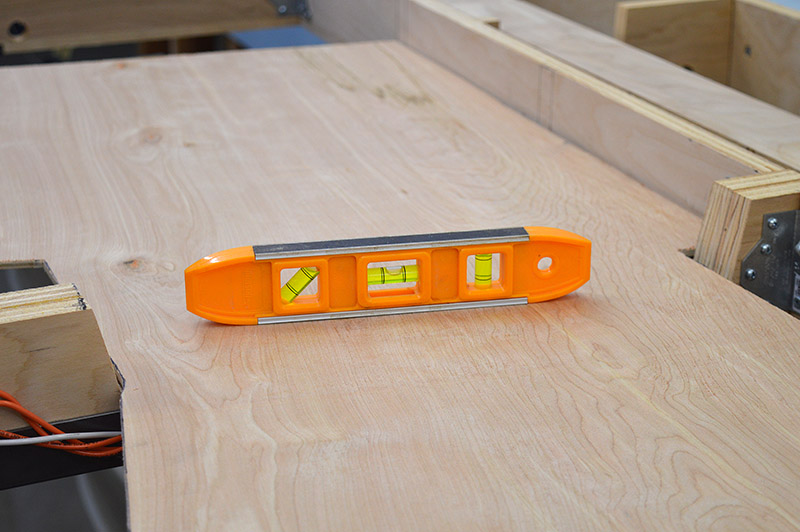
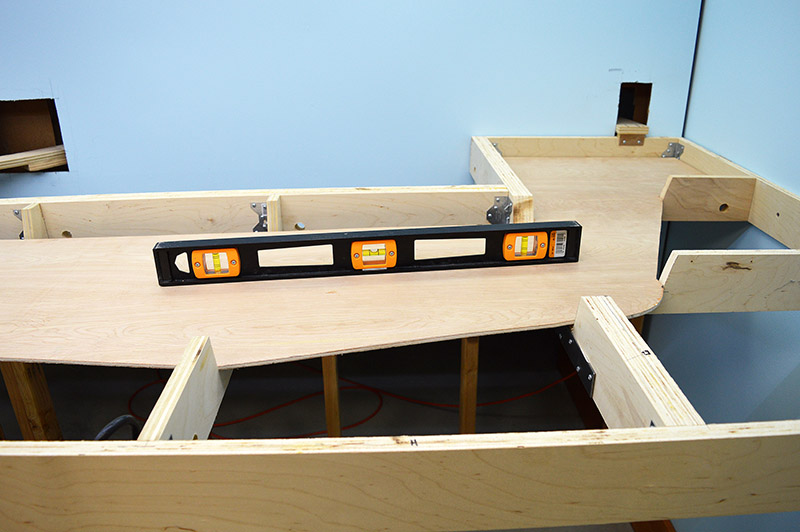
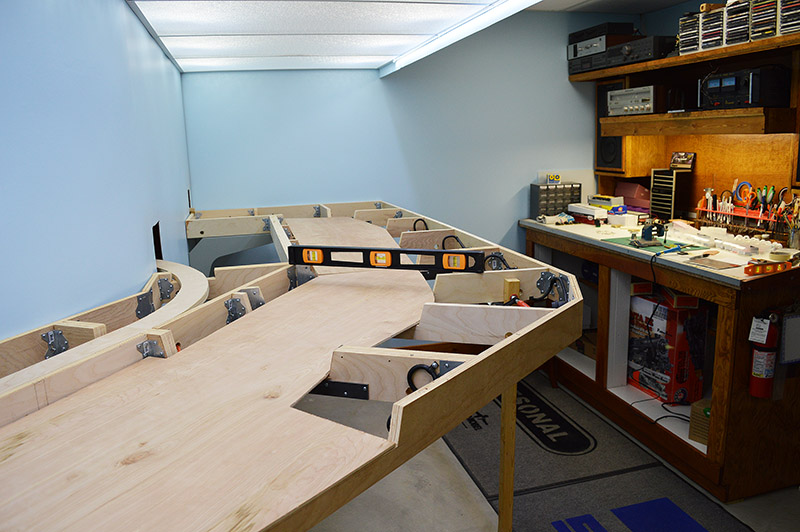
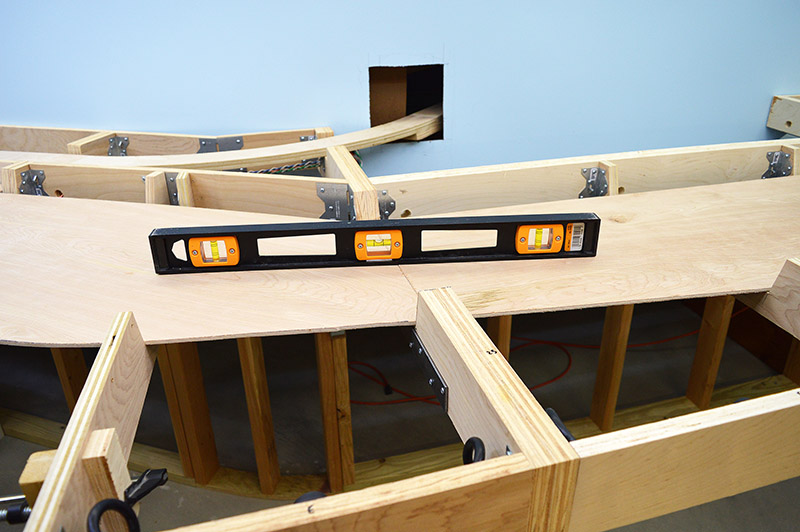
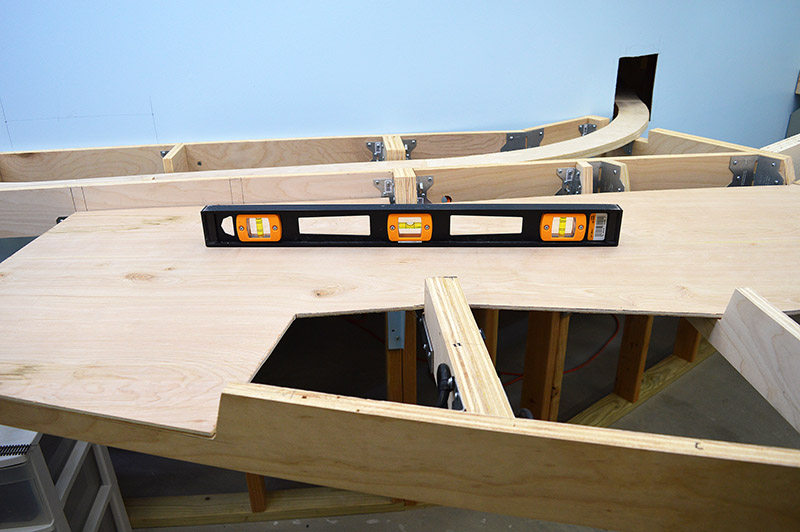
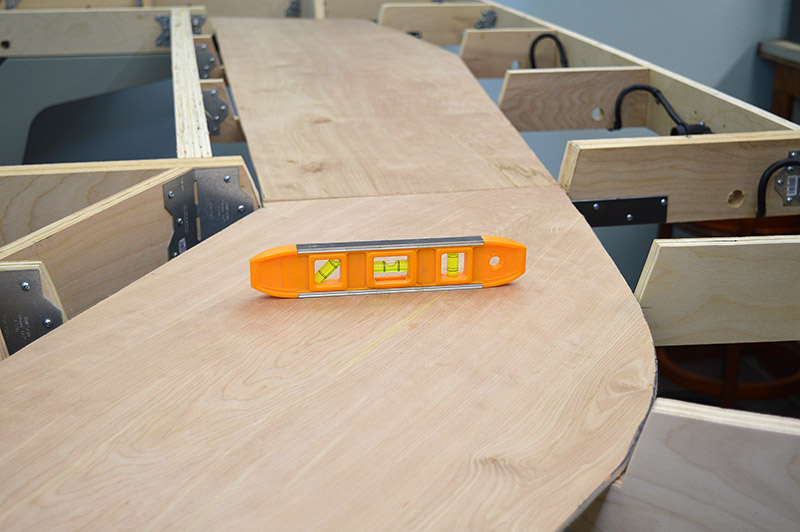
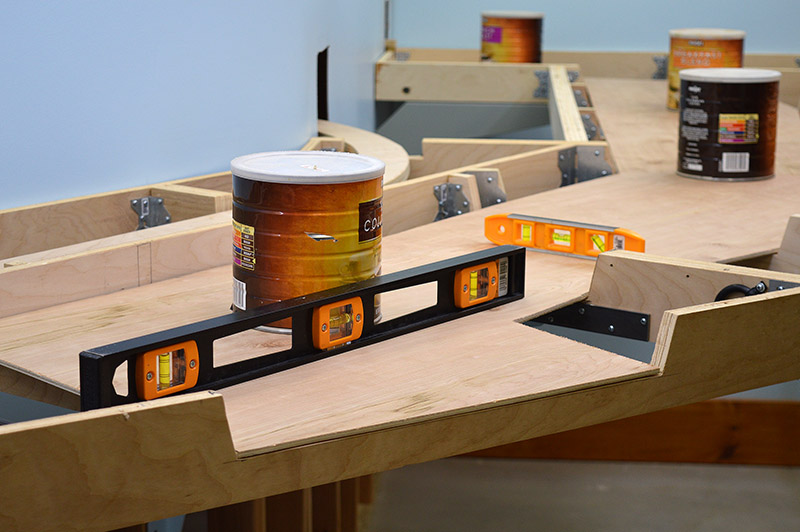
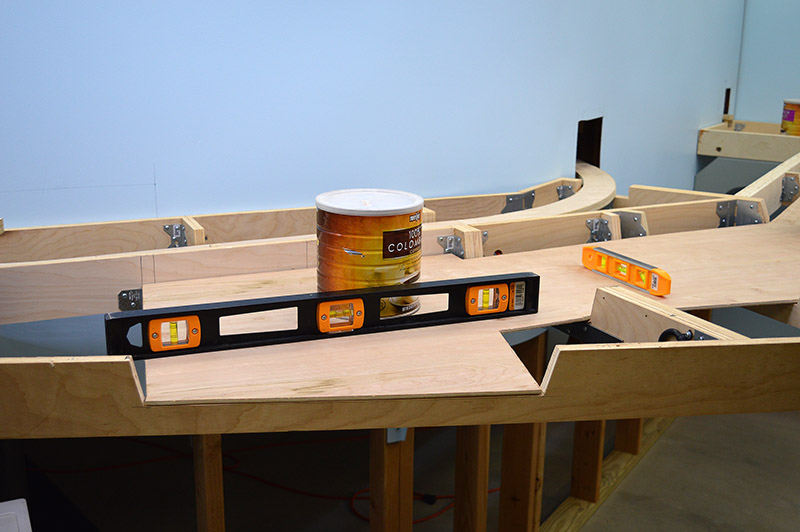
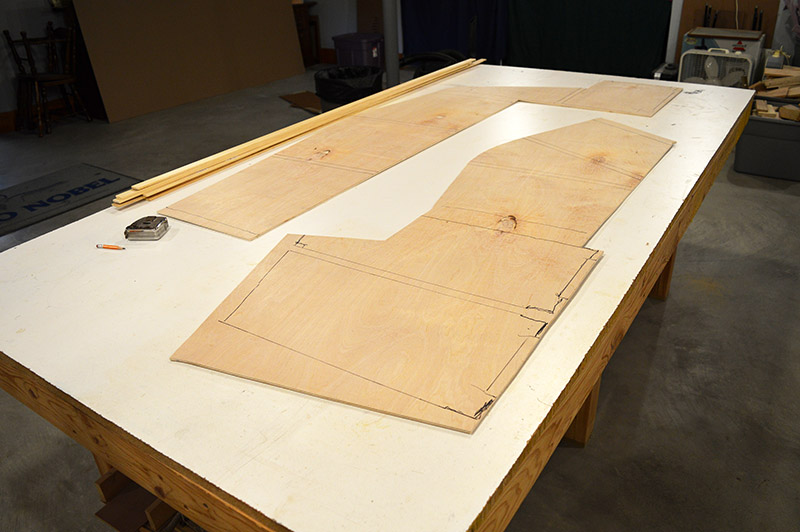
Time for a test fit. It took a little sanding here and a little sanding there but eventually the riverbed fit nicely. Since the river will eventually be liquid poured it is important it is level. I started by making sure the benchwork itself was level. There is a temporary leg at the furthest most point out on the benchwork. It will be made permanent during the build of the lower deck. For now it adds a bit of height adjustment to the system. Turns out I had to move the leg only very slightly. Nice feeling to know the benchwork has stayed level for two years.
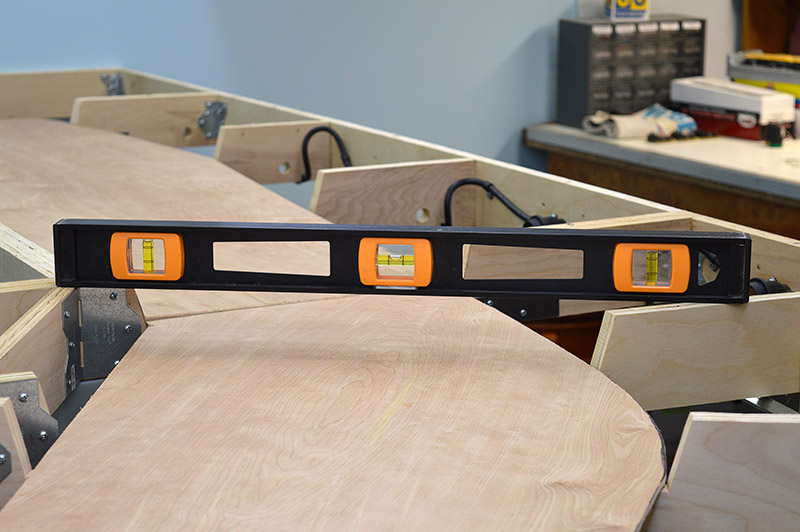
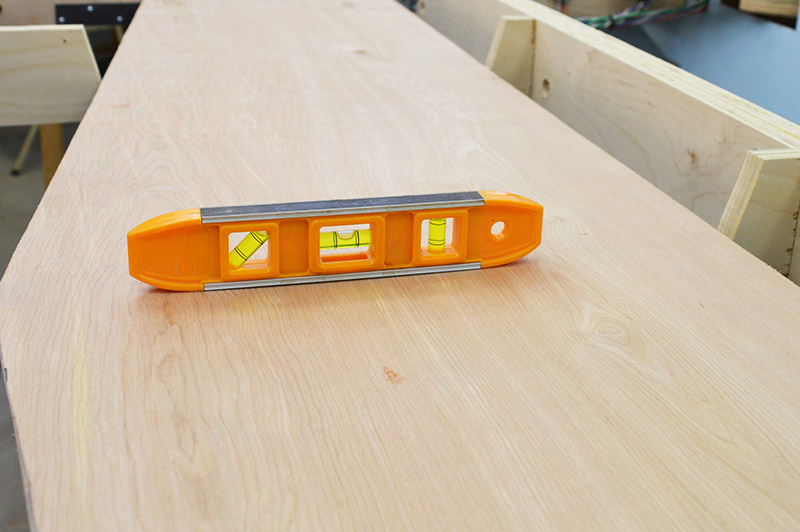
Next I checked level at various points along the river. It wasn’t a perfect bubble everywhere but it was well within the range of adjustment afforded by the glue bead that would attach it.
Certain I could make the riverbed level during the gluing phase I moved on to tracing the underside marking the crossmembers and anything else that might interfere with the riverbed substructure. Working upside down under the layout brings me no joy. Even doing something as simple as tracing with an ink marker under 50″ tall benchwork is a drag. I feel for the majority of the model railroader community that build so much of their layouts looking up from below.
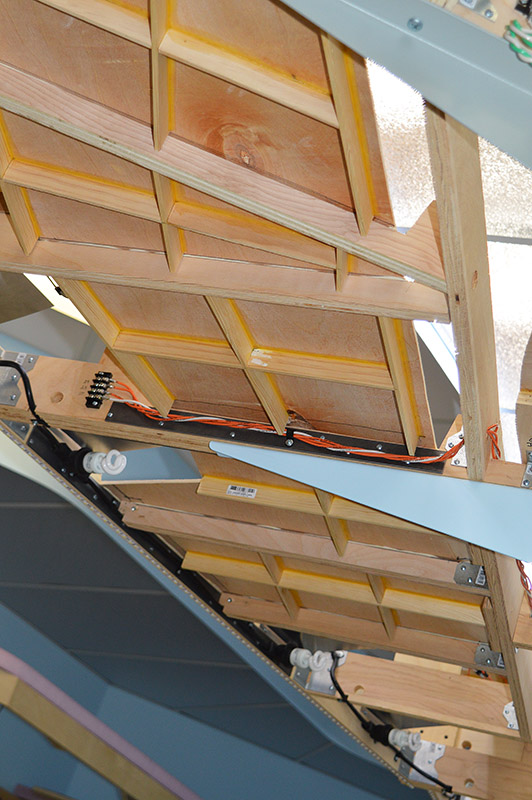
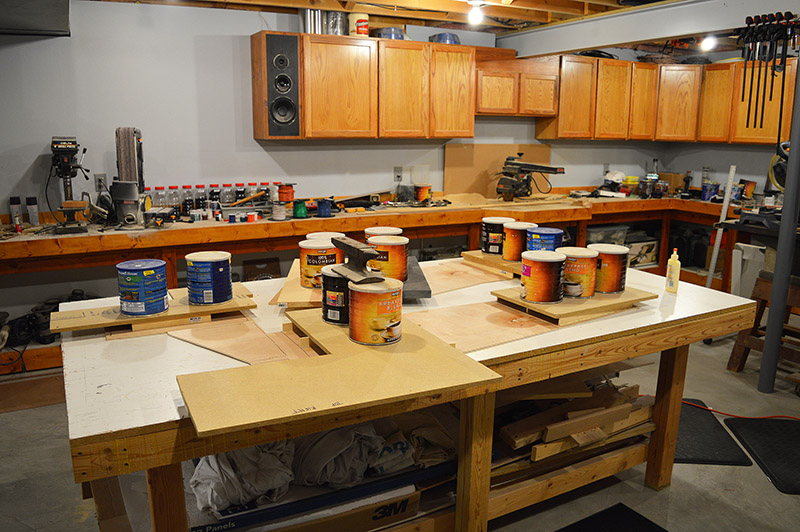
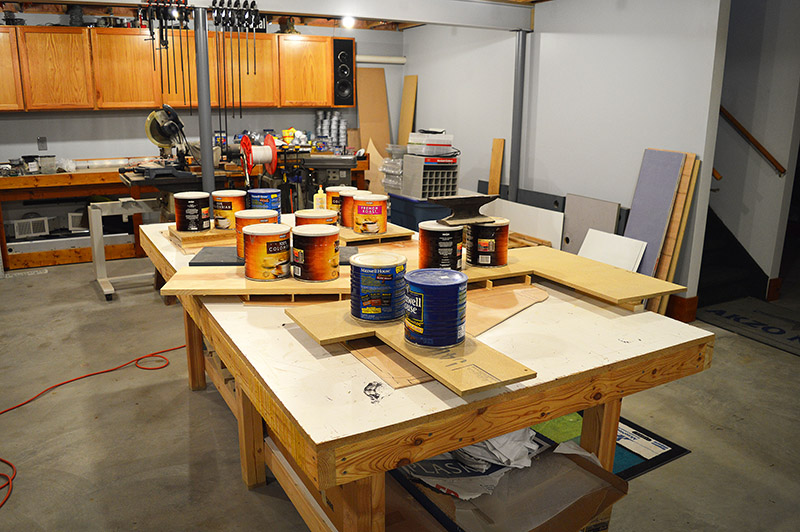
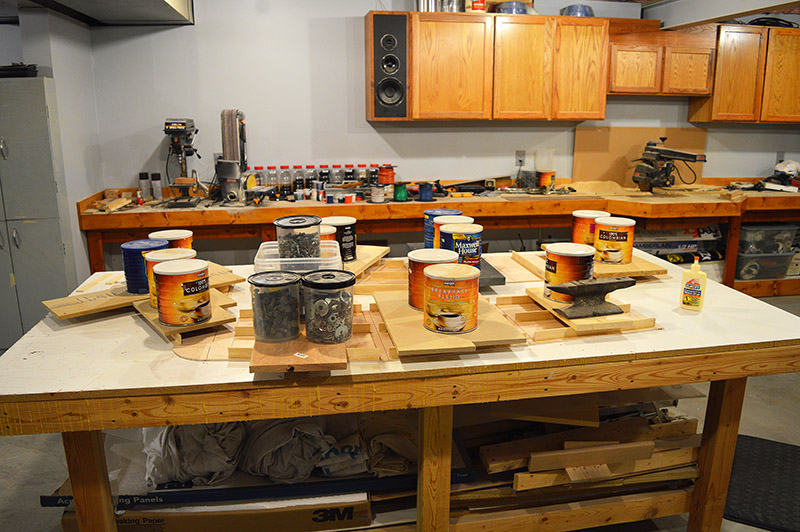
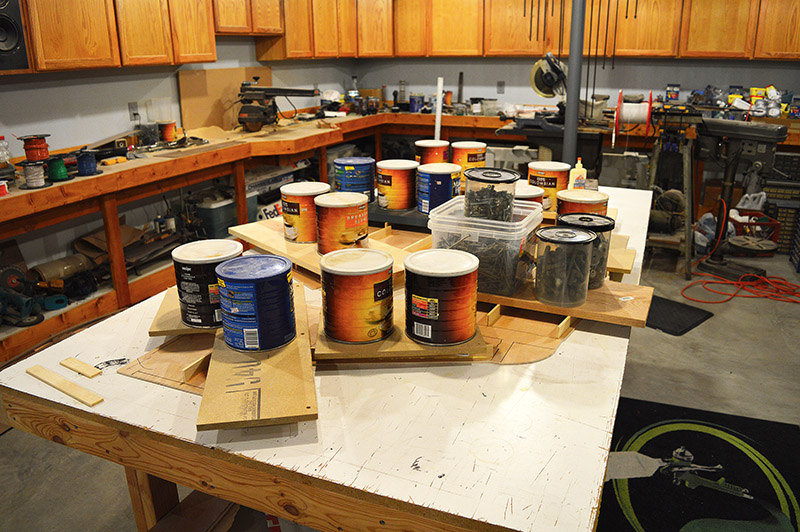
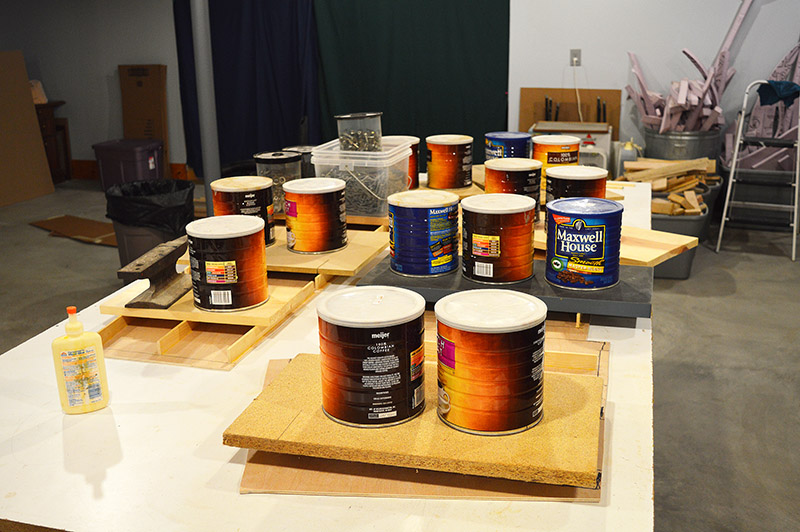
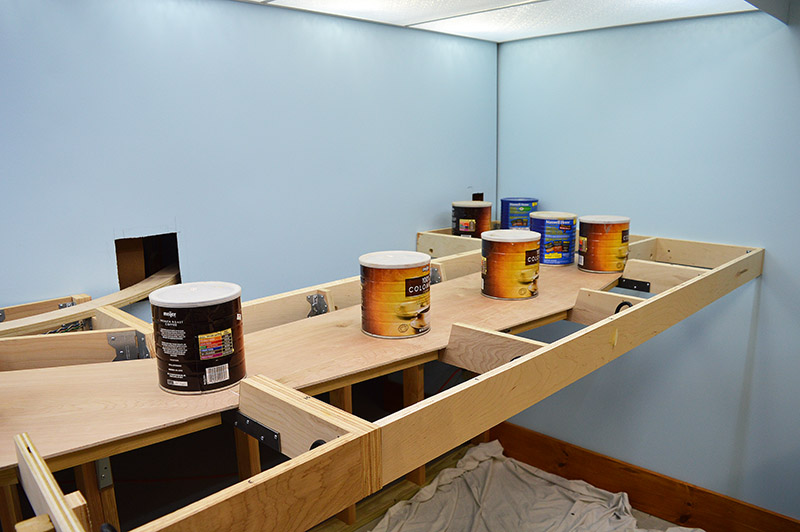
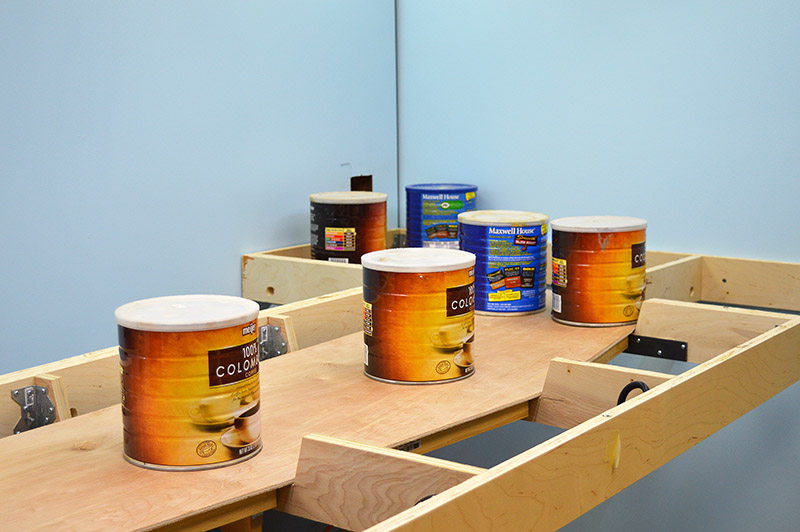
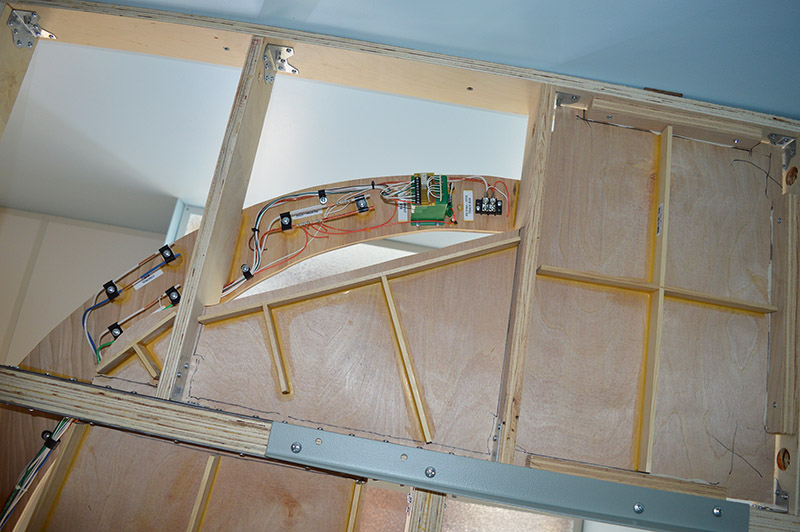
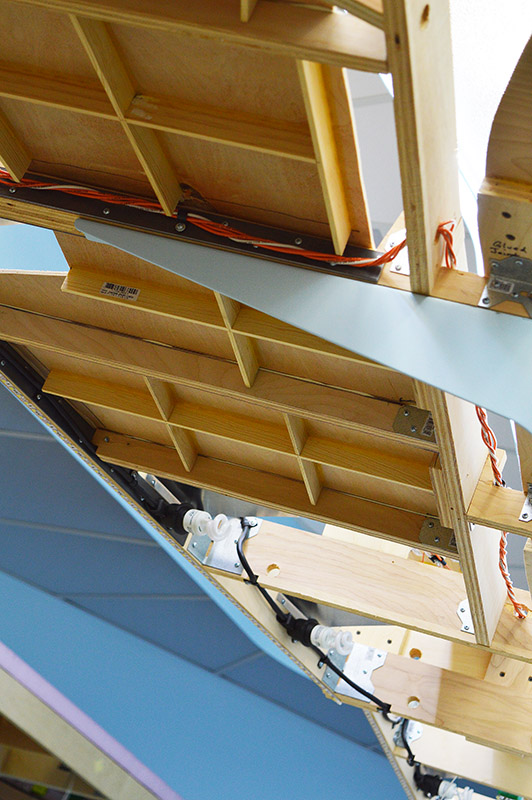
The 1-1/4″ trim stock was cut to length and glued in place to form a grid on the underside of the riverbed leaving space for the crossmembers. My trusty concrete cans were used to weight the strips while the wood glue dried overnight.
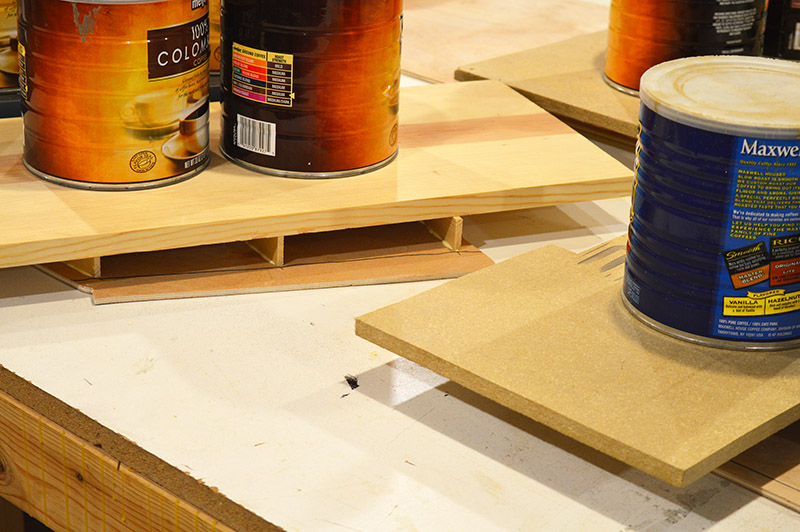
After several days of gluing and weighting all strips were in place. Nice healthy glue fillets were applied to all seams. I do love glue fillets! The result:
The riverbed was laid on a fat bead of PL-375. I like this glue. It is PVA like carpenter’s glue so it sticks great to wood. Unlike carpenter’s glue, it has a thick paste-like consistency so it doesn’t drip everywhere. Add to this 15 minute re-positioning and 60 minute open time. What’s not to like about PL-375? Well, there is one thing. A 48 hour cure time means don’t use PL-375 if you are in a hurry.
With the riverbed lightly laying in the glue bead I began the leveling process. Slowly I pushed the riverbed down until it set solid. Then, with a level in place, I inserted through the glue bead various diameters of steel and copper wire scraps in the low spots. It was tedious and repetitive. The process took almost an hour really putting to test the working time of the adhesive. Eventually, the entire riverbed was level and sitting solid. The concrete cans provided weight while the adhesive dried over the next three days.
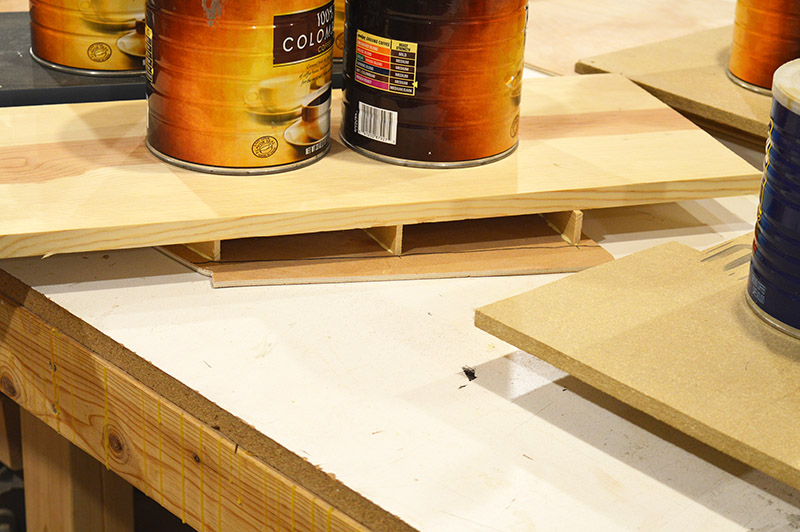
The ribbing on the underside worked wonderfully. The riverbed is very strong. I am quite certain it will not warp or sag over time.
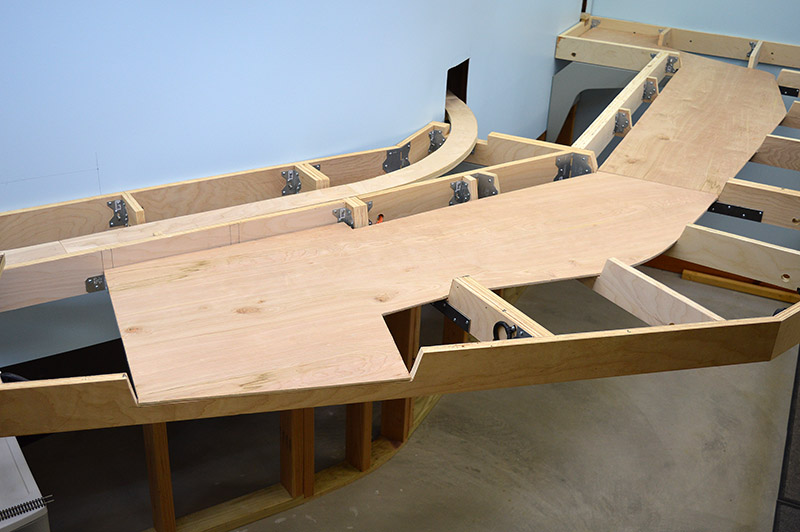
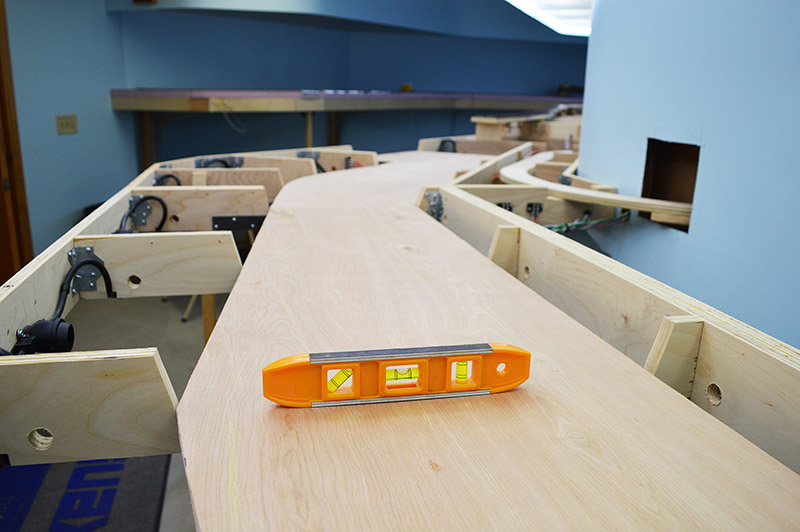
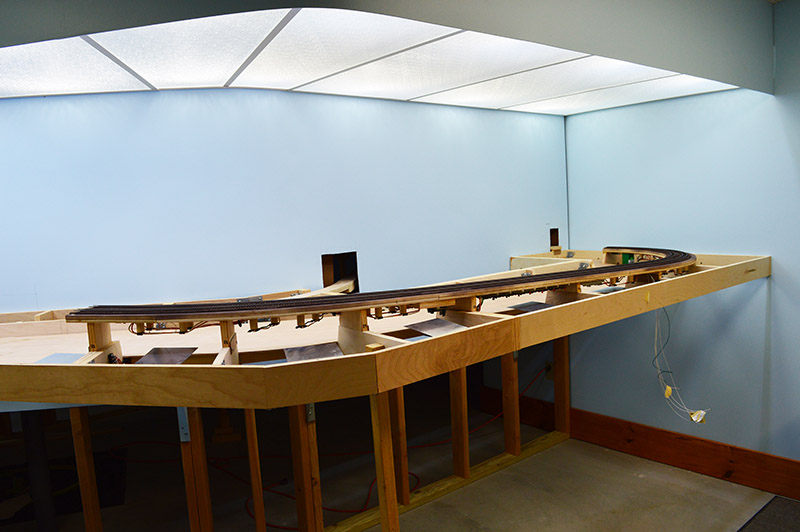
Riverbed complete it was time to install module 13.
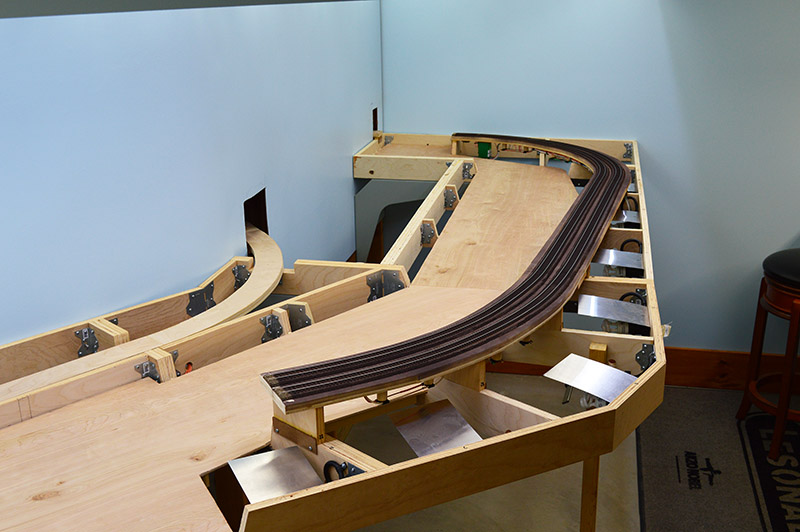
How’s that for the beginning of tracks along the river!


Another piece of engineering beauty Alan.
The great shame is that it will all be covered up when you do the scenery – but you always have these great pictures as proof 🙂
Congratulations on another milestone achieved.
Rob Clark
PS I have set up a modest website/blog for the Cornhill and Atherton and your LK & O is in my ‘links’ list.
Excellent as usual. John
Alan,
Once again, great concept and outstanding execution. Job well done. If your modeling skills are on par with your design and construction techniques, you will truly have a masterpiece above and below board.
Always look forward to your new posts. David
Thanks guys.
Rob, I added the Cornhill and Atherton to my blogroll as well.
Alan I must agree with the preceding posts fantastic work. I understand wire to shim up the low spots but why not use shims from home depot? They have them in the milworks department for around 1.50 a package. They are designed to be used for door and window installs but one from each side would gently raise the low spots until you got them where you wanted them. You could even cut them to be very narrow. Might be useful in the future if you need to do any leveling.
I also wanted to add that coal hopper at the top of the page is great, did you photo shop, or did you buy a special run, or did you do a decal and paint job?
Rob,
I used wire because it was on hand in a large assortment of diameters within the range needed. Also because it was easy to insert without disturbing the glue bead. I have shims for door installs as you mention.
The hopper is Photoshop. Oddly enough there are no plans for LK&O identified rolling stock. Just having fun!
this is soooo exciting to watch this all come together…I can experience it all vicariously through your detail photos…thanks again, Alan!
Congratulations on getting all of the modules in Alan, your engineering of the riverbed is fantastic and your in front of me now with this! Mine is still a gorge with the long drop down to concrete river bed…;)
Always a real pleasure to watch how you come up with solutions and then implement them into the layout. Getting into the good stuff now!
Jas…
Hi Alan – just a small question/request. I am busy writing my next Imagineering column article for MRH which will explore the concept of collaborative design, from a model railroading perspective.
Do you have any objections to me using some of the photo enhancement stuff you posted to give me ideas for Mortimer on the Cornhill and Atherton?
Regards
Rob
PS- thanks for adding my website link 🙂
Rob,
Feel free to use anything you wish. Contact me if you need higher resolution images than are on the blog. Most blog images are on flickr at their original size.
https://www.flickr.com/photos/97619348@N02/
Rob,
Upon re-reading your comment I realize you are talking about the Photoshop images of your railroad that I posted on your MRH thread. Cool. Have at it.
Thanks Alan – much appreciated.