The railroad lighting is very close to being completely finished. The latest round of work was making reflectors for the CFLs in the valance, reflectors for the CFLs over the aisles, and installing fill lighting in the corners.
Layout Reflectors
My challenge was fourfold:
- prevent as much upward light waste as possible
- push light to the rear of the acrylic panel
- be inexpensive and easy to fabricate
- be lightweight
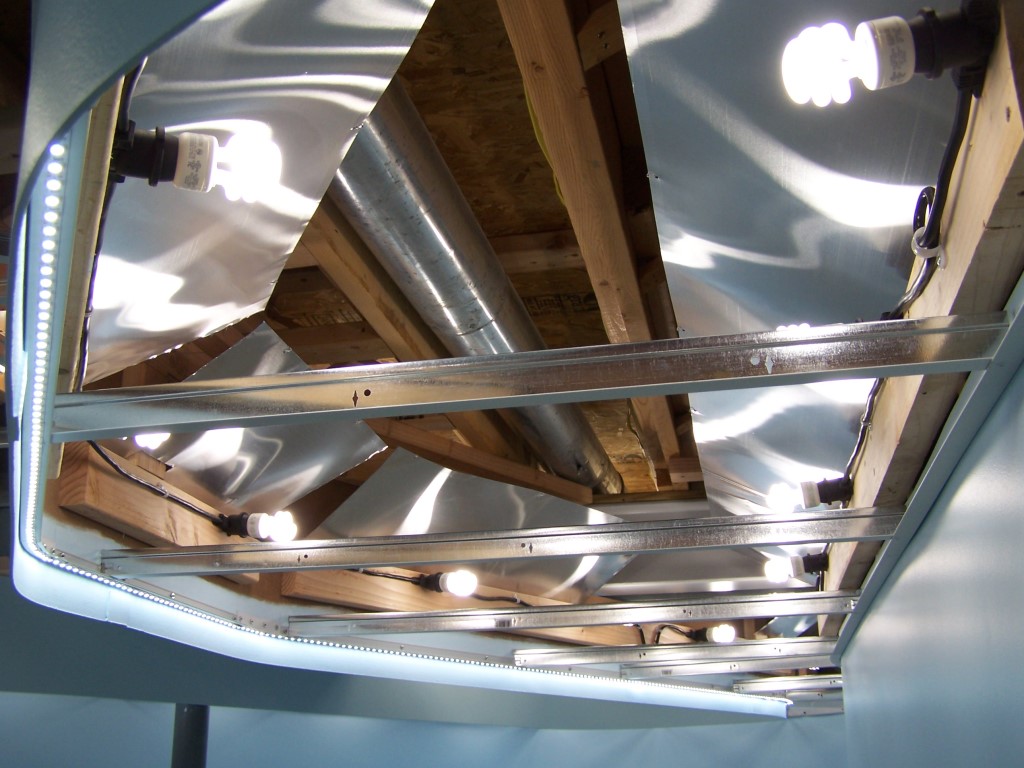
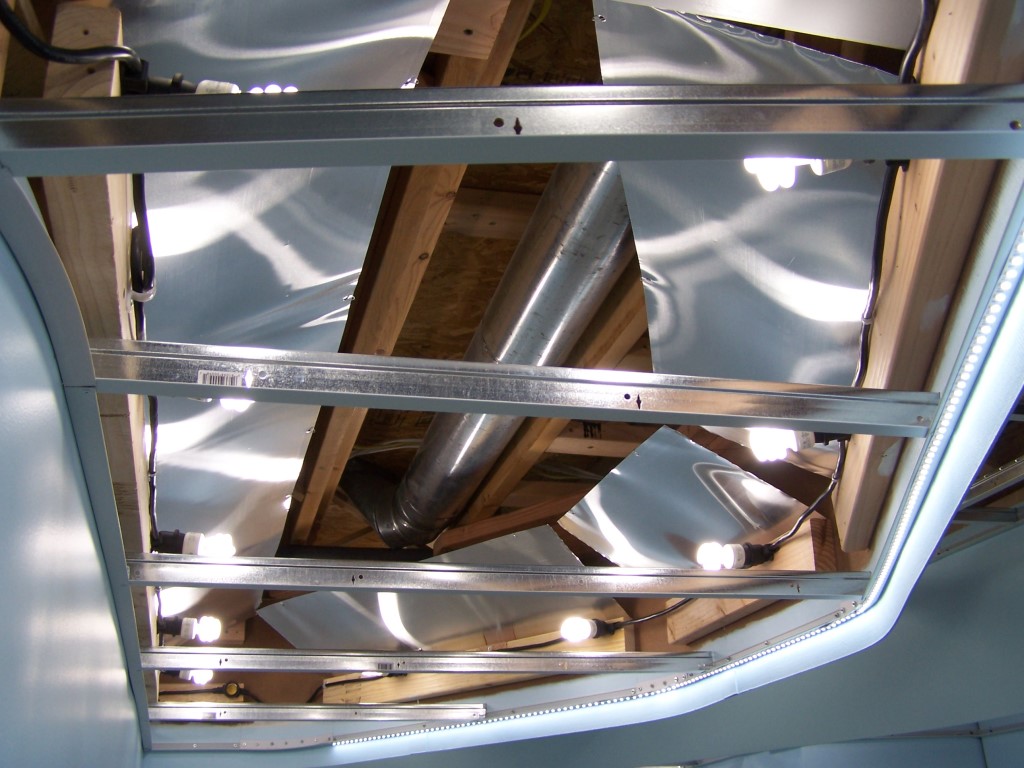
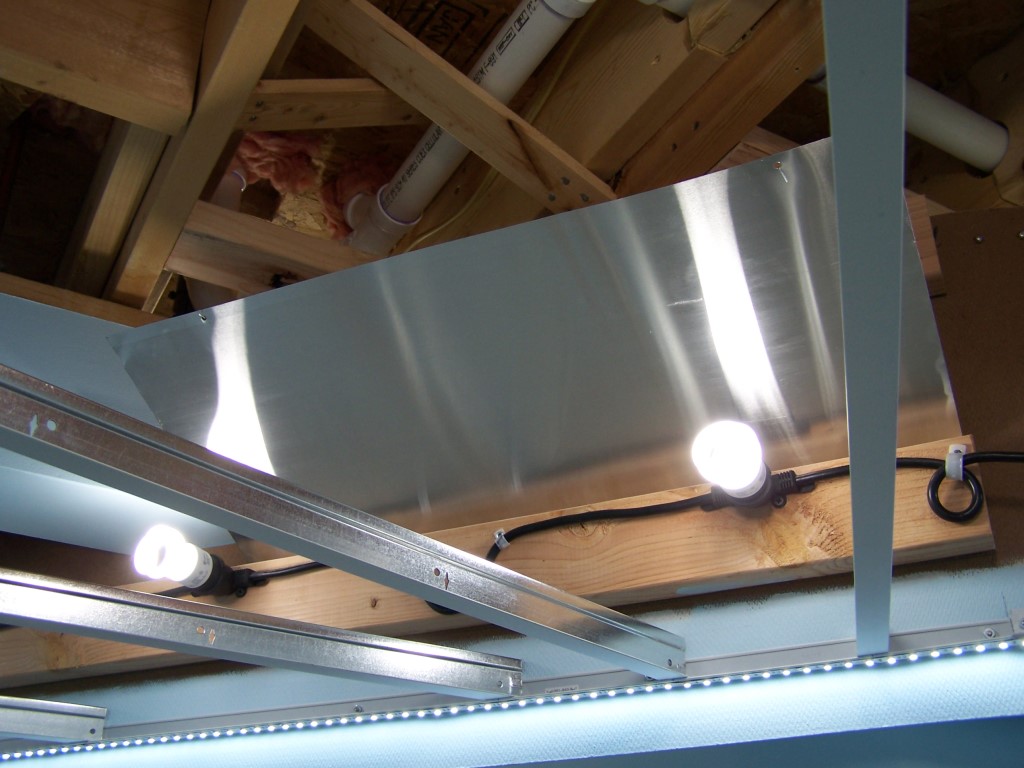
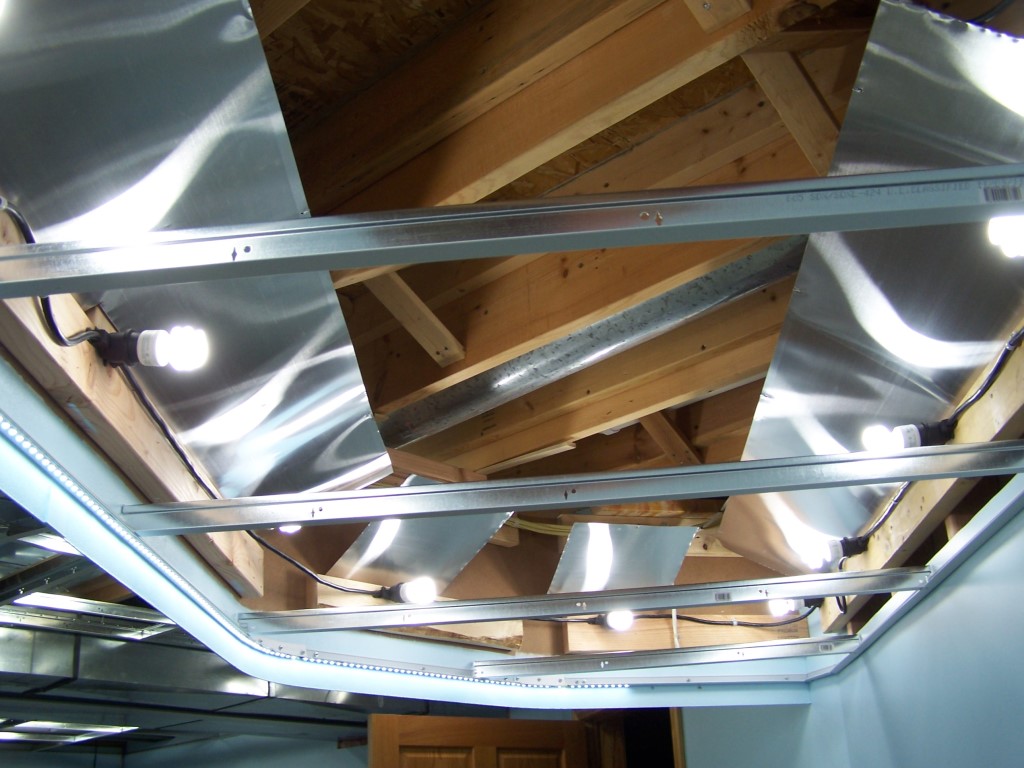
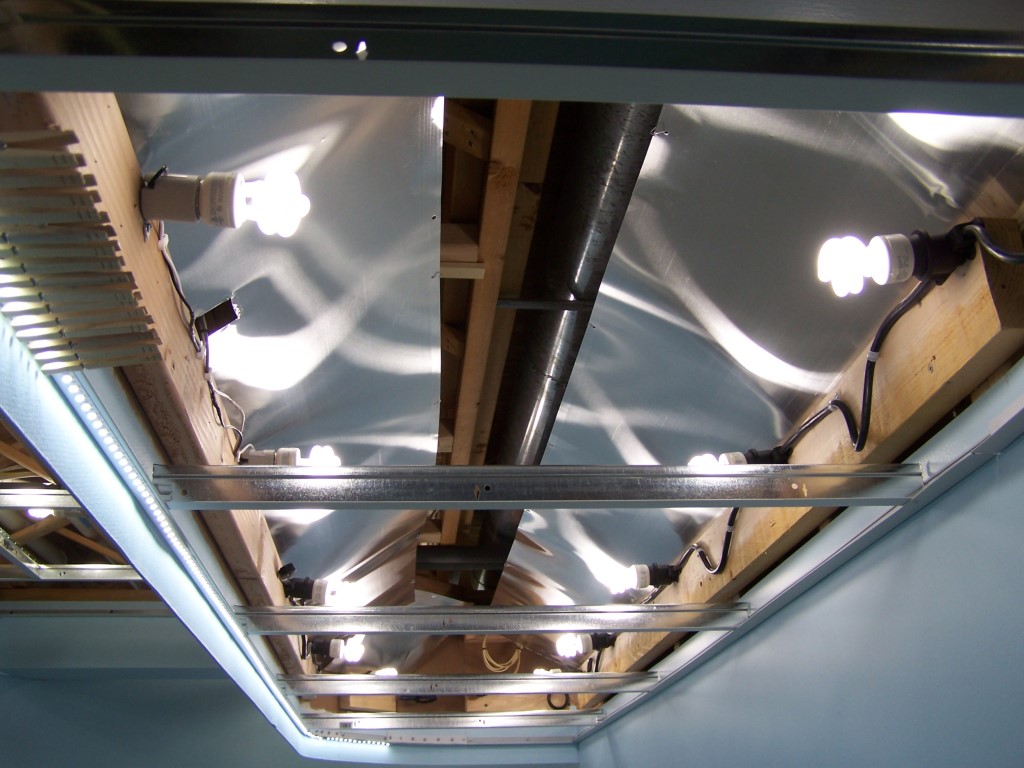
By golly, I think I accomplished all four objectives. I found at Menards aluminum roll valley flashing from Appleton Supply Co. that is ideal for the application.  The roof flashing is 0.010″ thick and comes in 50′ rolls of various widths. I selected 12″ width. It has a bright mill finish that reflects well. Aviation snips cut through it like butter. It is like working with real thick aluminum foil! The aluminum is rigid enough to hold its shape yet so lightweight it did not add much additional static load to the valance. Attachment is by 3/4″ cup hooks screwed into the upper valance support beam and wire hooks resembling Christmas tree ornament hooks. The hooks are made of leftover wire from hanging the ceiling grid.
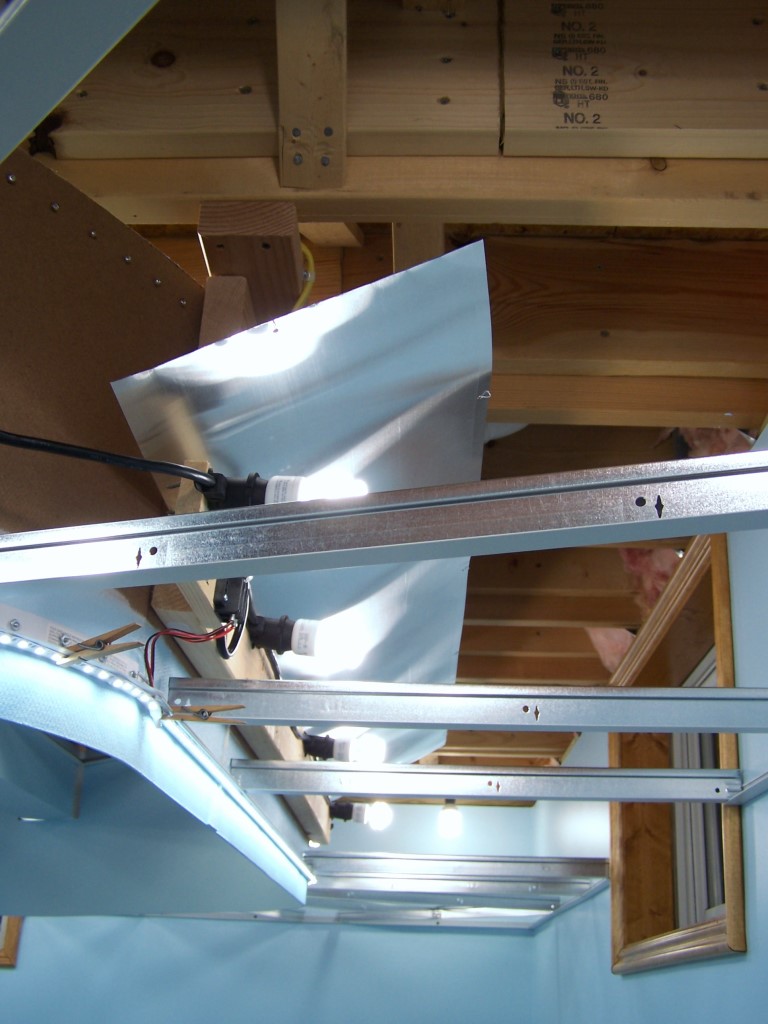
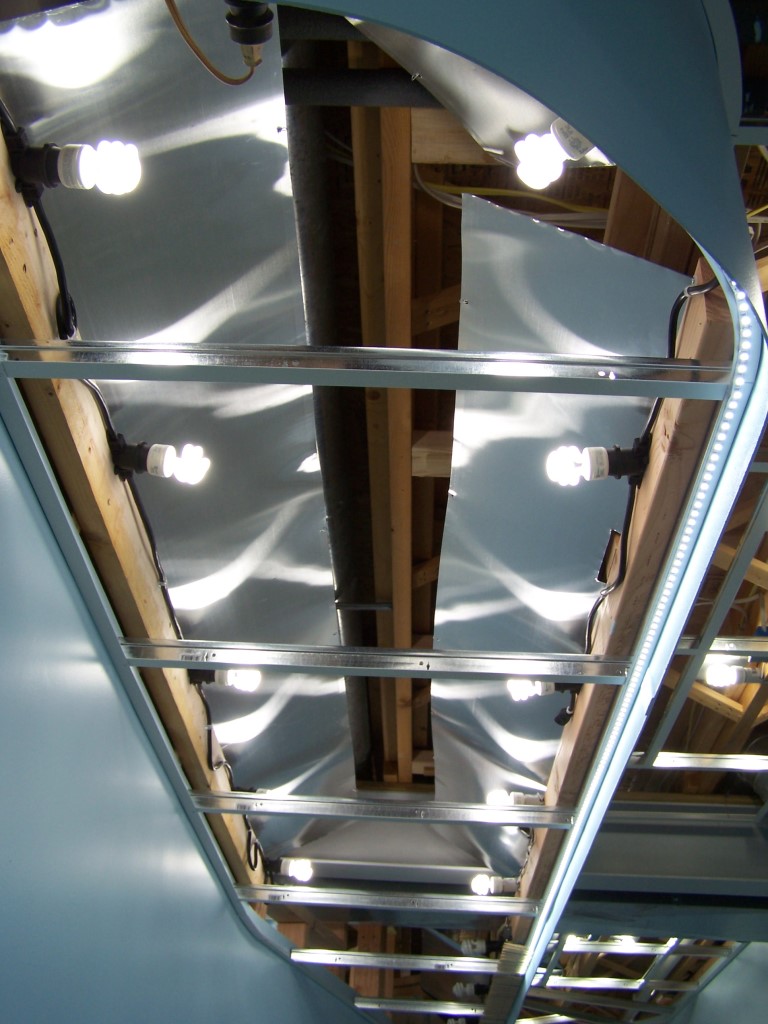
The reflectors are angled at roughly 45 degrees. Trial and err, judging by eye, and examining the effect on the cross tee shadows was my crude method of determining the angle.  Nails in a board allowed me to mass produce same length hooks. The bottom of the reflectors sit in the corner formed where the valance and lower support beam come together. I had to work around a few obstacles here and there like HVAC ducting and LED wire drops but that was no real problem. A bit more measuring, a bit more cutting. I found that trying to work with pieces longer than 8′ became unwieldy for one person to put into place. Fortunately, most of the reflector locations were less than 8′ long. Longer ones I broke into multiple pieces. All in all, it worked out real nice. The increase in downward directed light is substantial. I am pleased with the results.
Aisle Light Reflectors
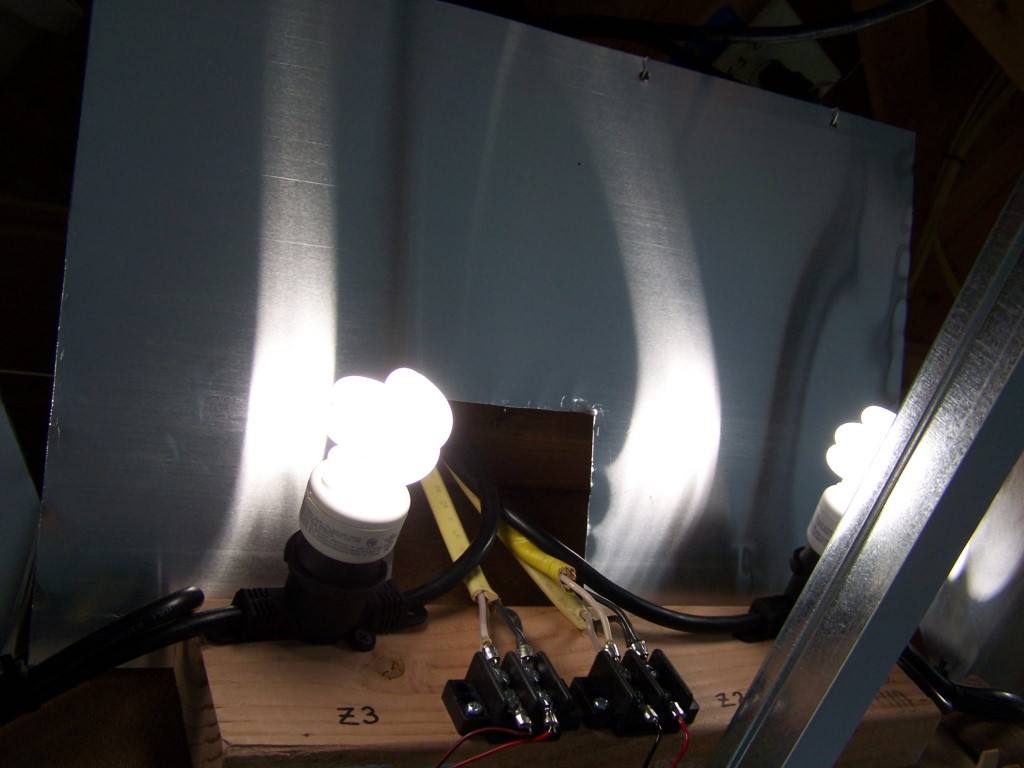
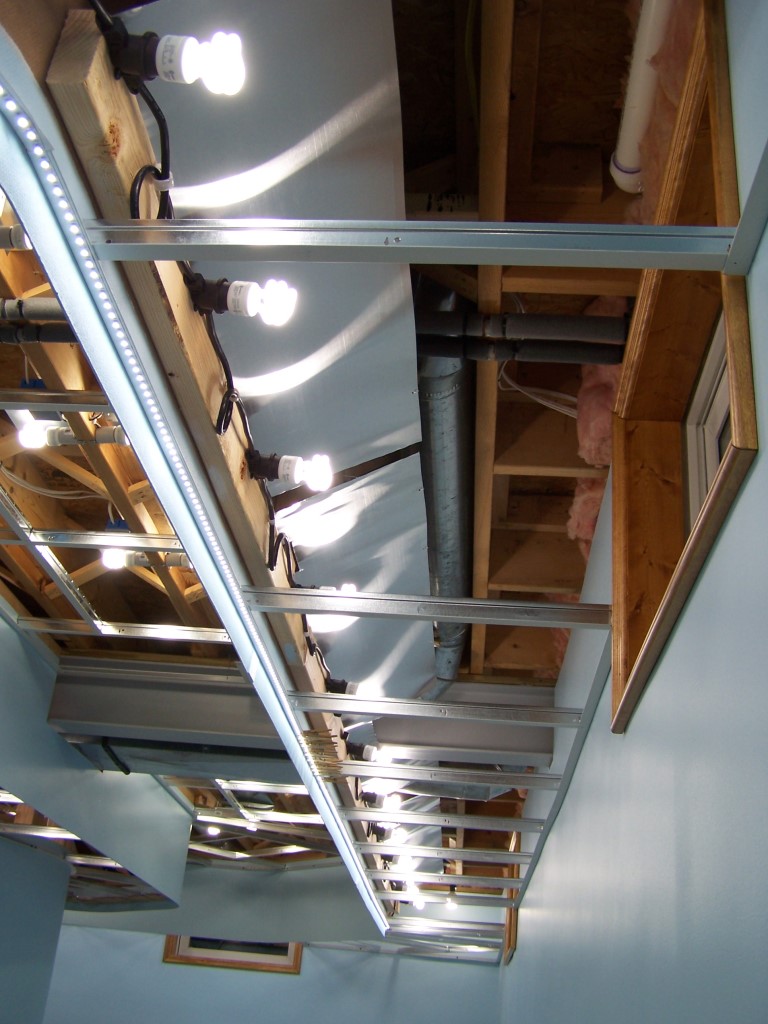
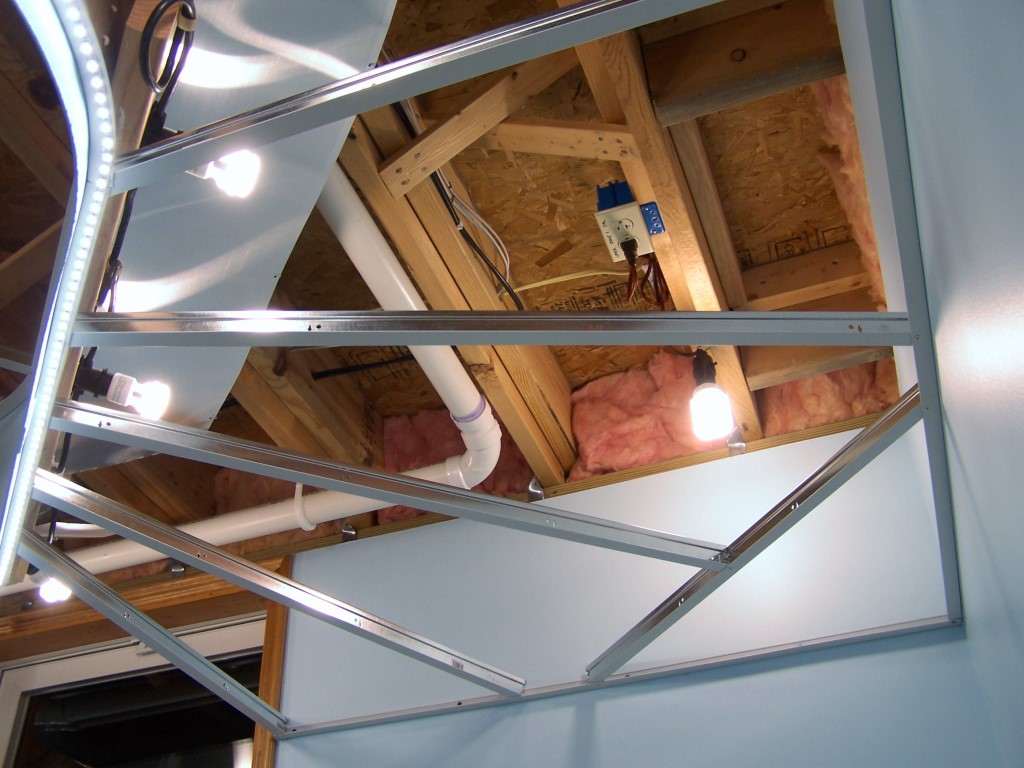
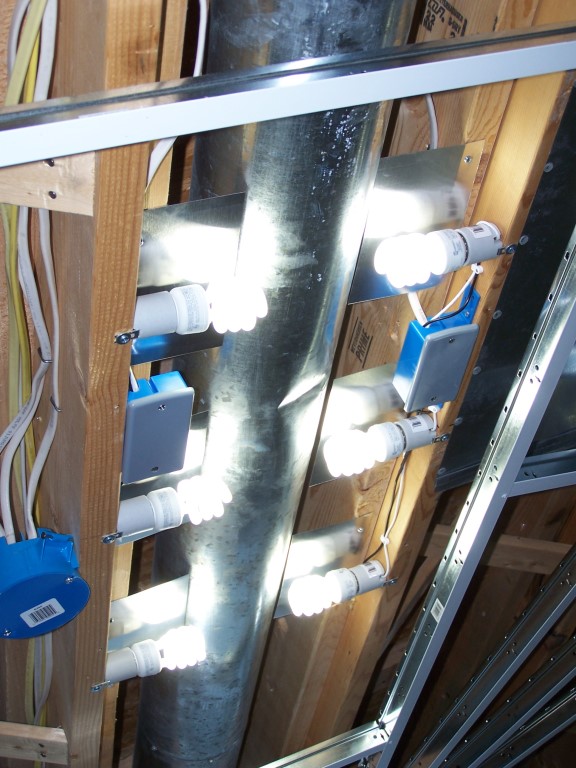
For the aisle lights I used a similar material. Pre-cut aluminum step flashing sheets measuring 5″ x 7″ were screwed to the floor joist. Simple, very low cost, effective. The aisle lighting doesn’t have to be real bright like the layout lighting.  In fact, I was more concerned with heat buildup on the subfloor than reflecting light. The aluminum step flashing does a good job of dissipating the heat over a larger area. I measured a subfloor temperature with reflectors in place of 90-95F degrees on a 70F degree day after 4 hours of lights on. Without reflectors the subfloor directly above the bulbs was reaching 120-130F. Neither measurement is bad considering the base of a CFL operates at 160-180F degrees! Still, I’ll take 90F over 120F. Although the reflectors are small in size they still delivered quite an improvement in aisle light level.
Fill Lights
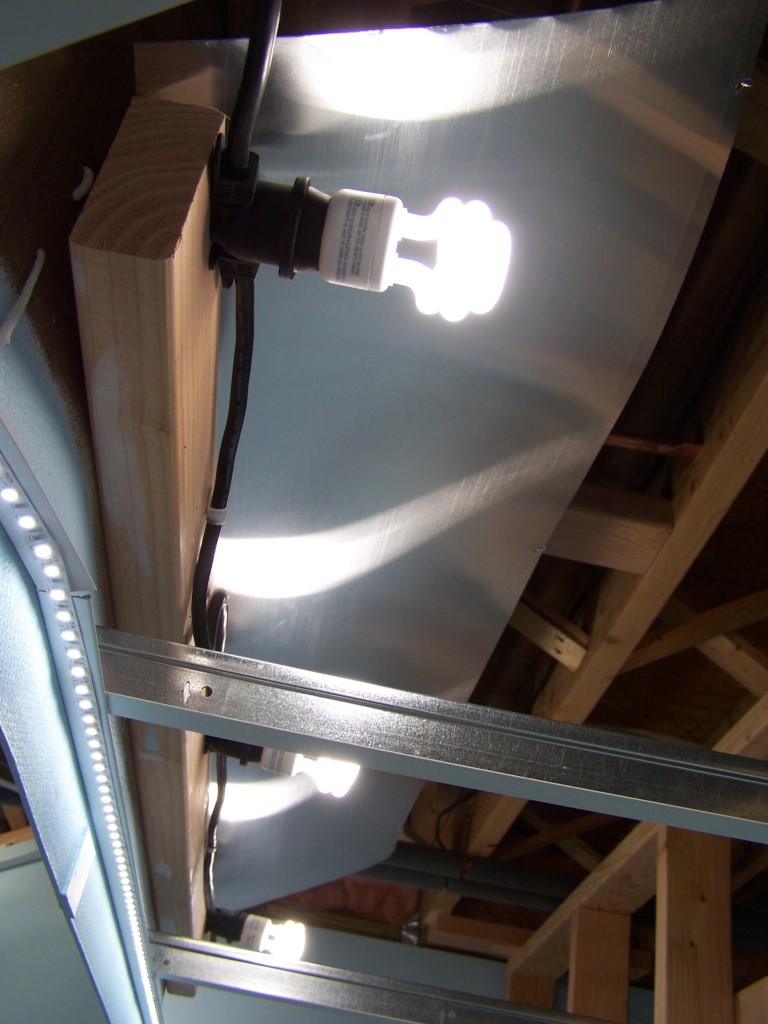
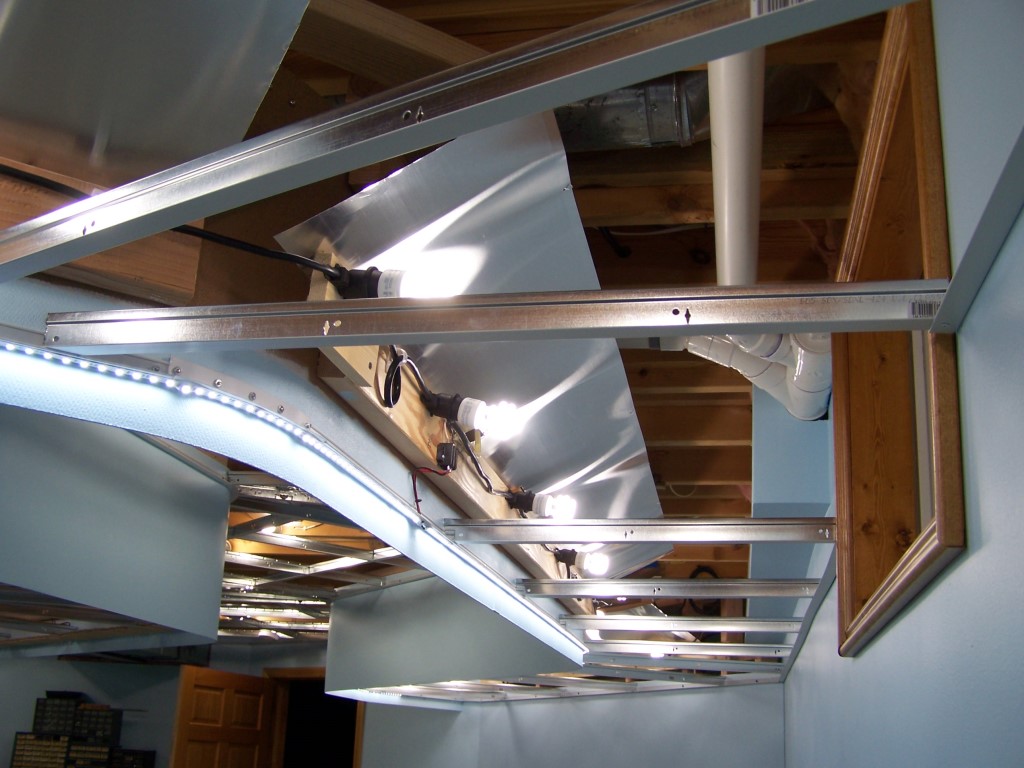
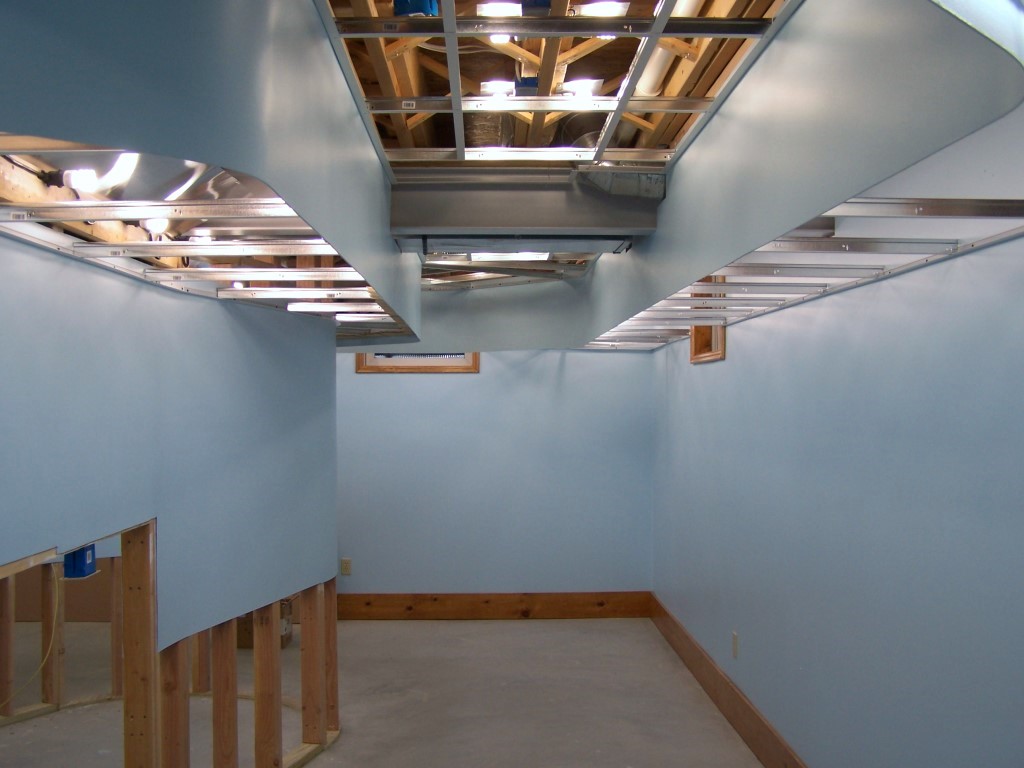
In the corners of the room where the layout turns 90 degrees I added fill lights to flood the corners with additional light.  The fill lights are nothing more than a socket on a wire fitted with a 23 watt (100W incandescent equivalent) daylight bulb. They too hang from cup hooks. This addition really made a huge difference. No longer are the corners darker than other areas. The fill lights plug into the receptacles installed earlier. This way they are controlled by the appropriate zone switch. I can’t wait to see how the corners look with acrylic light panels in place. I think it is going to be spectacular.
Here are a few pics of the installation. Enjoy the aluminosity!


Leave a Reply