With the sub-roadbed in place the next step was to fasten the sections together. Vise grips were placed on each joint to hold tight and then holes drilled and countersunk from below. 1-1/4″ coarse thread drywall screws complete the connection.
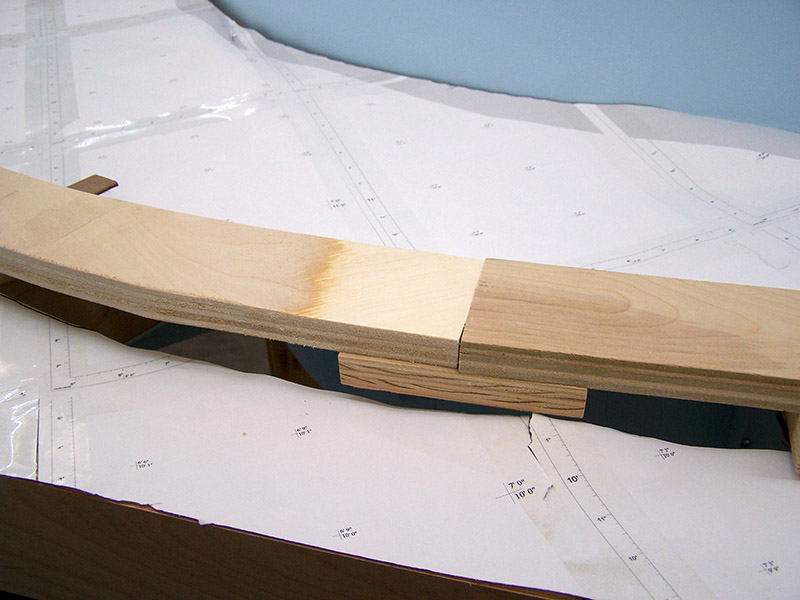
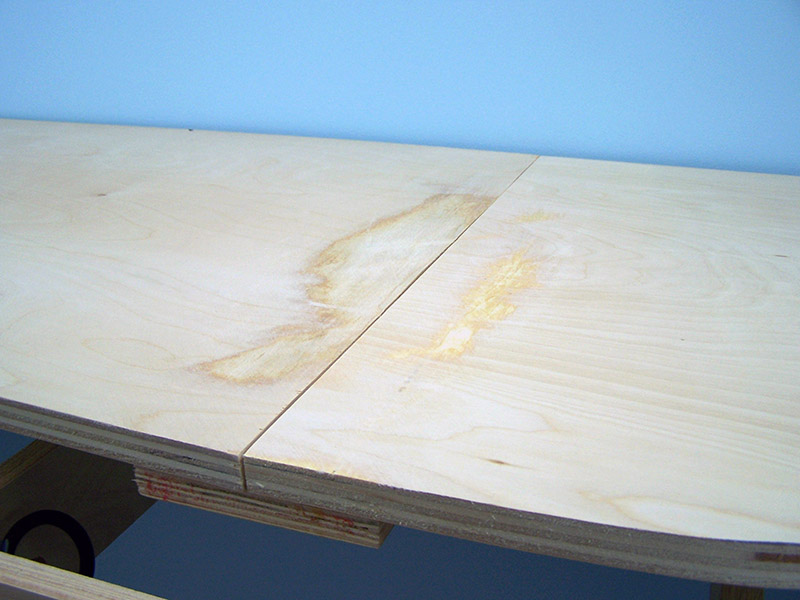
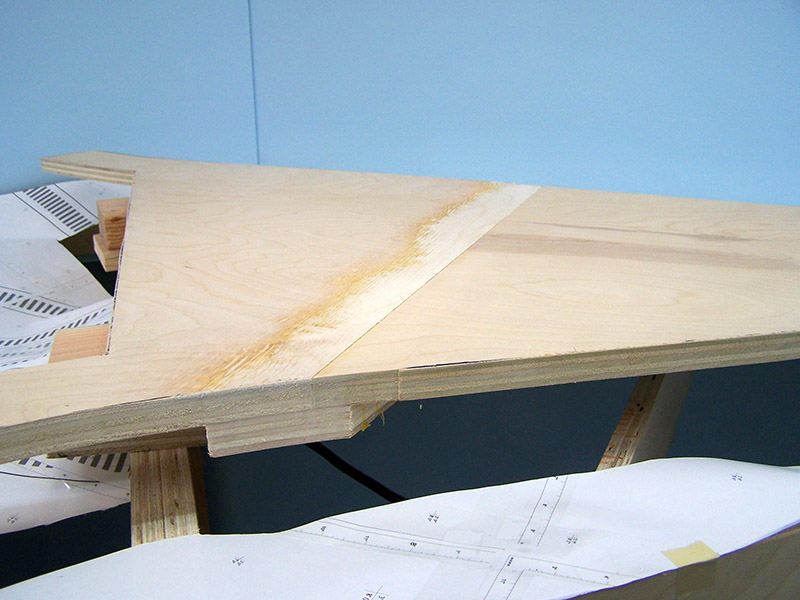
Some sanding was needed to smooth the joints. Butting together cuts of plywood shows how nonuniform the plywood sheet thickness really is. The difference wasn’t much but I want each joint to be super smooth. The belt sander made quick work of it all. It becomes very clear just how thin the veneer is on the plywood when the sander hits it. It cuts through to the inner ply almost immediately. It does take a bit of finesse with the sander to get a smooth taper because the inner ply is much softer than the face veneer. As such the inner ply sands easier. You get a ski slope effect if you aren’t real careful.
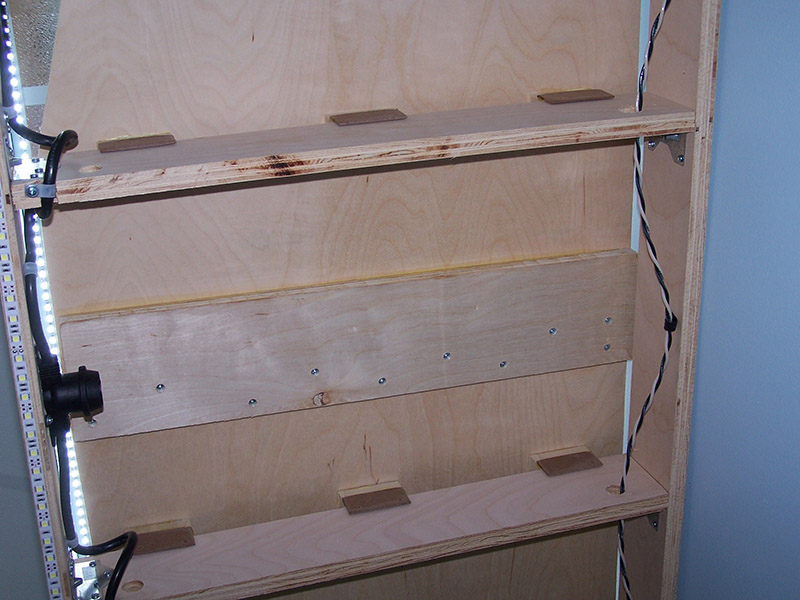
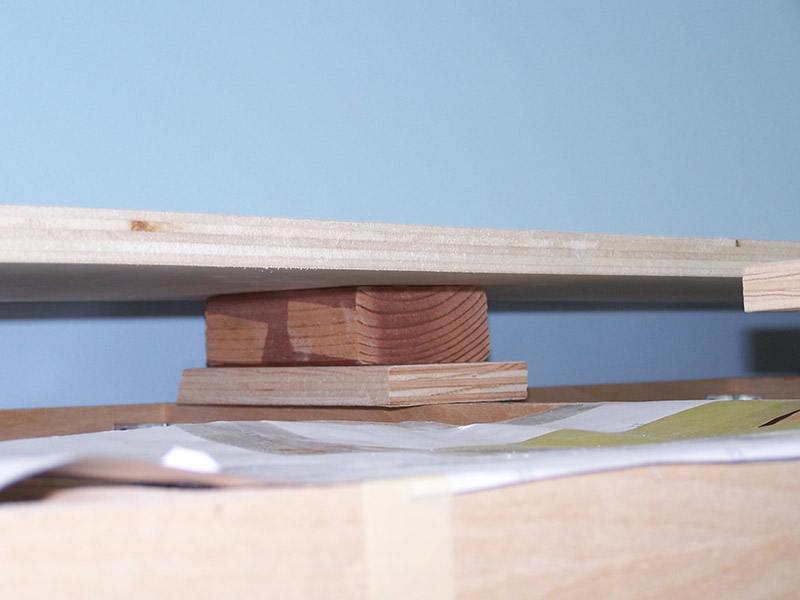
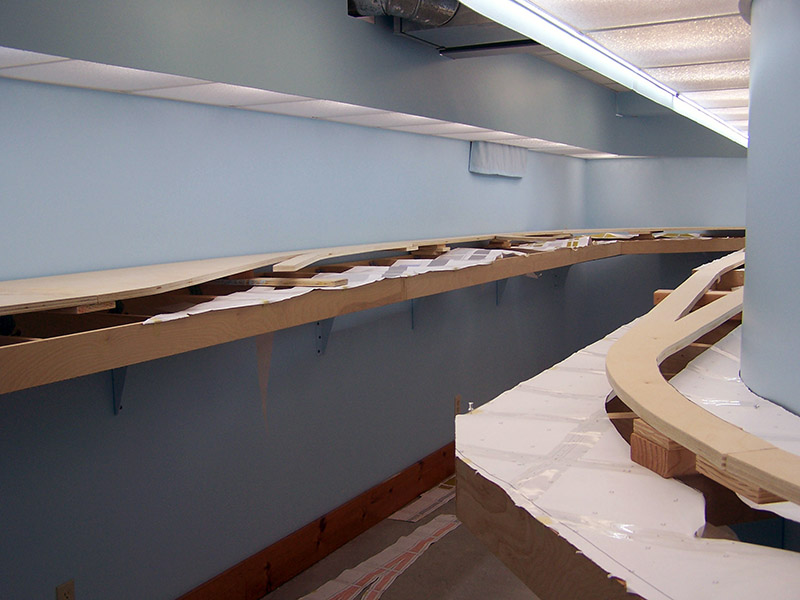
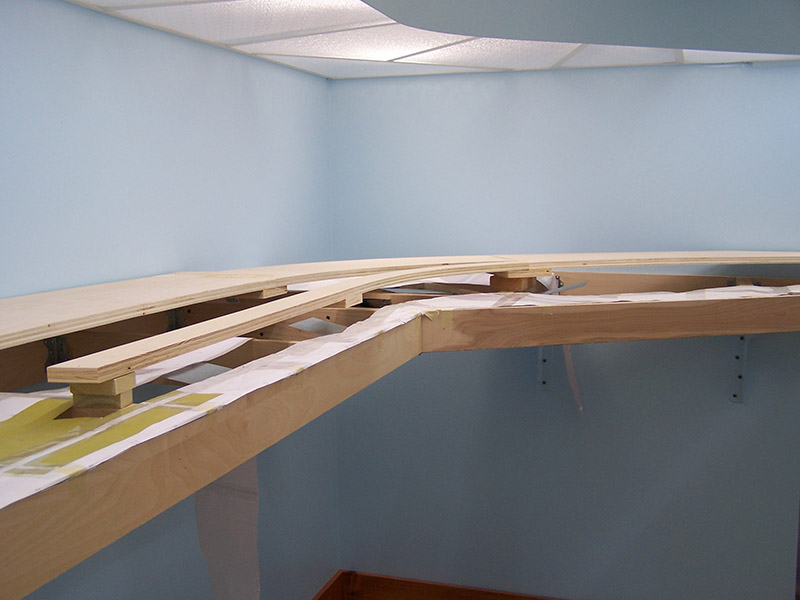
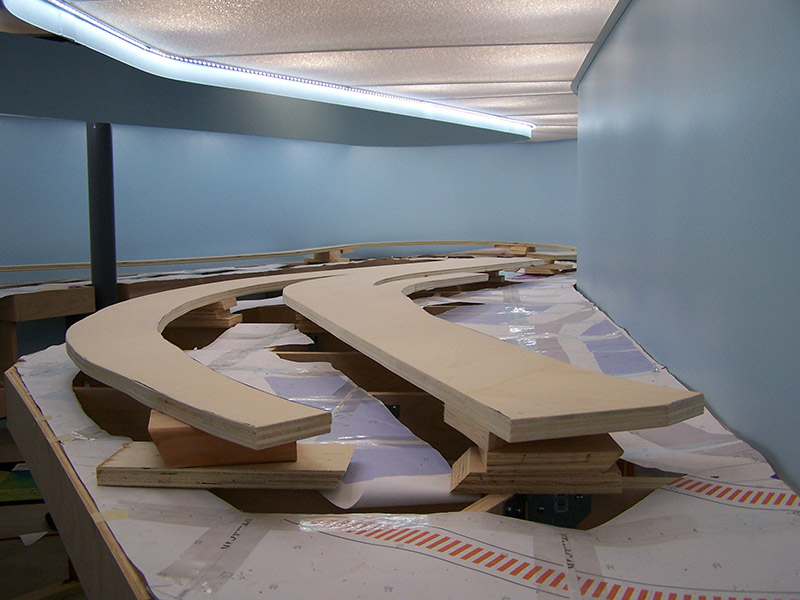
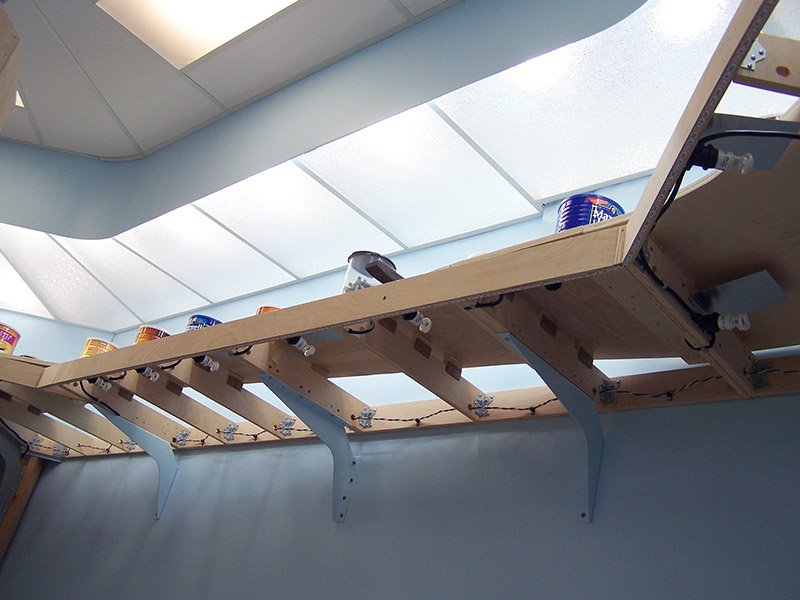
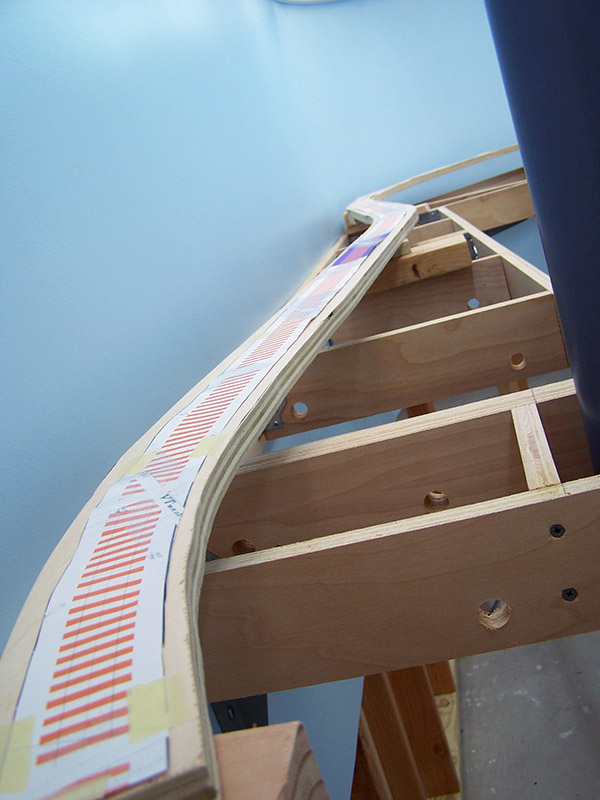
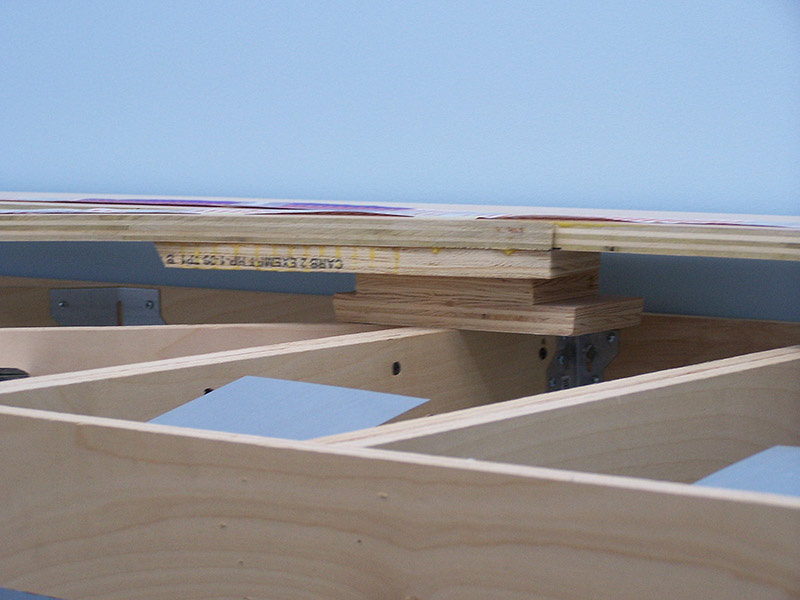
Next, the sub-roadbed was placed on pieces of 2×4 stacked on pieces of 1by to raise it roughly 2-1/4″ above the benchwork. Blocking was put in roughly every 5 or 6 crossmembers. This gave me room to place the risers in position.
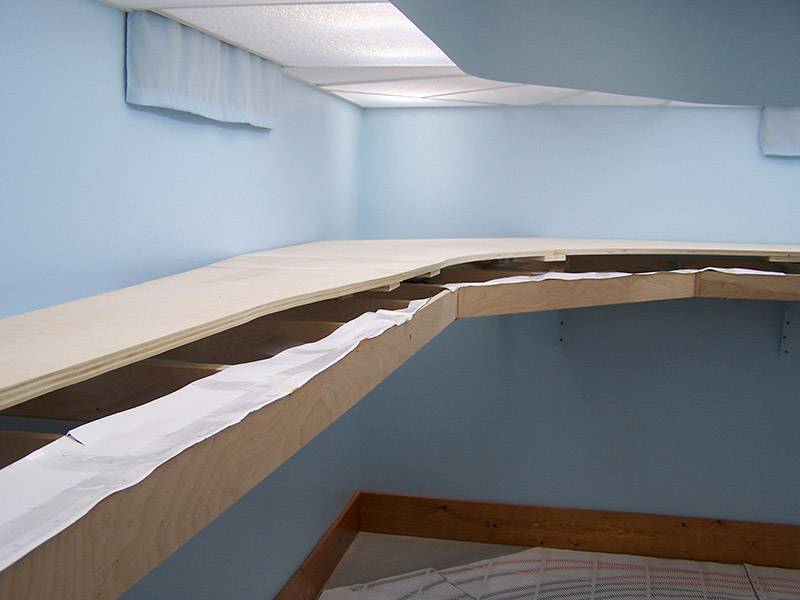
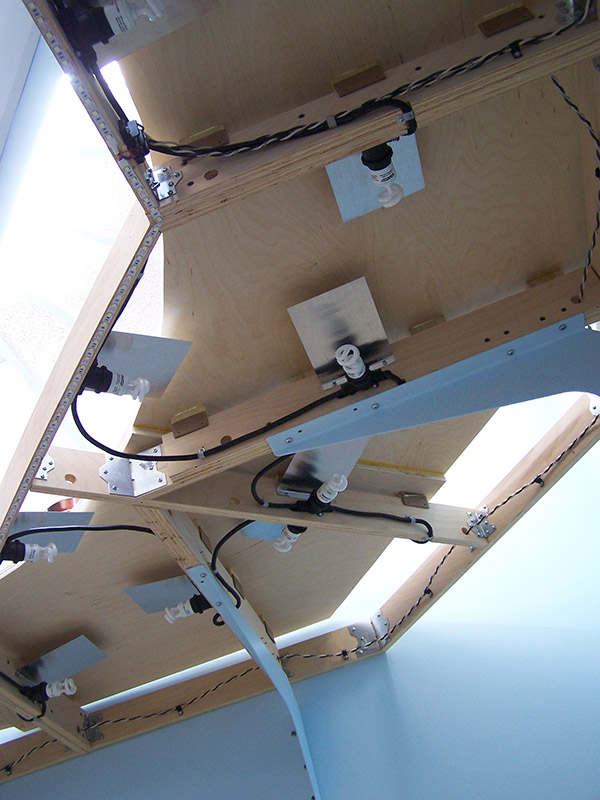
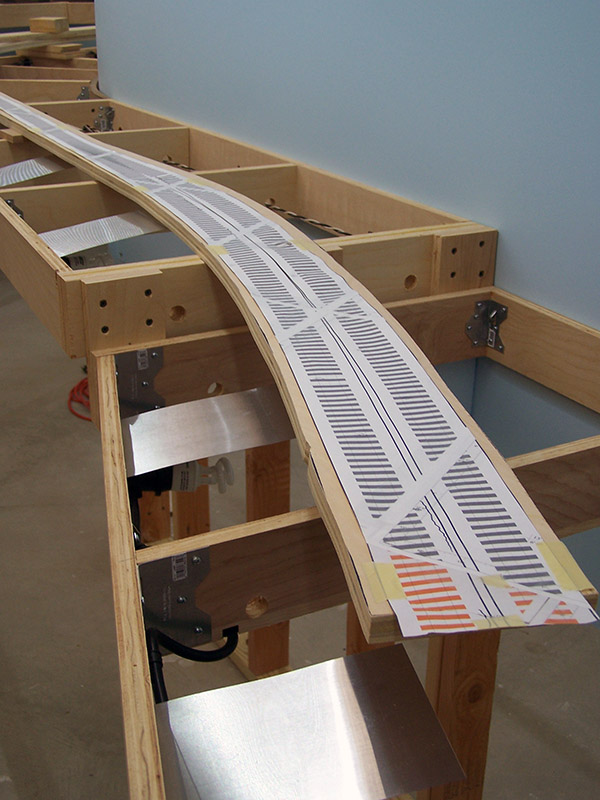
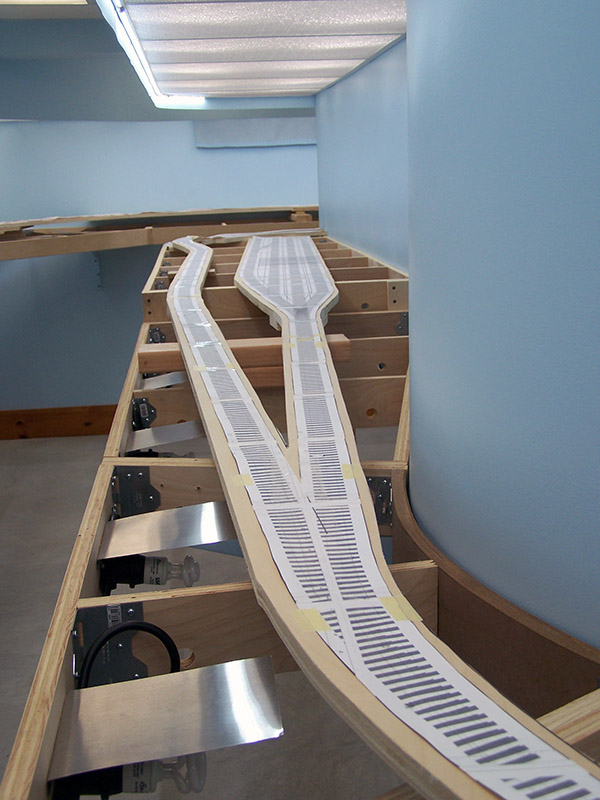
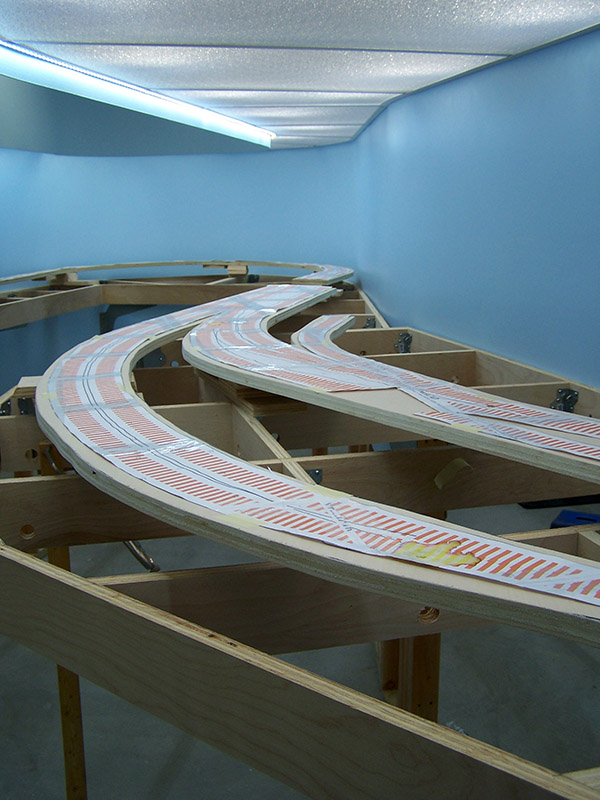
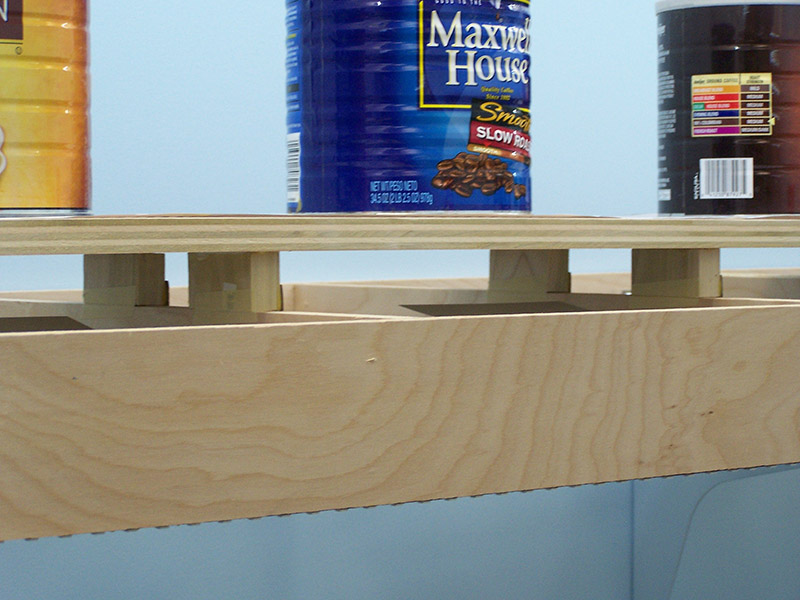
The track print was trimmed to the width of the roadbed and the remainder discarded including the non-track areas. Carefully the print was aligned on the cut sub-roadbed and taped in place. This allowed me to accurately locate the position of each turnout throwbar. Knowing that a Tortoise switch machine will be directly below each throwbar I didn’t want a riser positioned in such a way as to be blocked from fastening by the switch machine. Any place where a Tortoise was close to a crossmember I made sure to put the riser attachment flange on the opposite side of the crossmember.
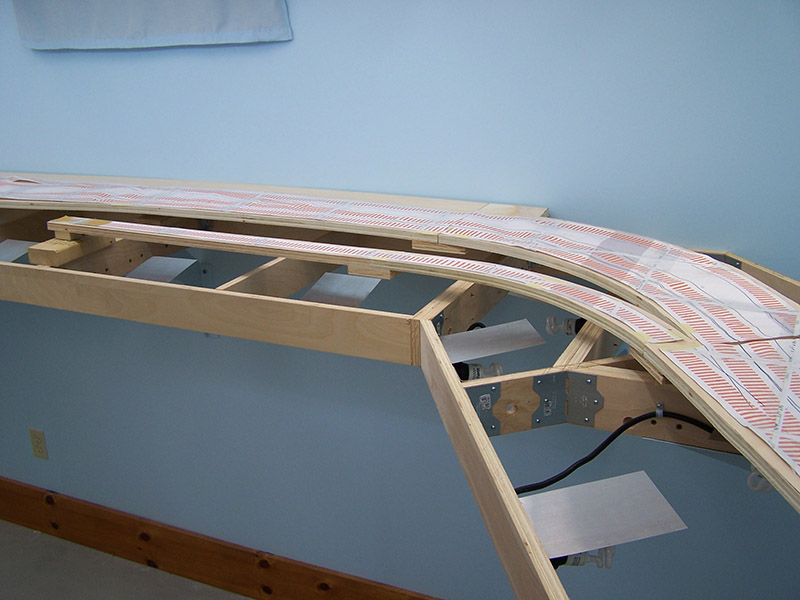
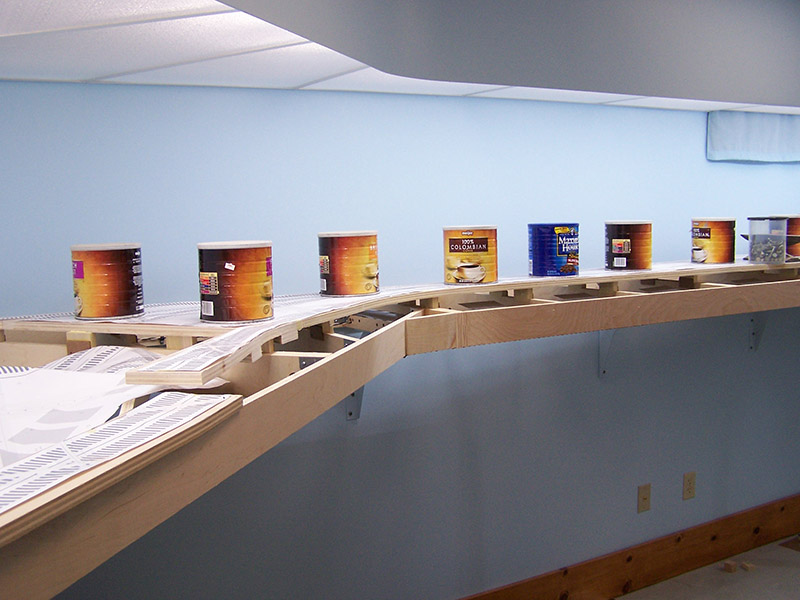
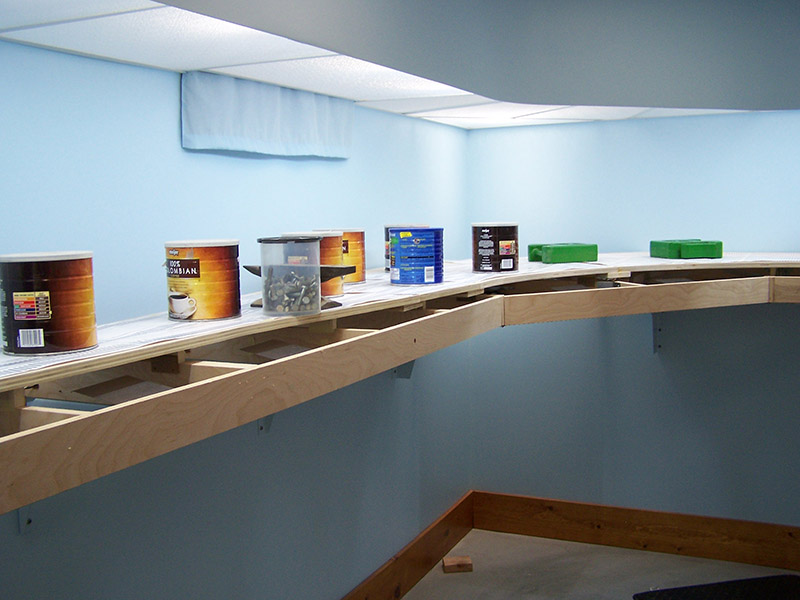
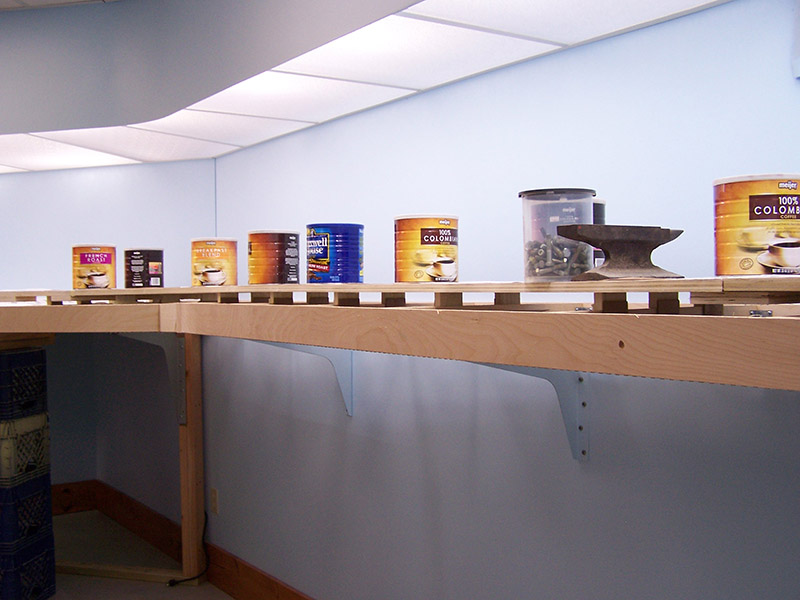
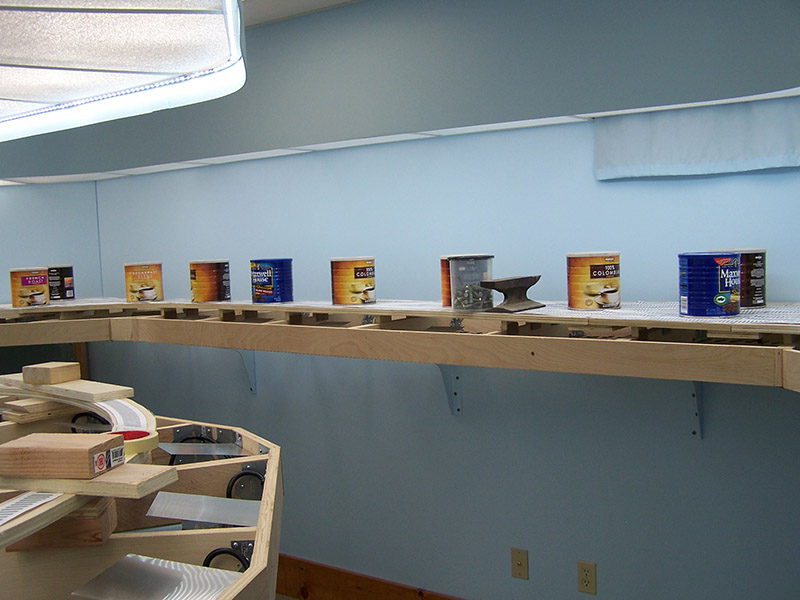
Finally, a bead of wood glue was run on top of each riser and the blocking removed allowing the sub-roadbed to rest on the risers. Weight was placed to make sure the glue joints were compressed. Cans filled with concrete are my universal weighting system. I ran out of concrete cans and so scrounged the shop for anything heavy. To complete the process a damped rag wiped away a few glue drippings here and there.

Once the glue has dried I will continue this process around the layout.


Leave a Reply