My oh my, that was a busy summer. I’m embarrassed to say the only thing I’ve accomplished in the train room over the past six months is to keep the batteries in the controllers charged. Sad. But now the weather has turned cold so it’s back to the trains!
When I left off the lower deck hidden right-of-way was constructed, shelf brackets rearranged, and the River Styx gorge had been raised. Lights and survey work awaited.
Lighting modifications
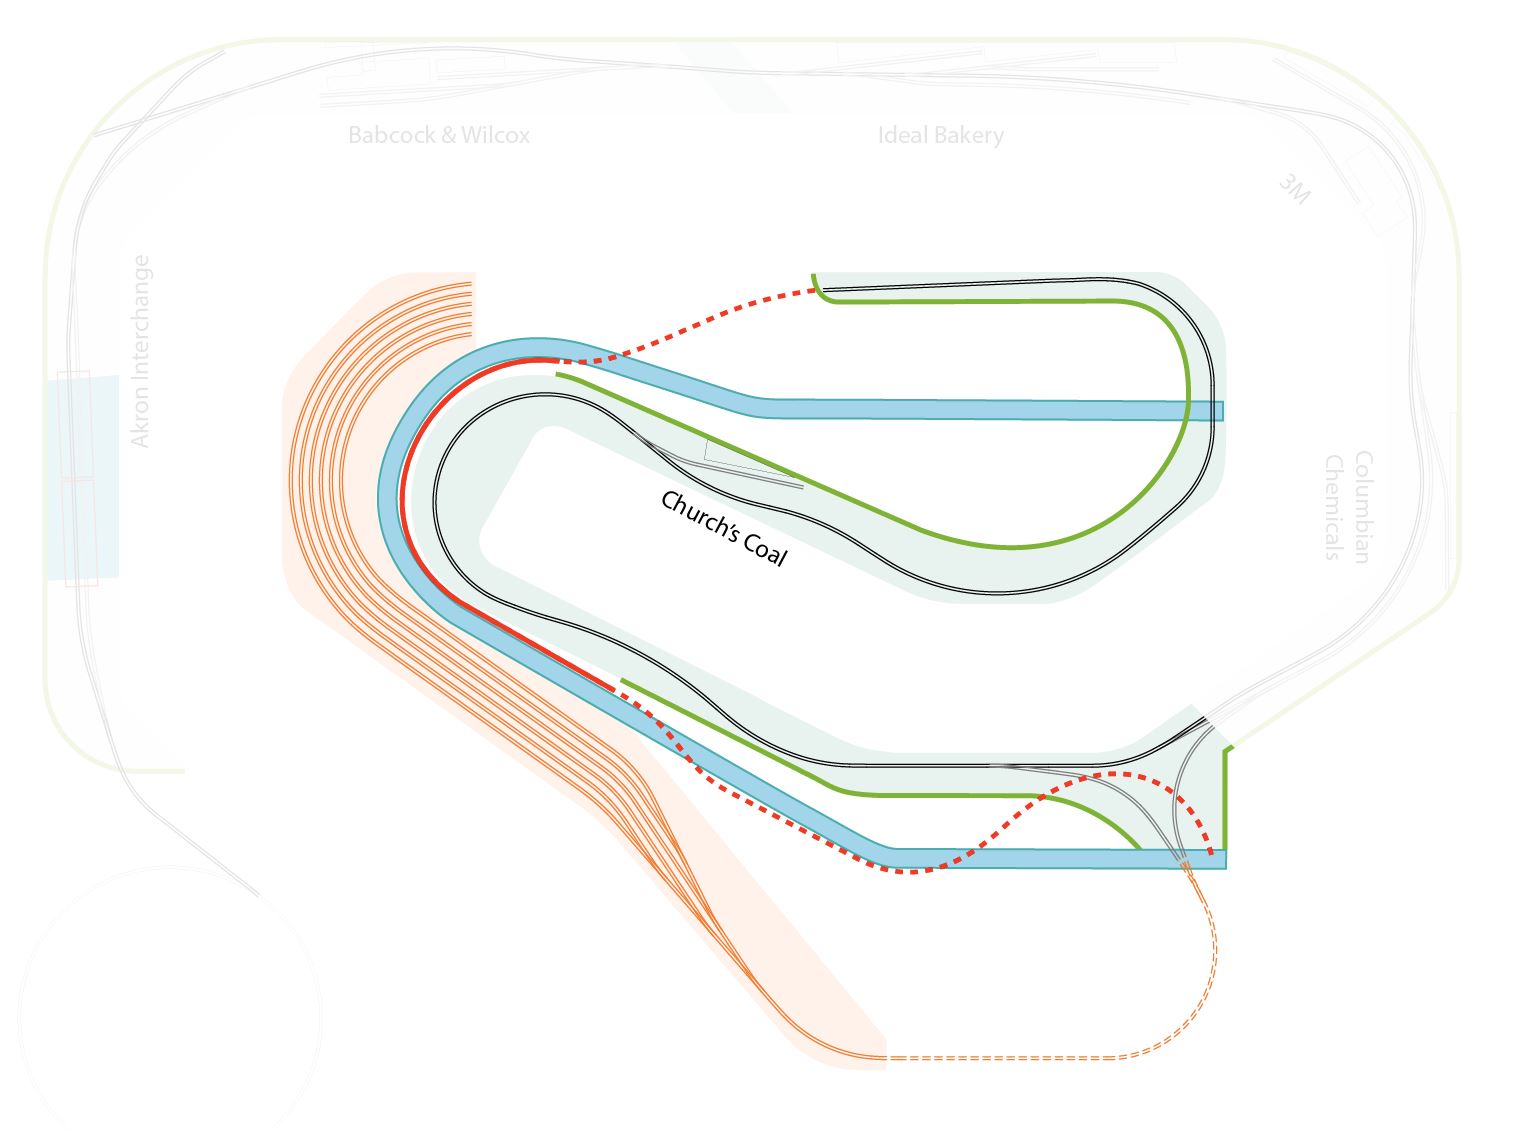
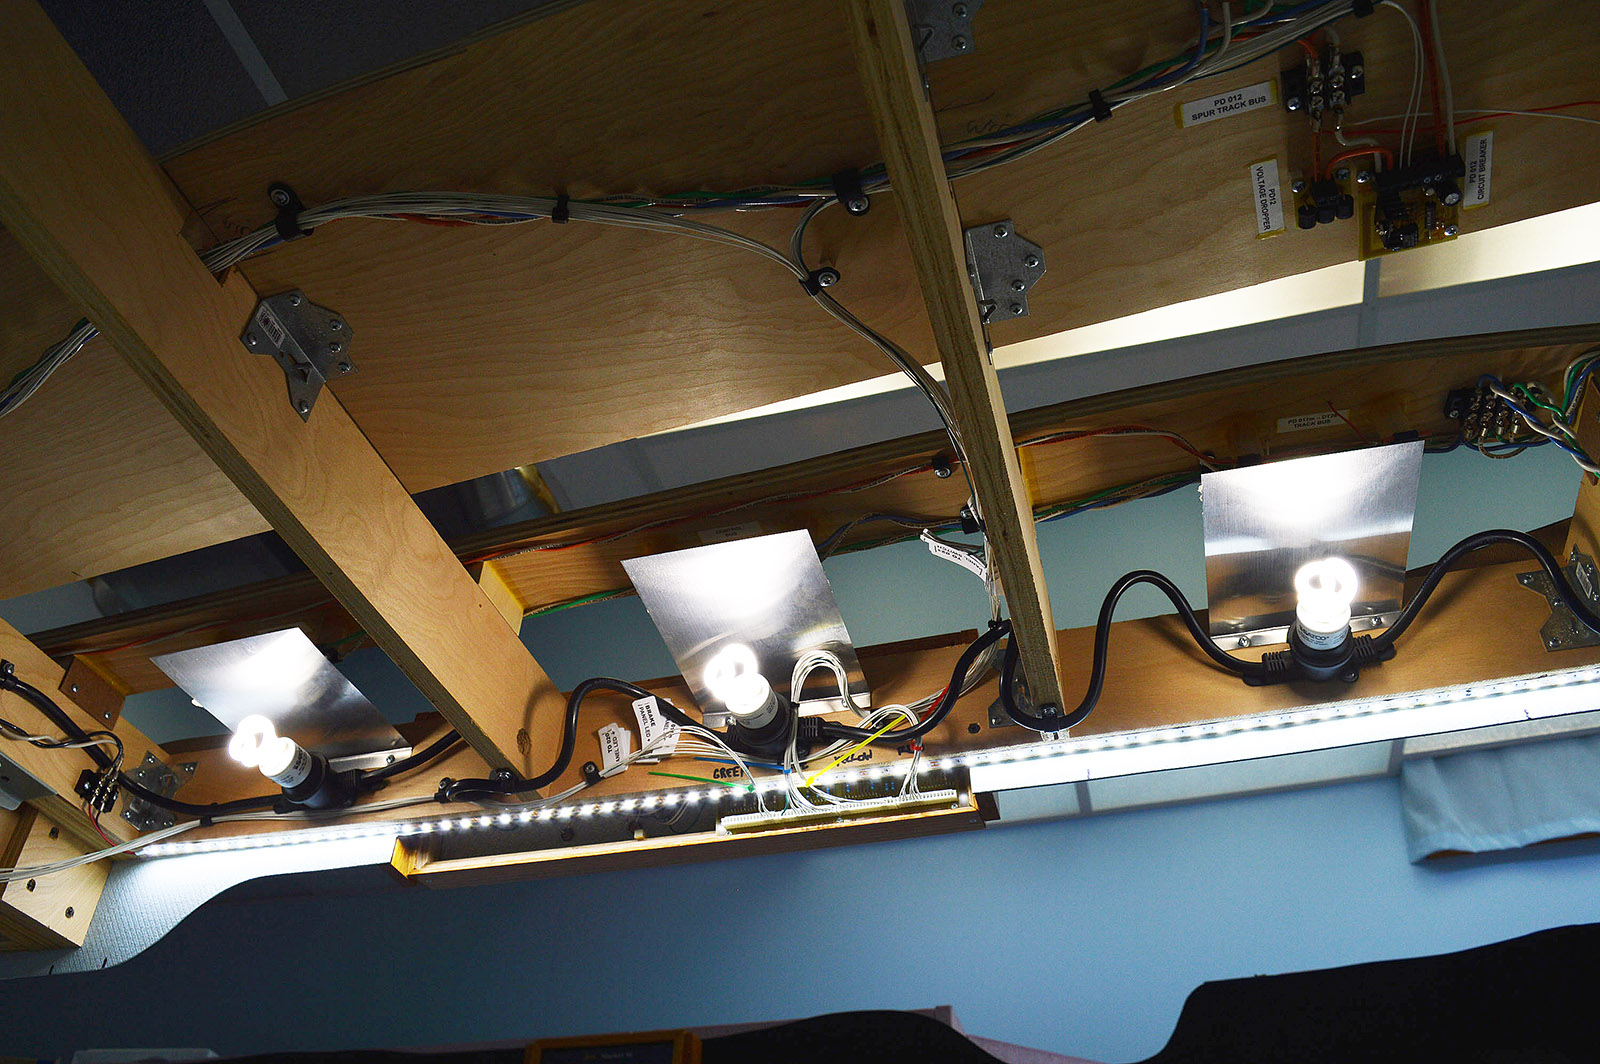
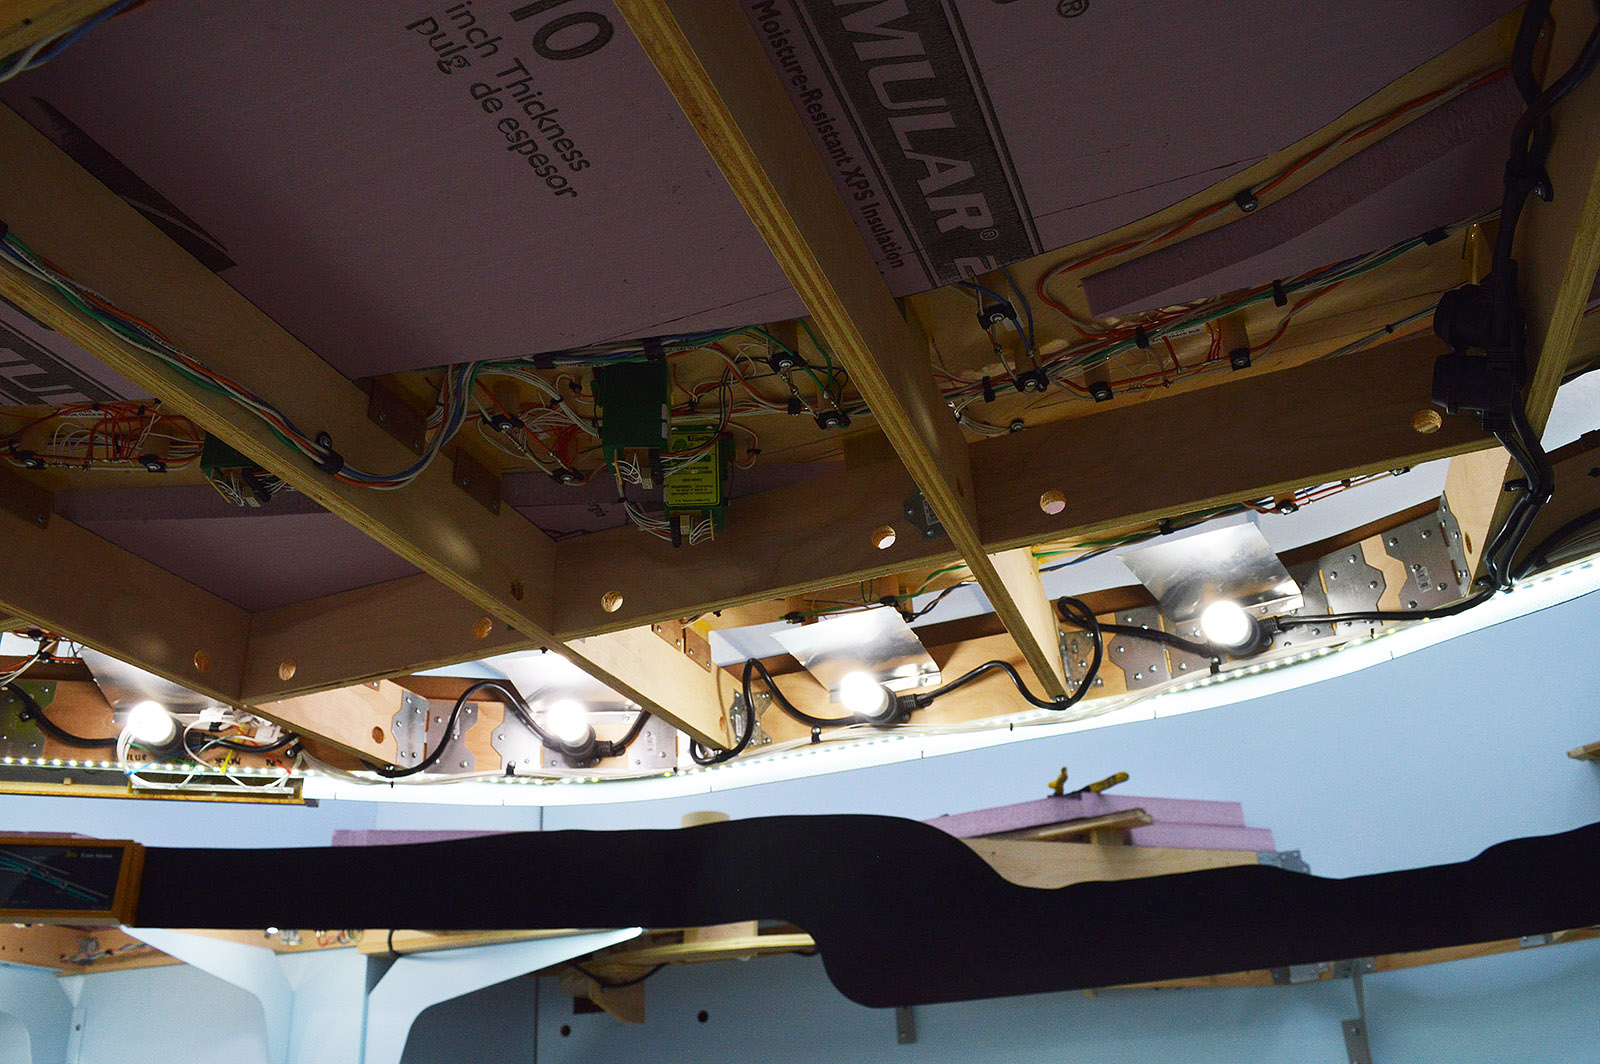
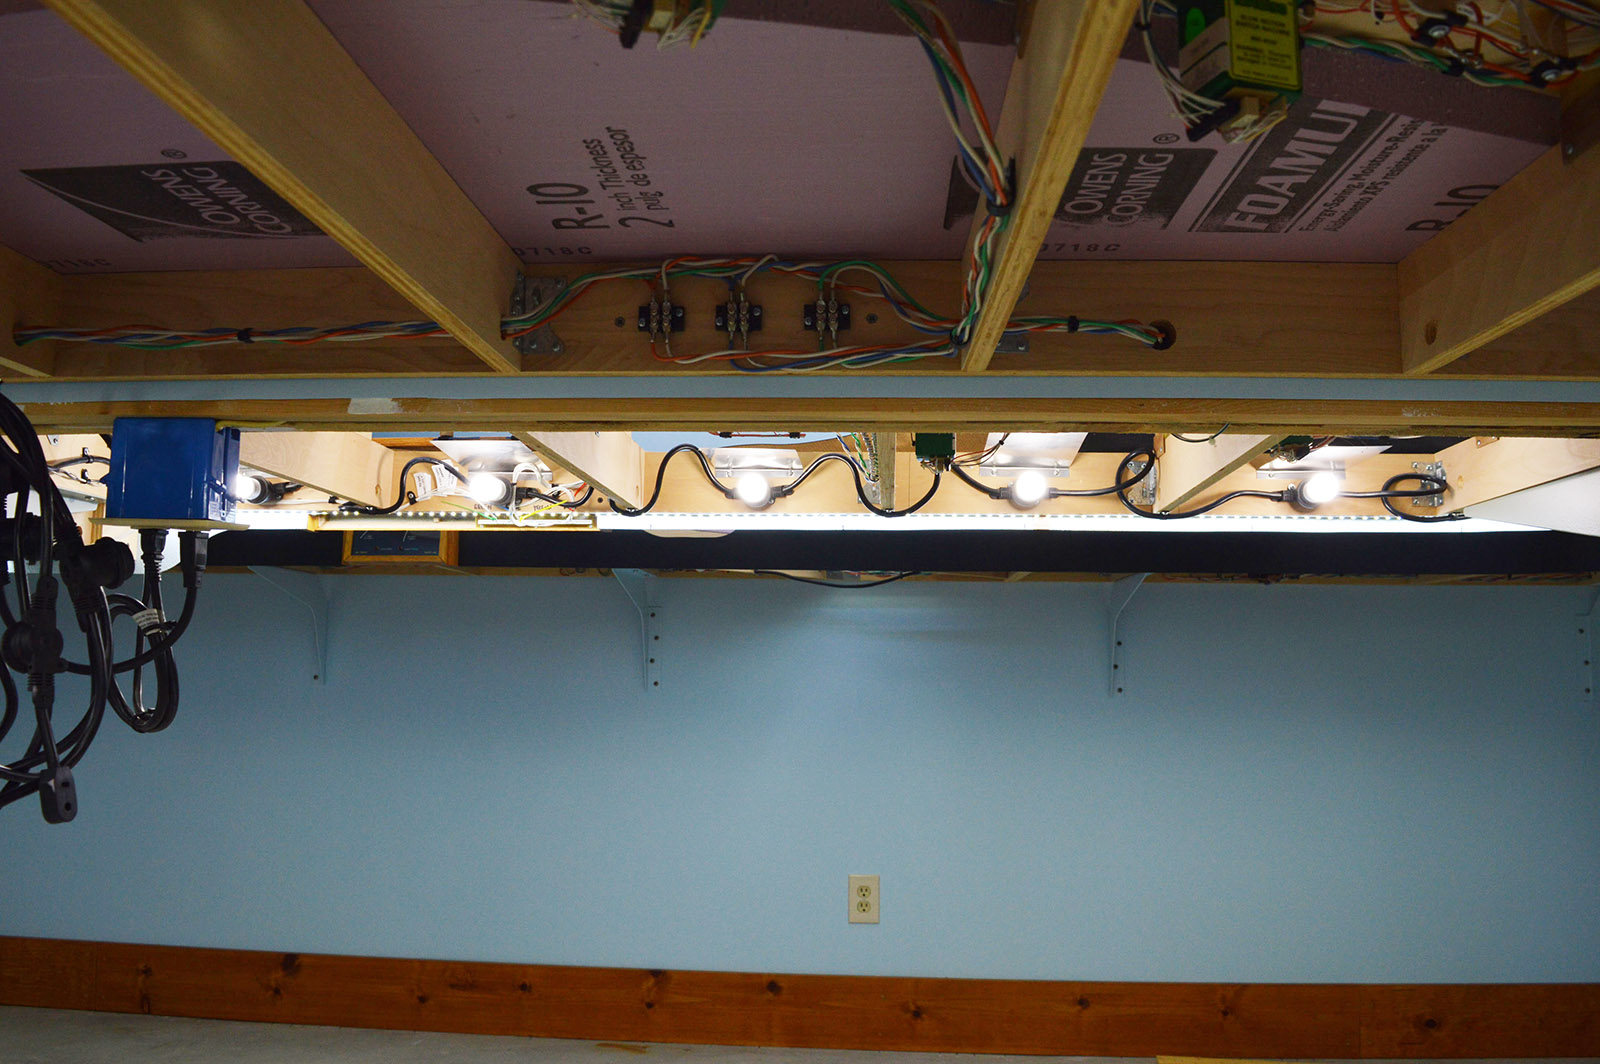
To start off with, I removed the bulb socket string from above the staging area (shown in orange) leaving only the LED strip for lighting. Staging is essentially just a parking lot so less lit will work fine. The sockets, bulbs, and aluminum reflectors were then reinstalled under the previously unlit section of upper benchwork (shown in green). New 6500K LED strips were also installed in the green area.
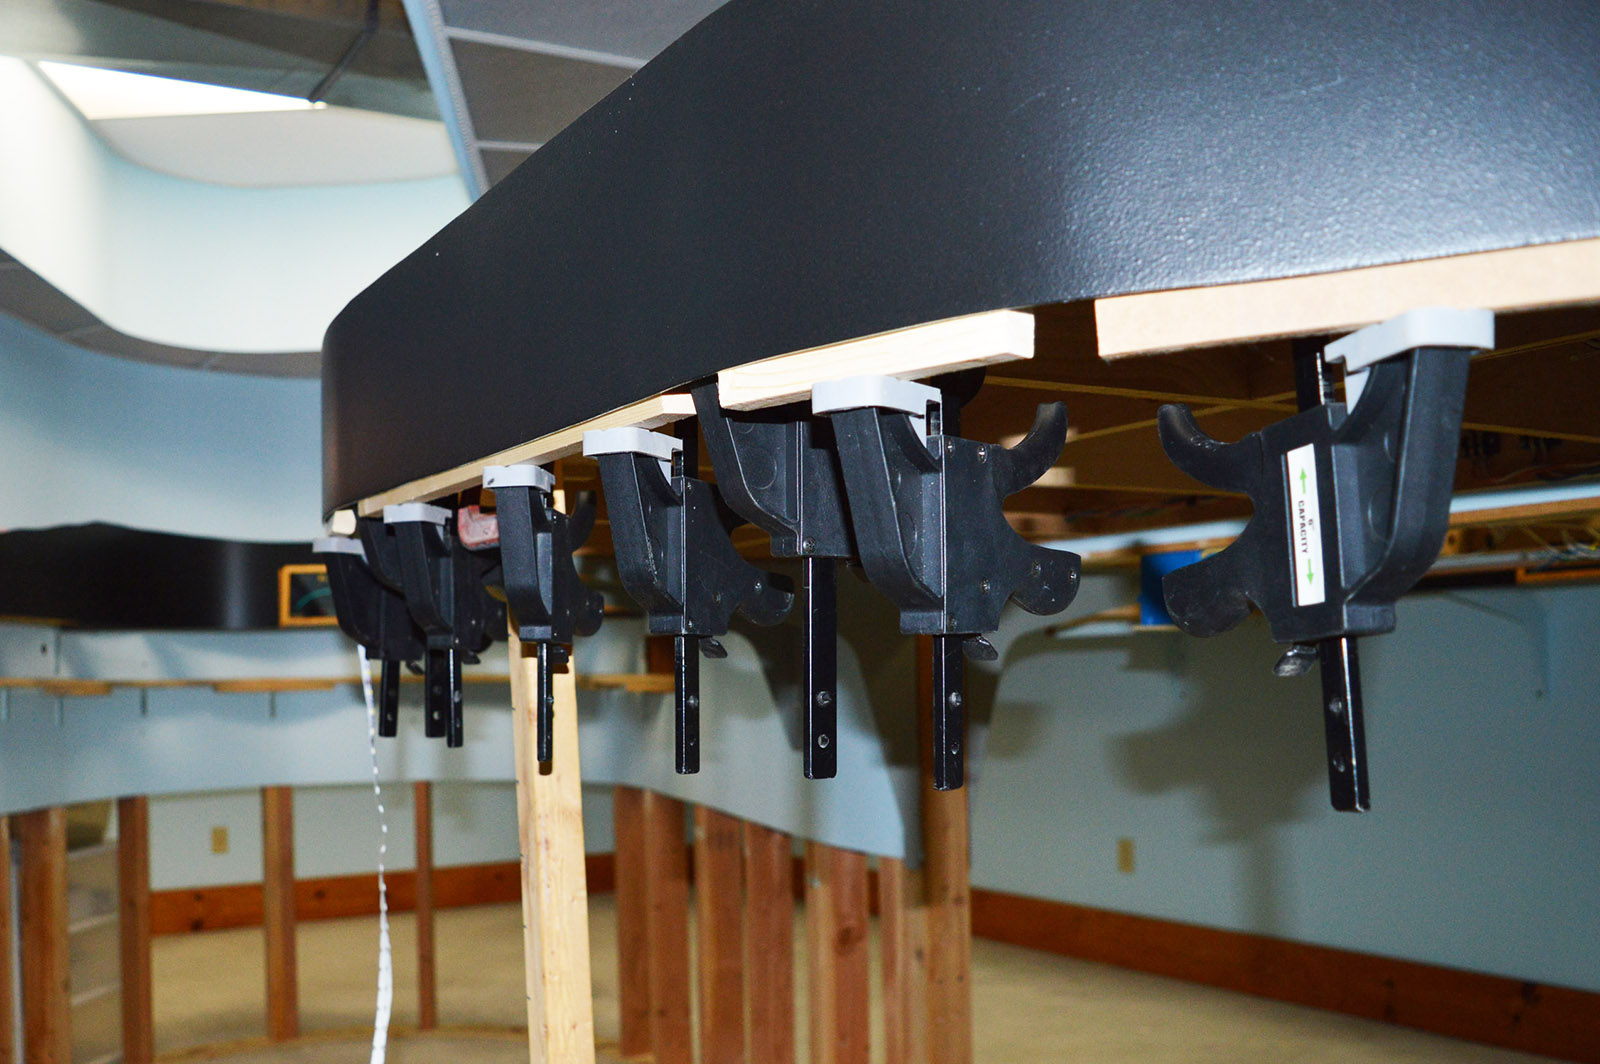
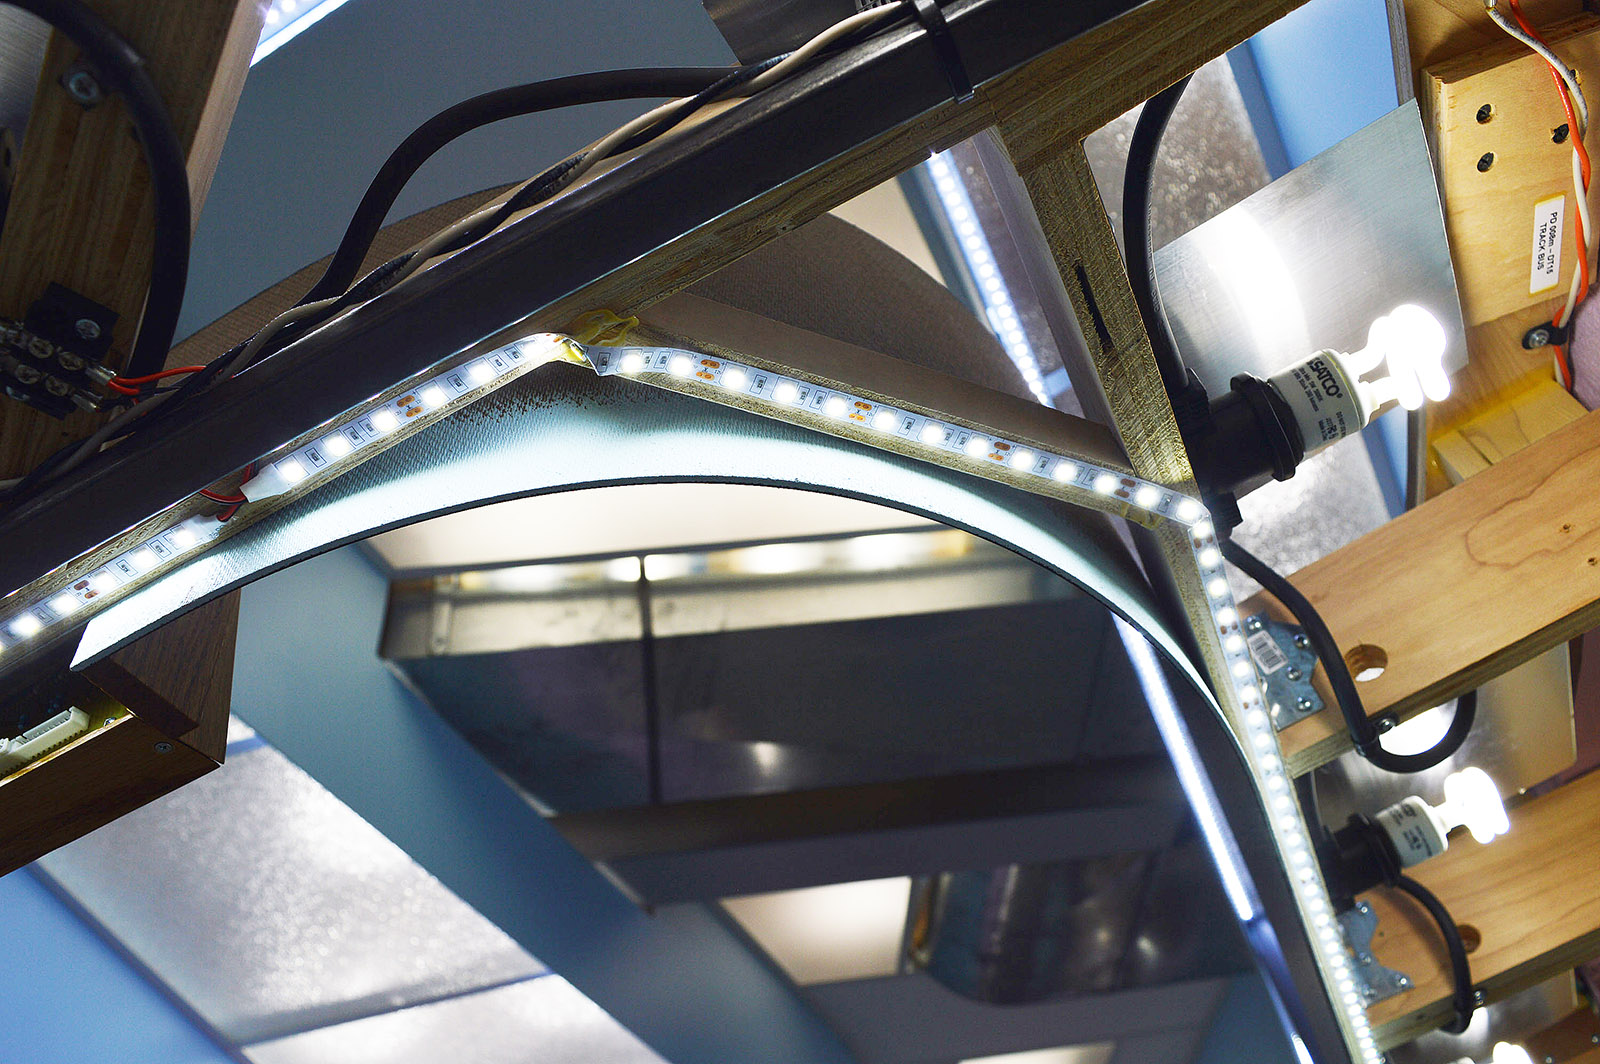
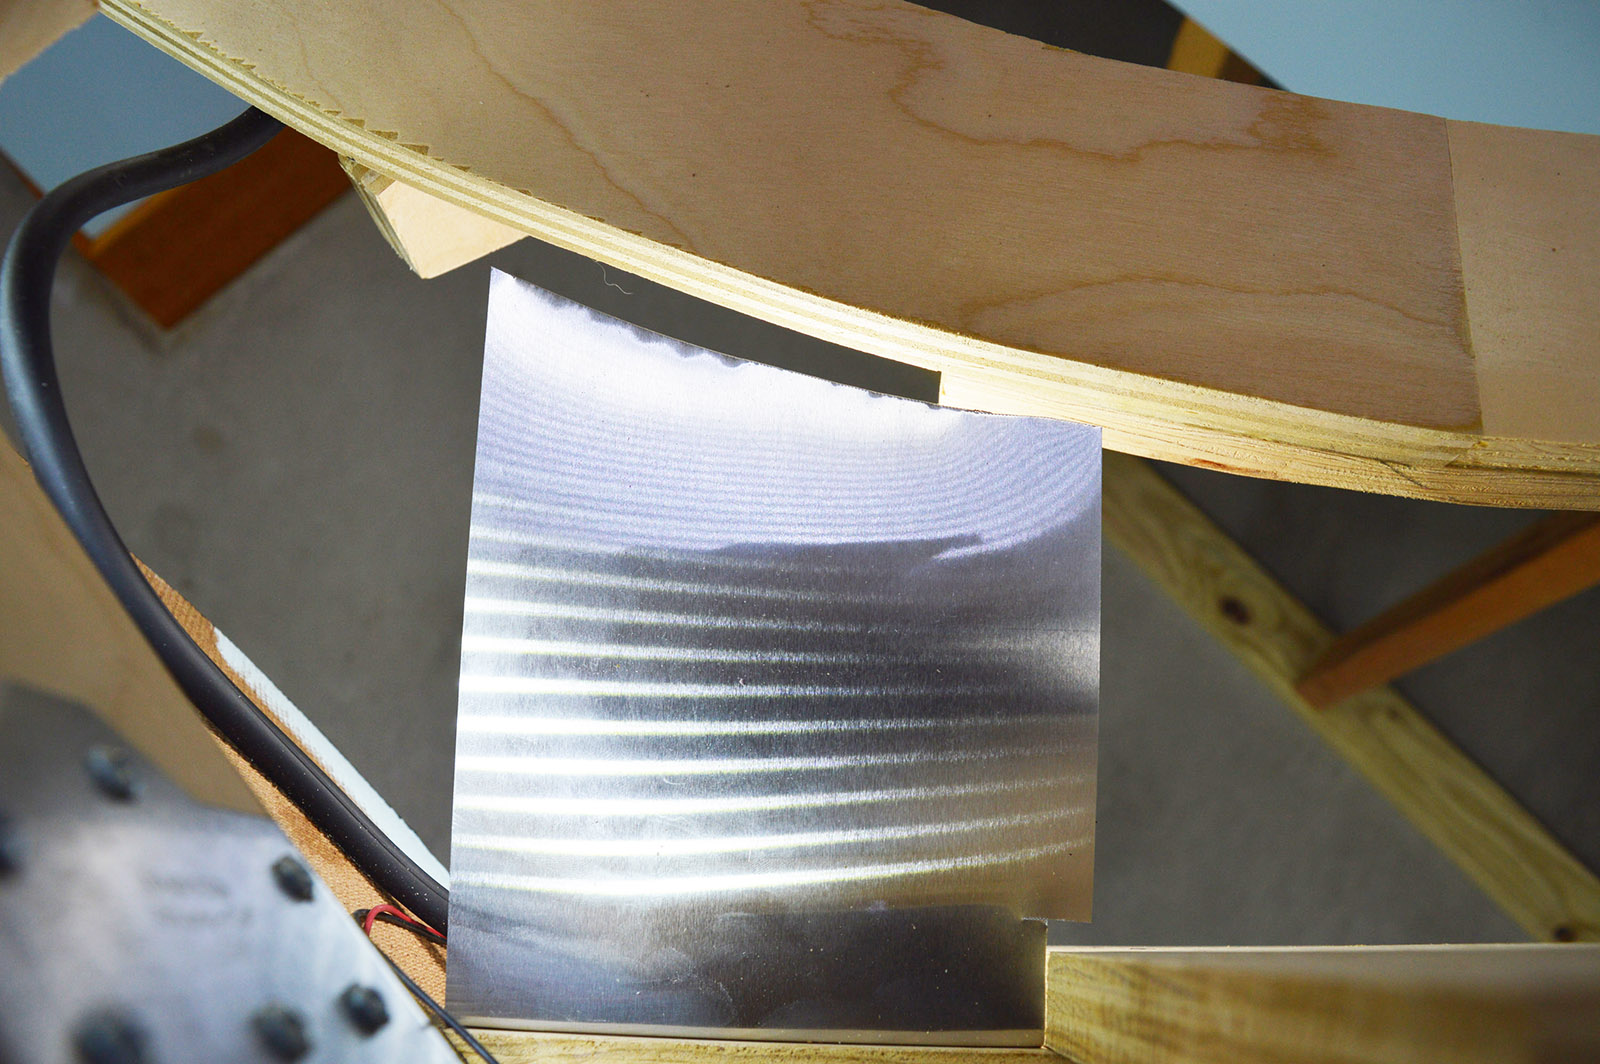
The adhesive supplied on the backside of cheap LED strips is next to worthless. Learned that long ago. Although, I doubt even good quality adhesive would work well on the cut edge of plywood so I installed the new LED strips with my tried and true method – small bead of wood glue the length of the strip and clamps. Wood blocks spread the clamping force across all the LEDs.
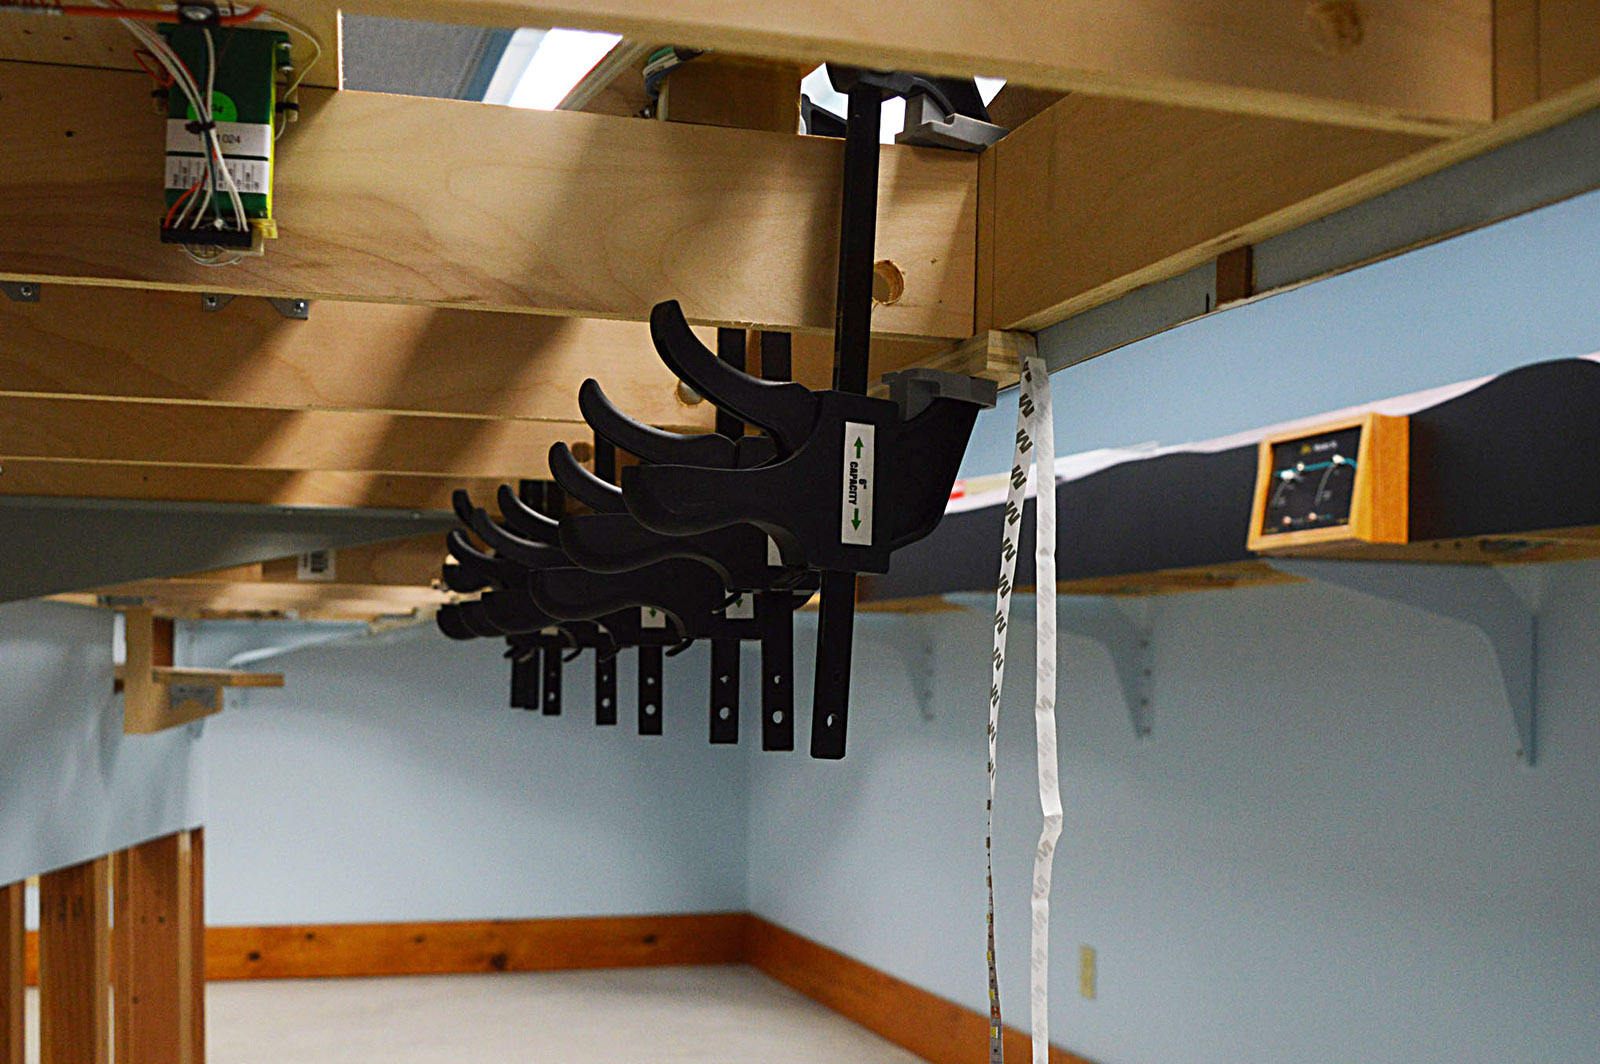
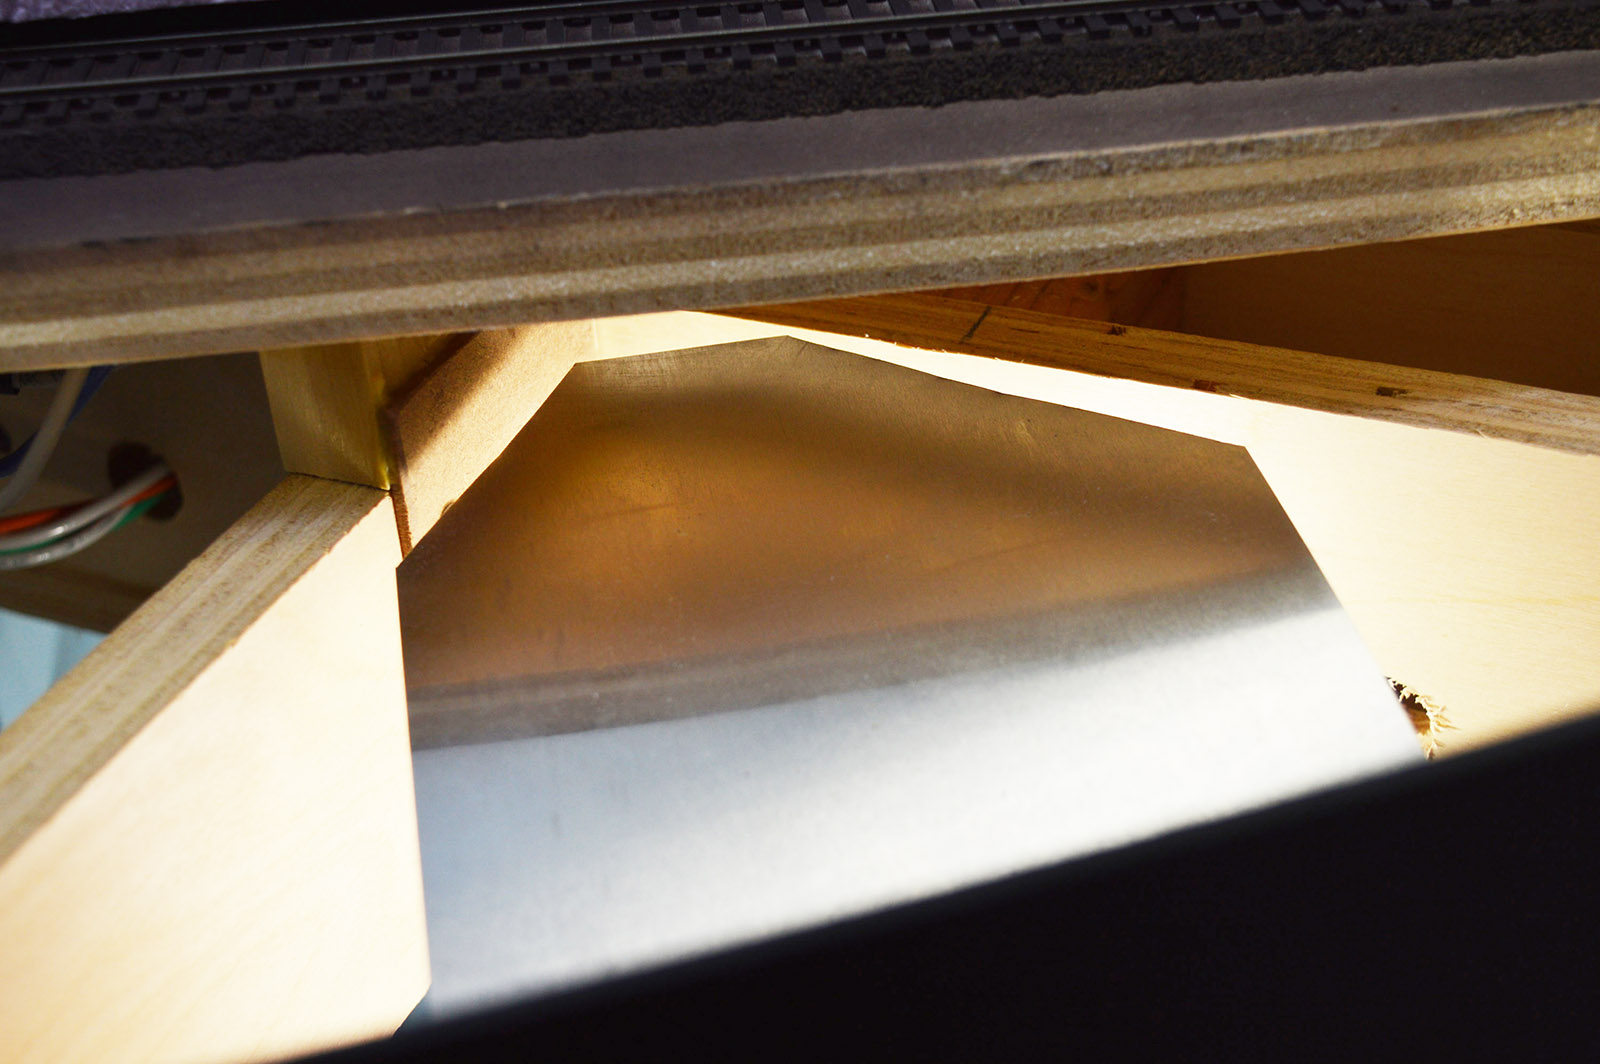
Things got a little tight in some areas.
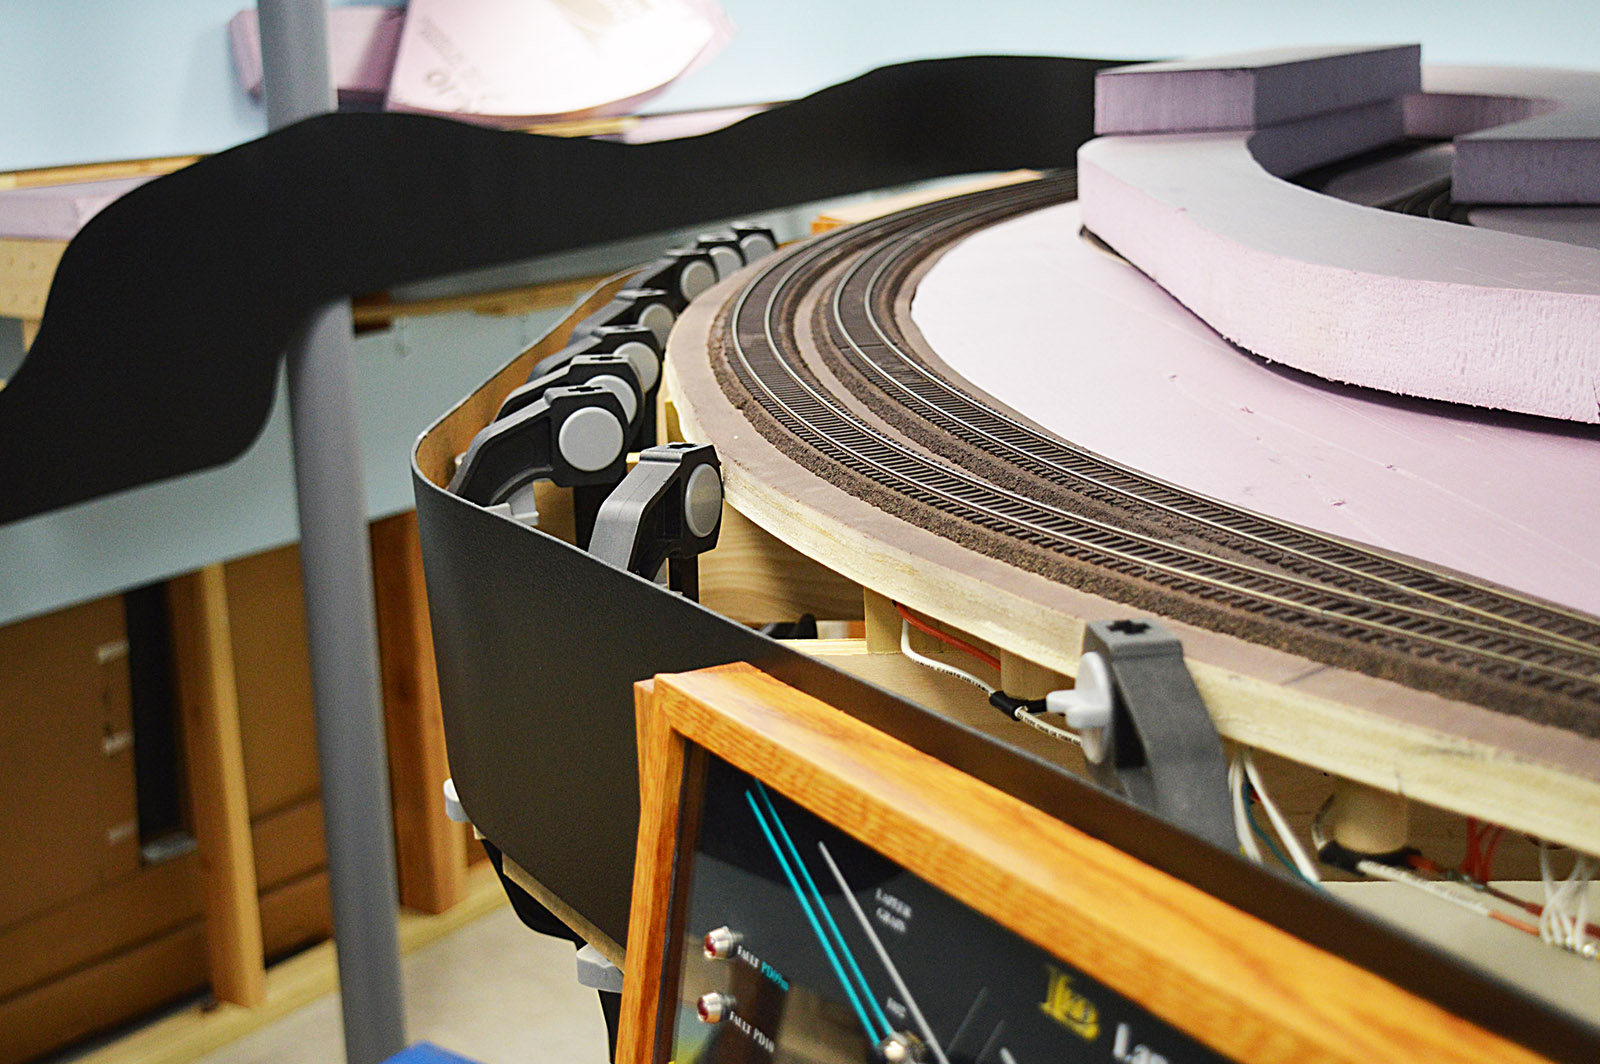
The fascia underhang was helpful in positioning the clamping blocks. I didn’t have that advantage when the original lighting was installed.
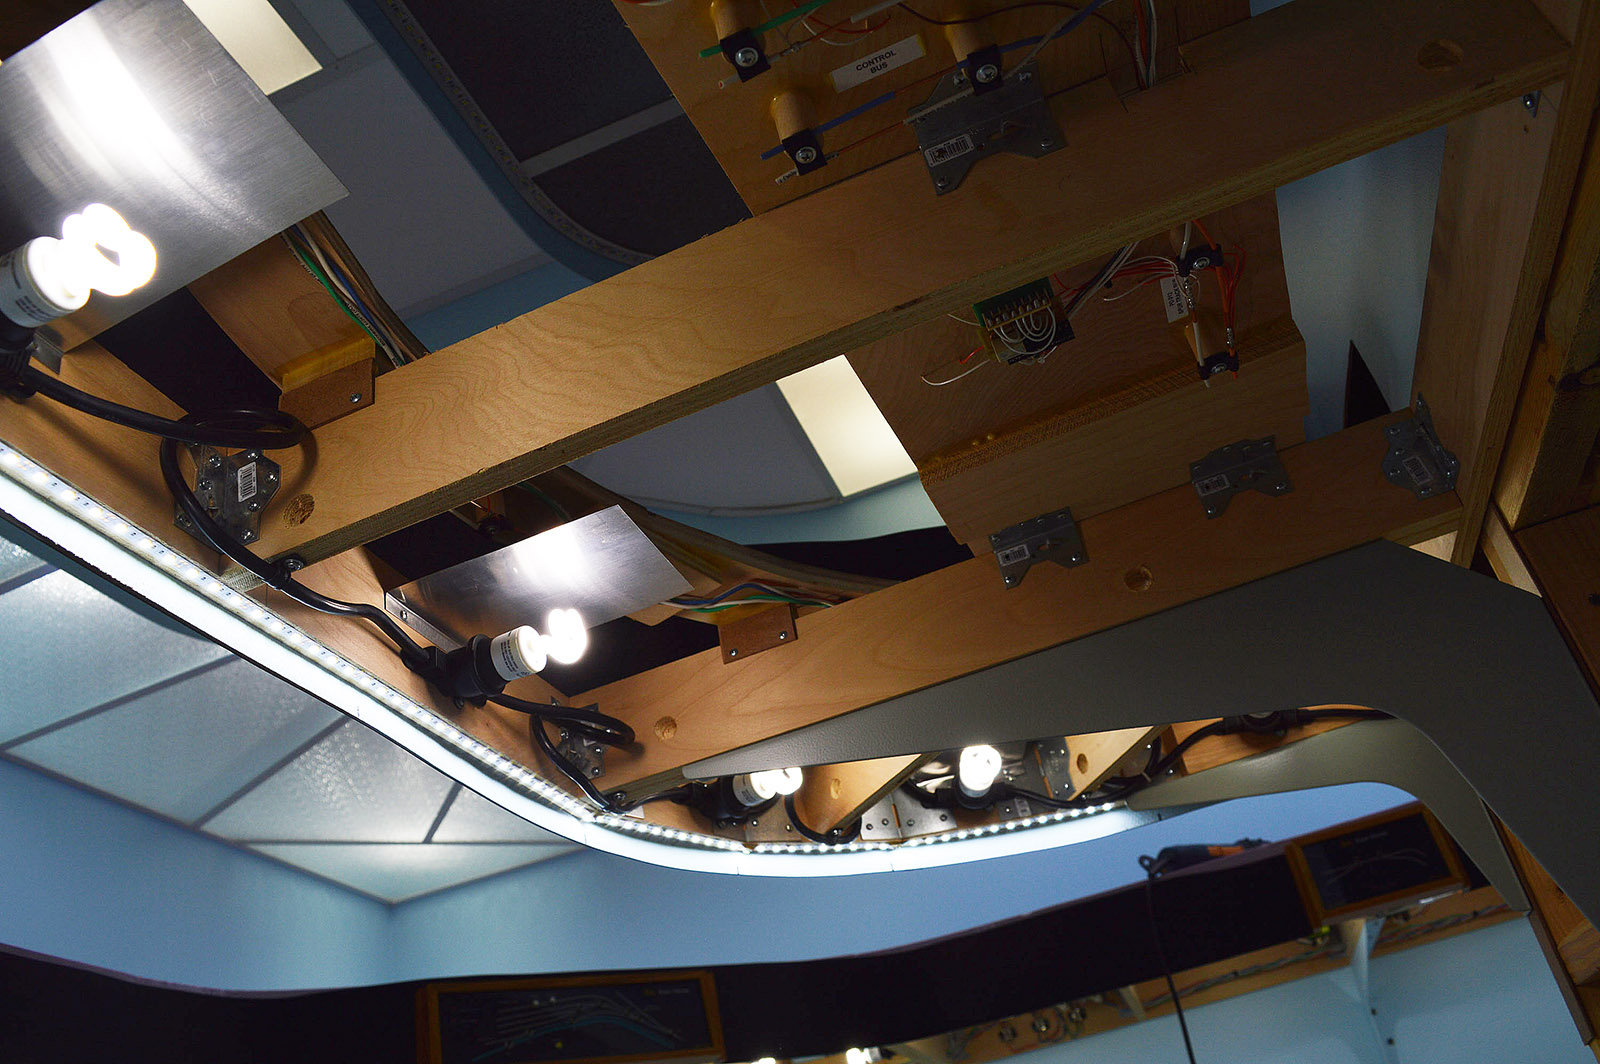
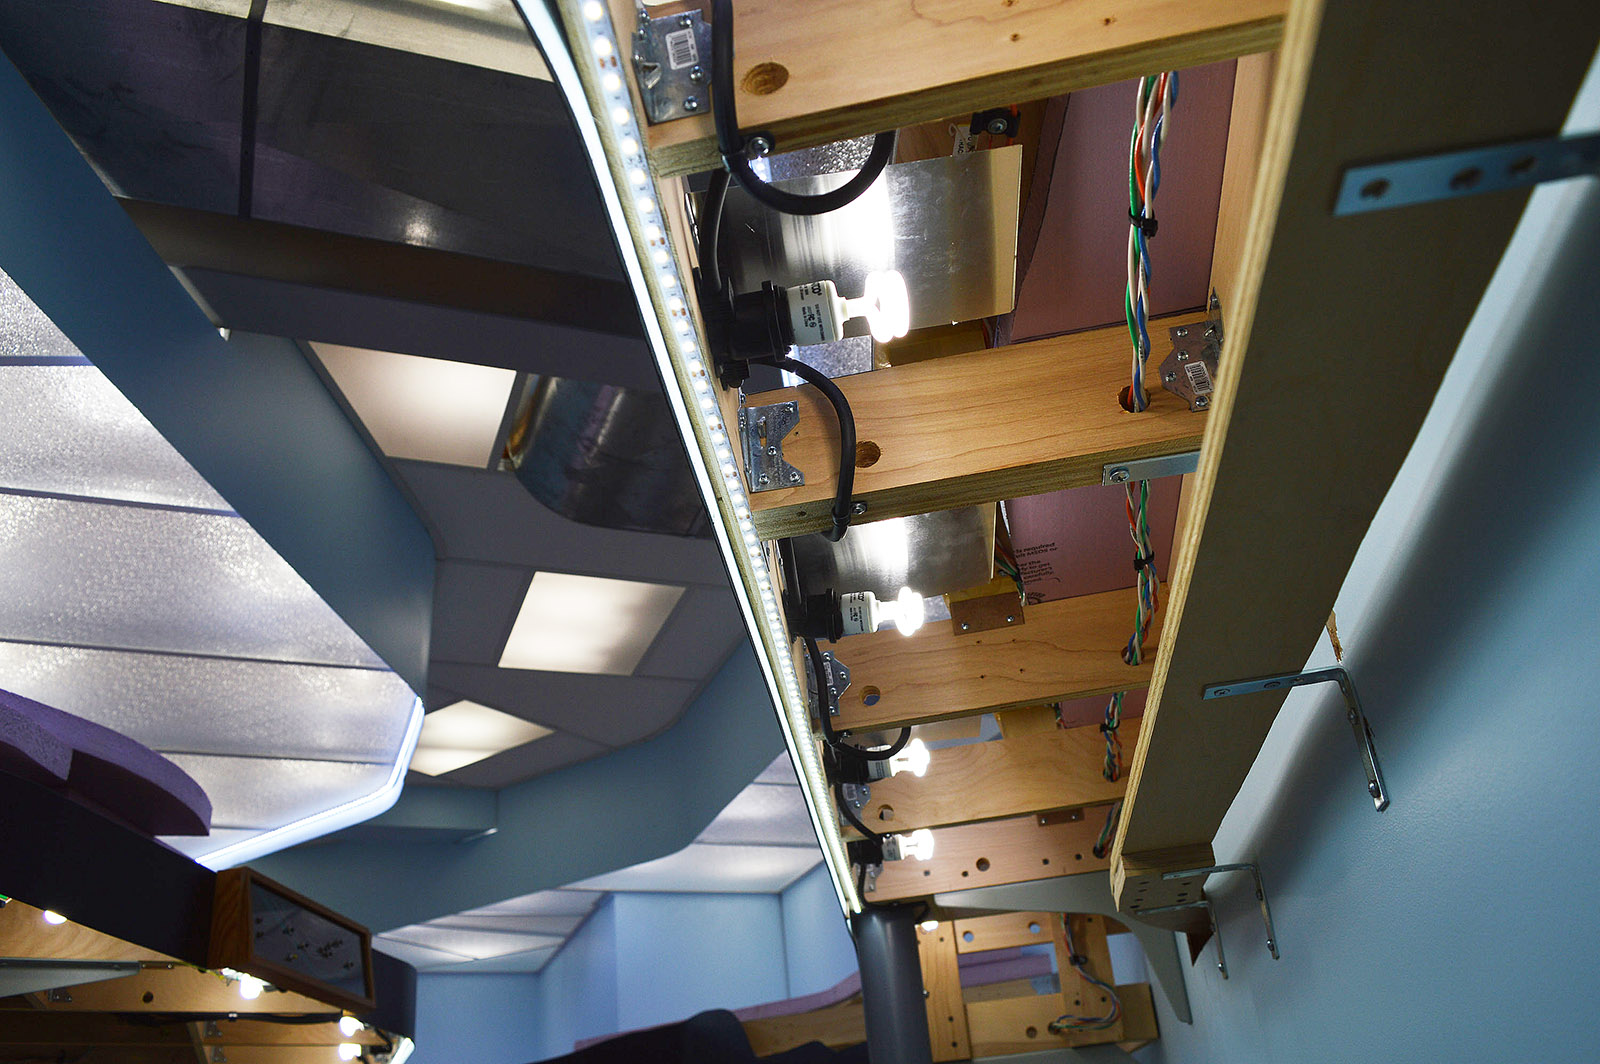
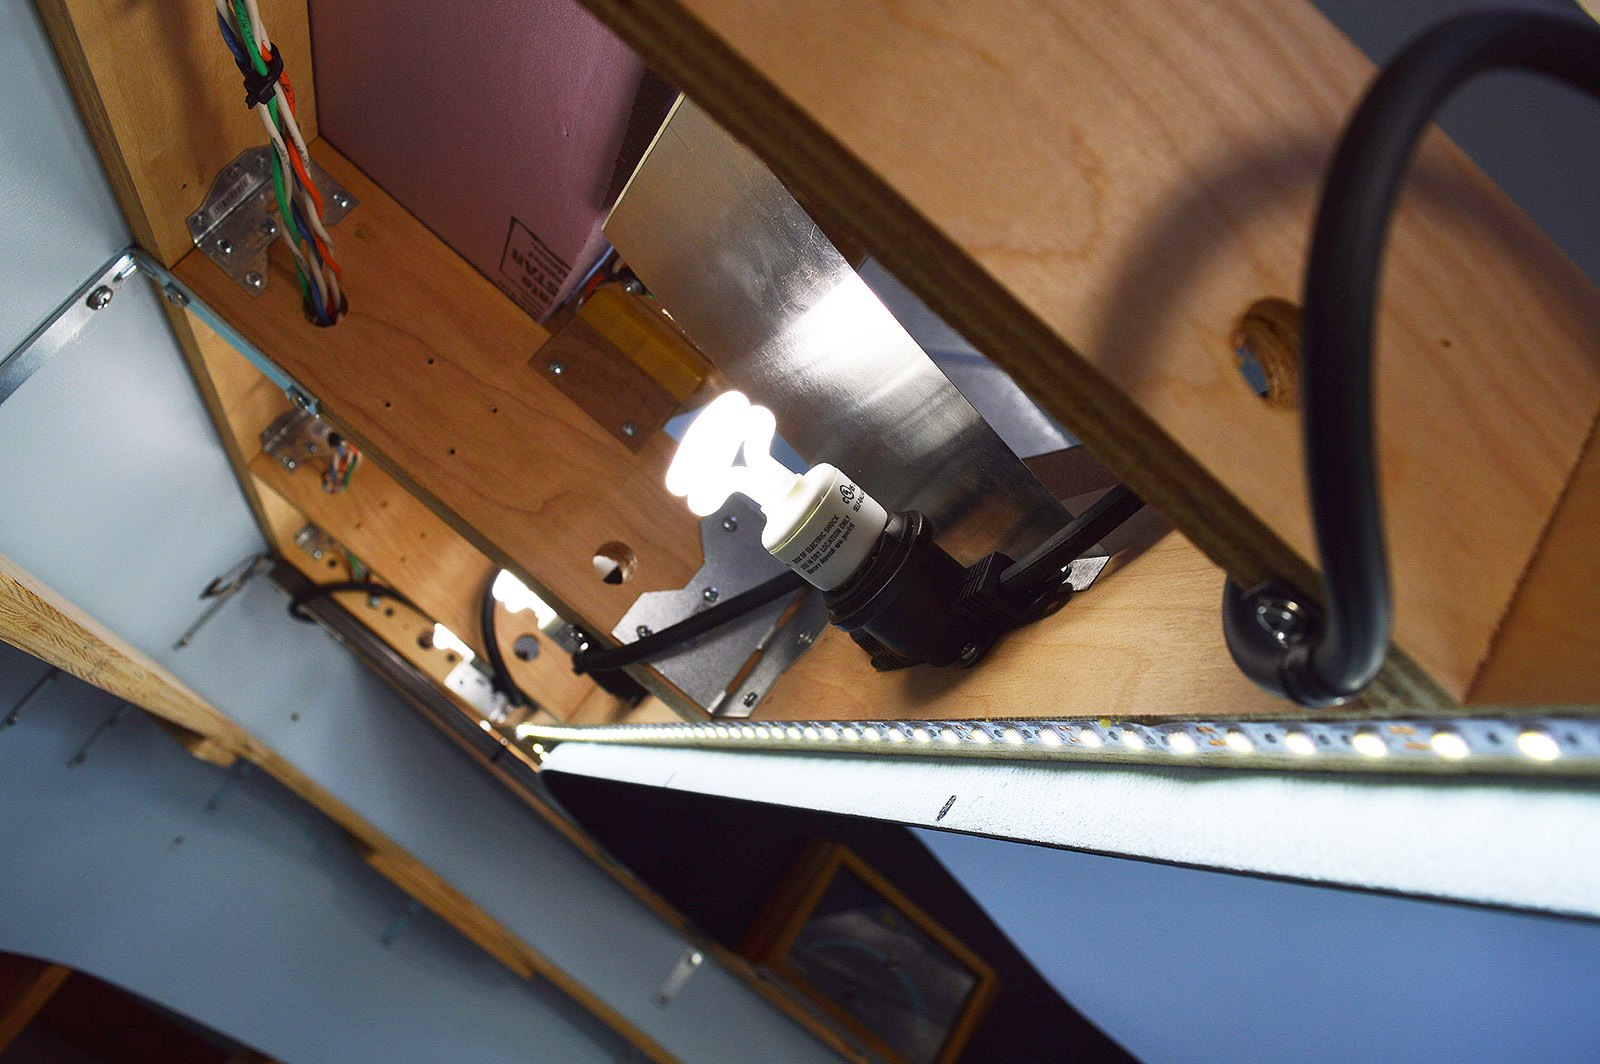
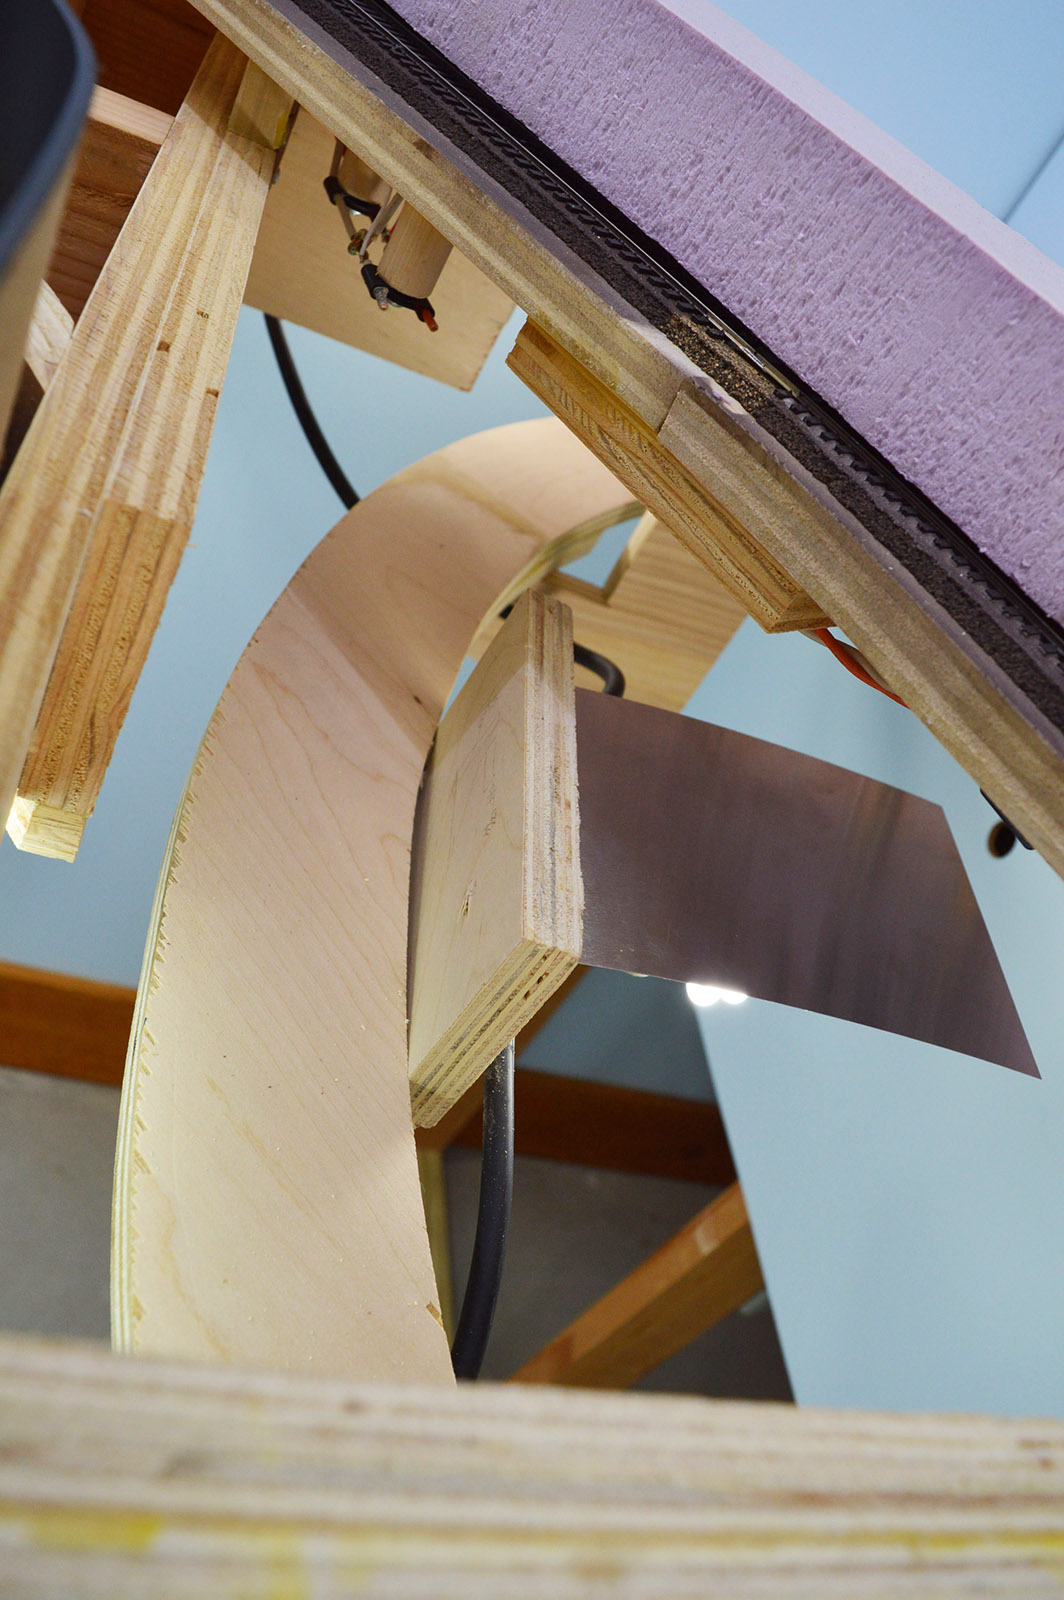
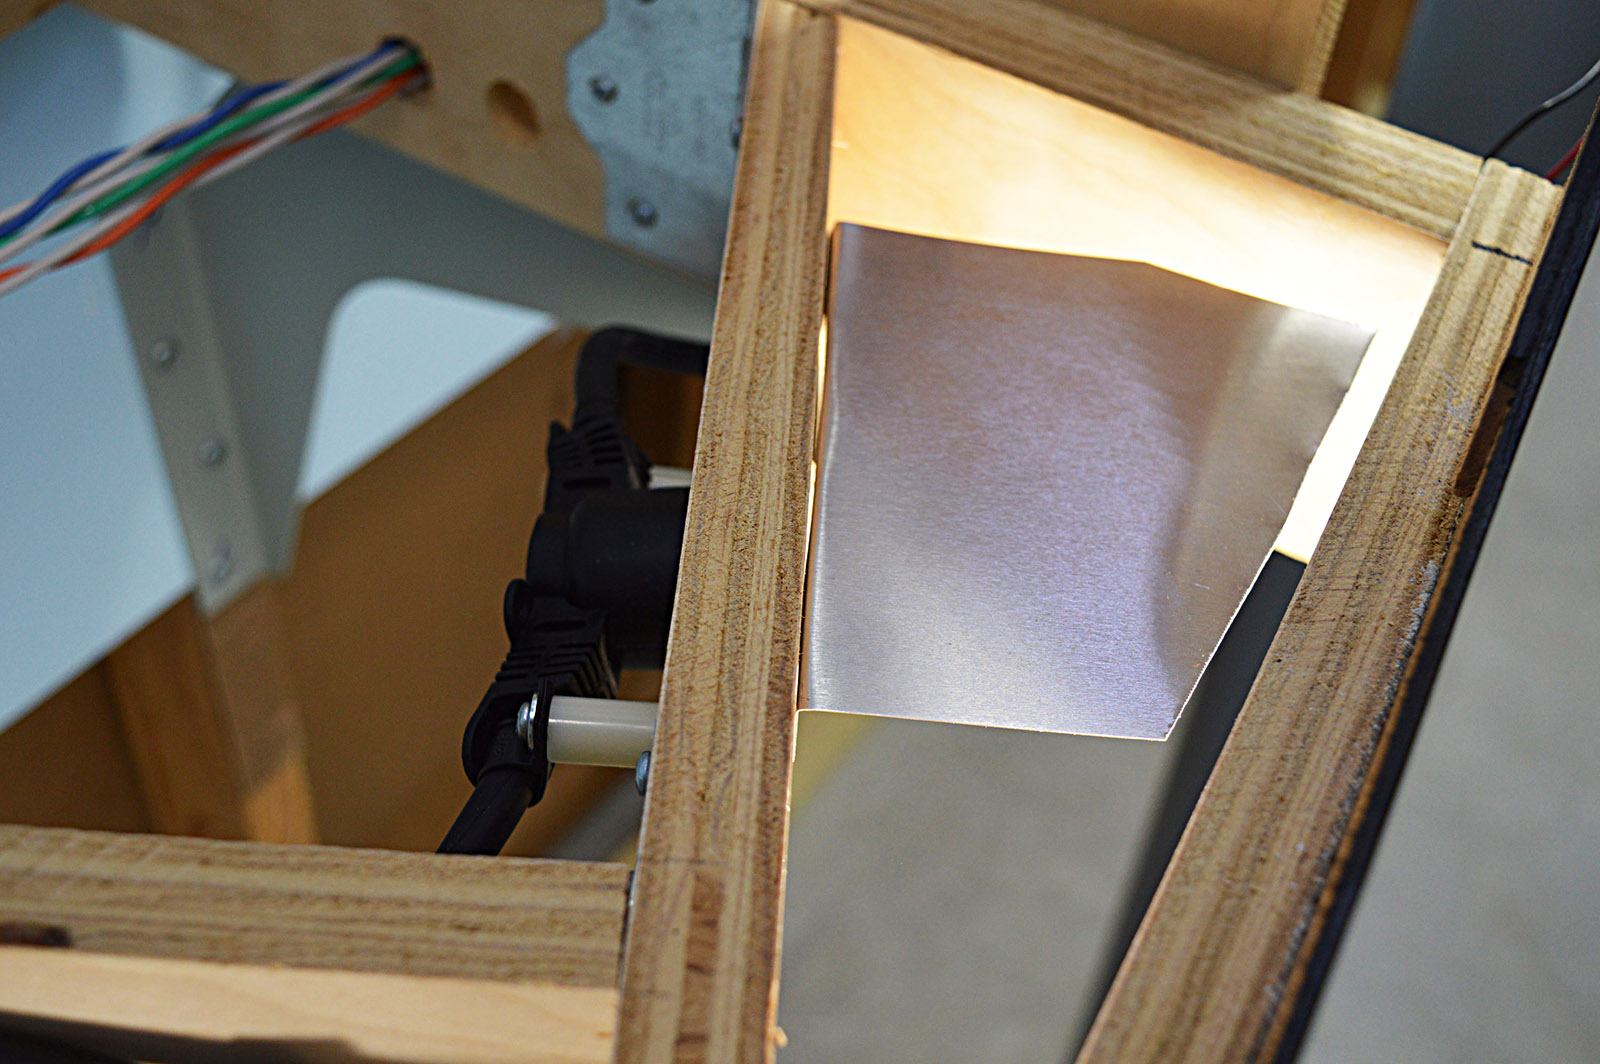
Once the LED strips were finished I installed the bulb string. Same method as the rest of the layout lighting except where it got a bit tricky in the gorge area. A couple bulbs were mounted through the plywood instead of on the plywood. It was the only way to fit a bulb in the little spaces.
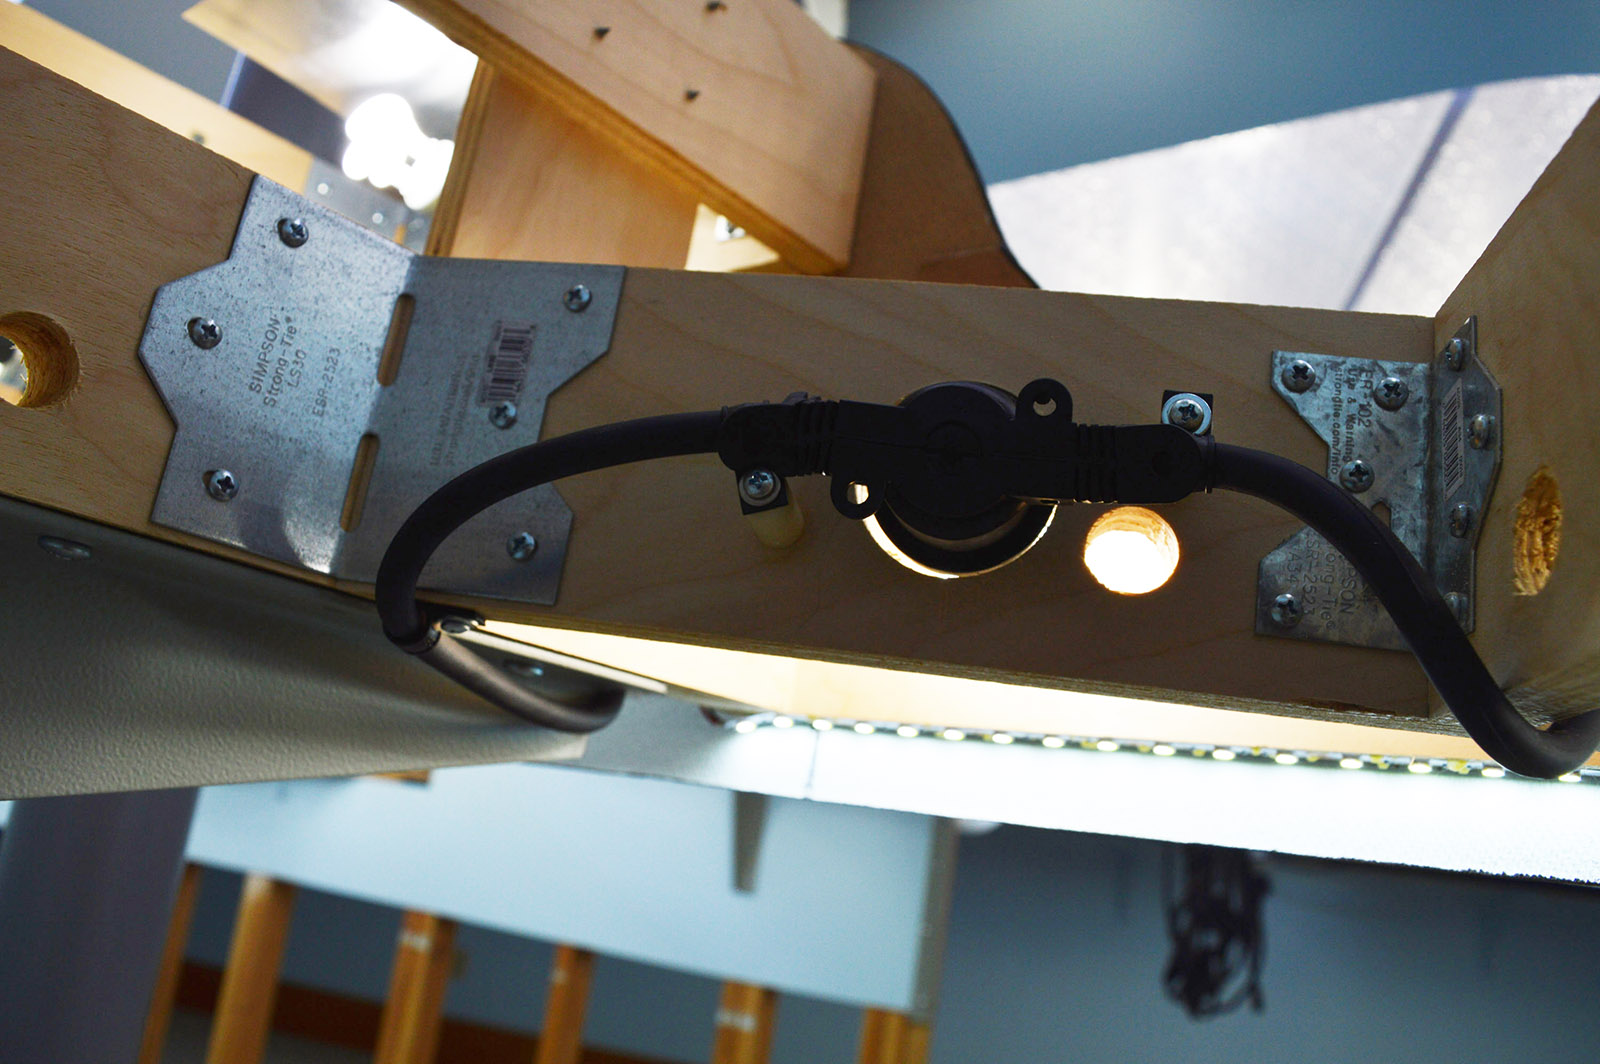
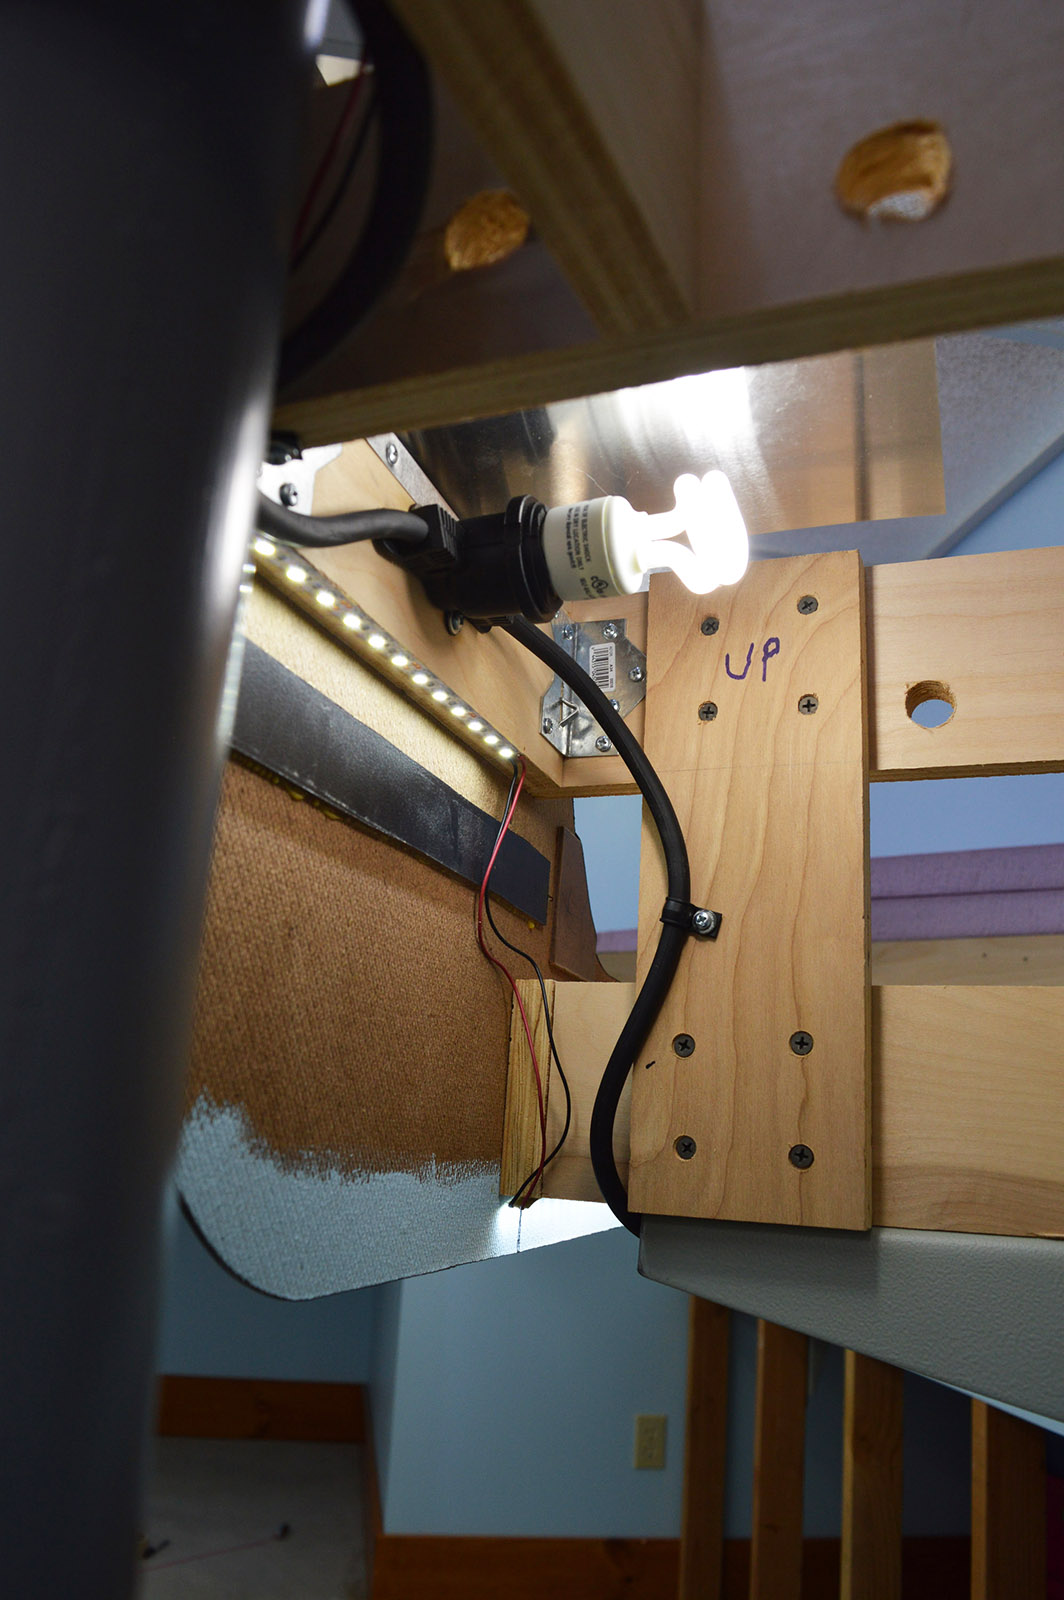
In another instance I had to mount a socket to the side of hidden track roadbed. Whatever it takes to make the lower deck lit as uniformly as possible!
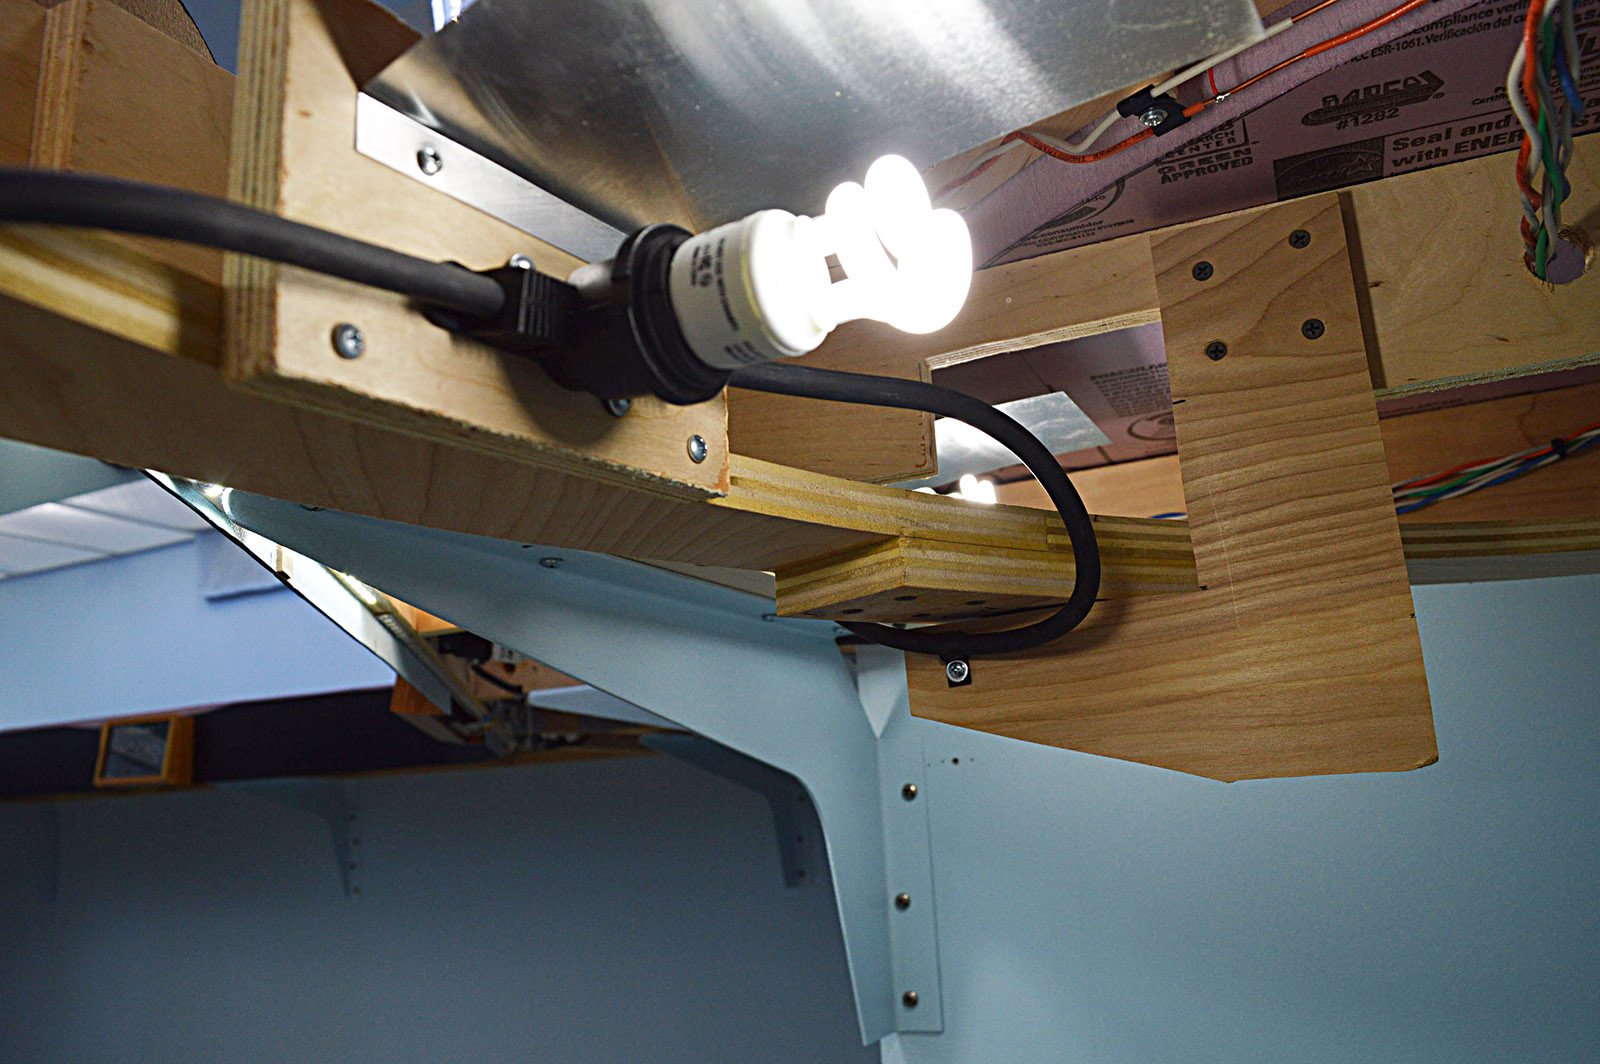
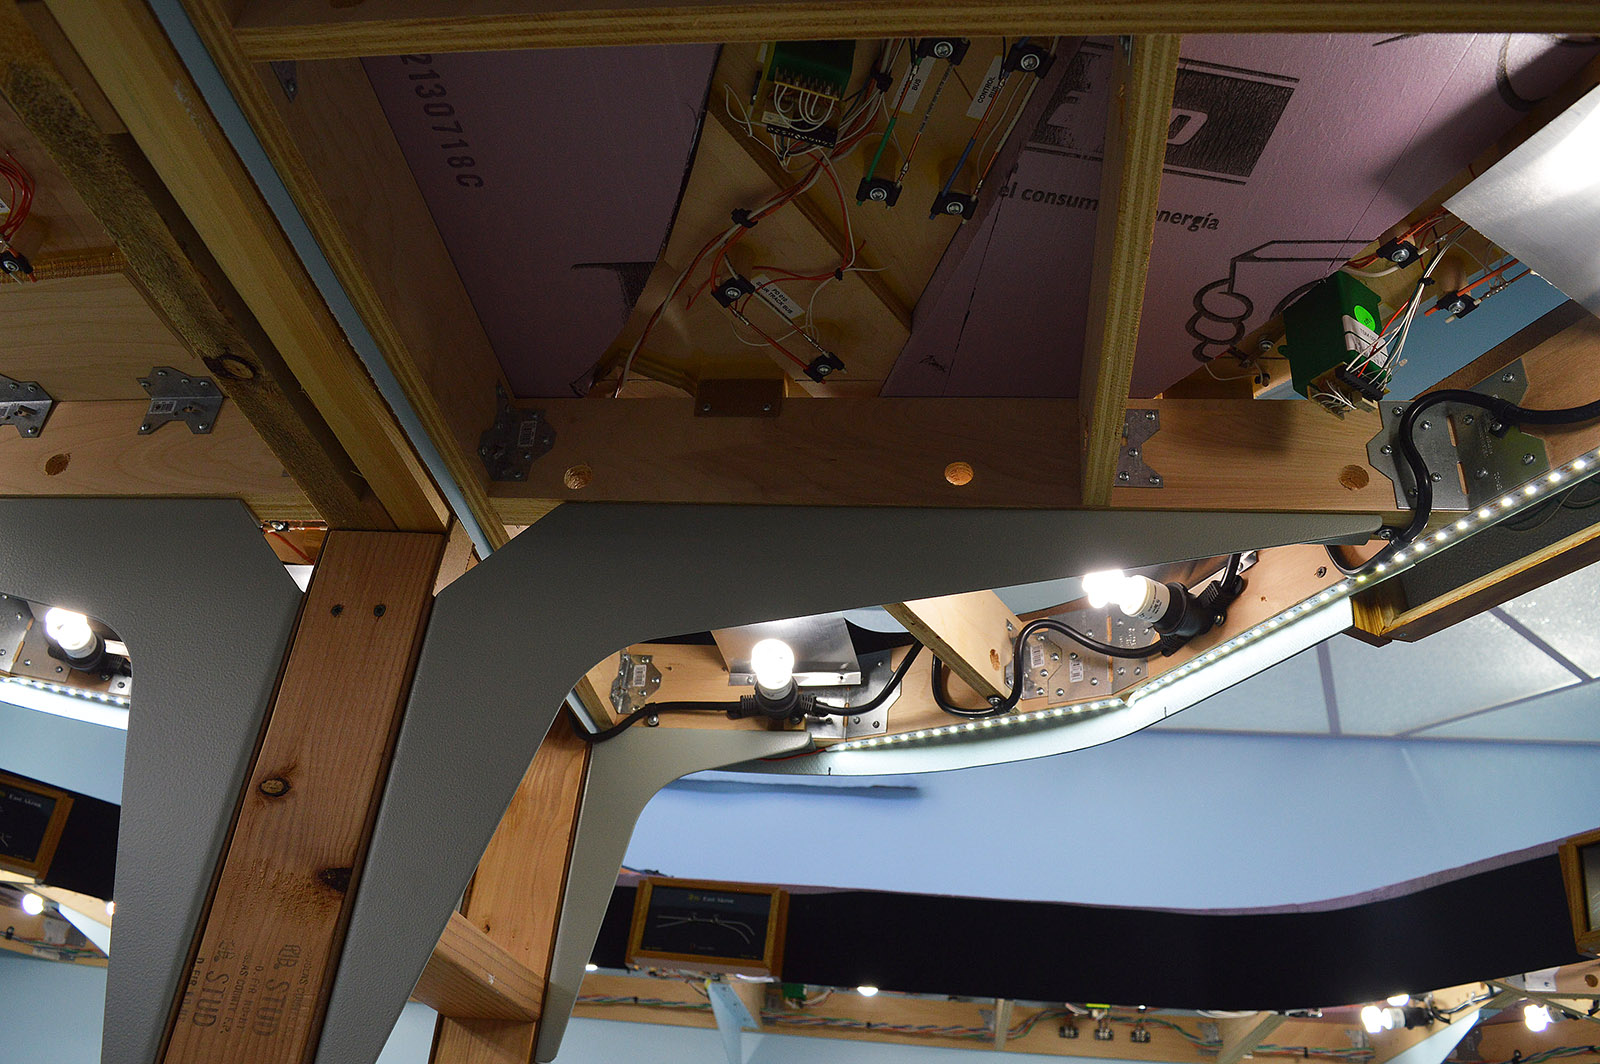
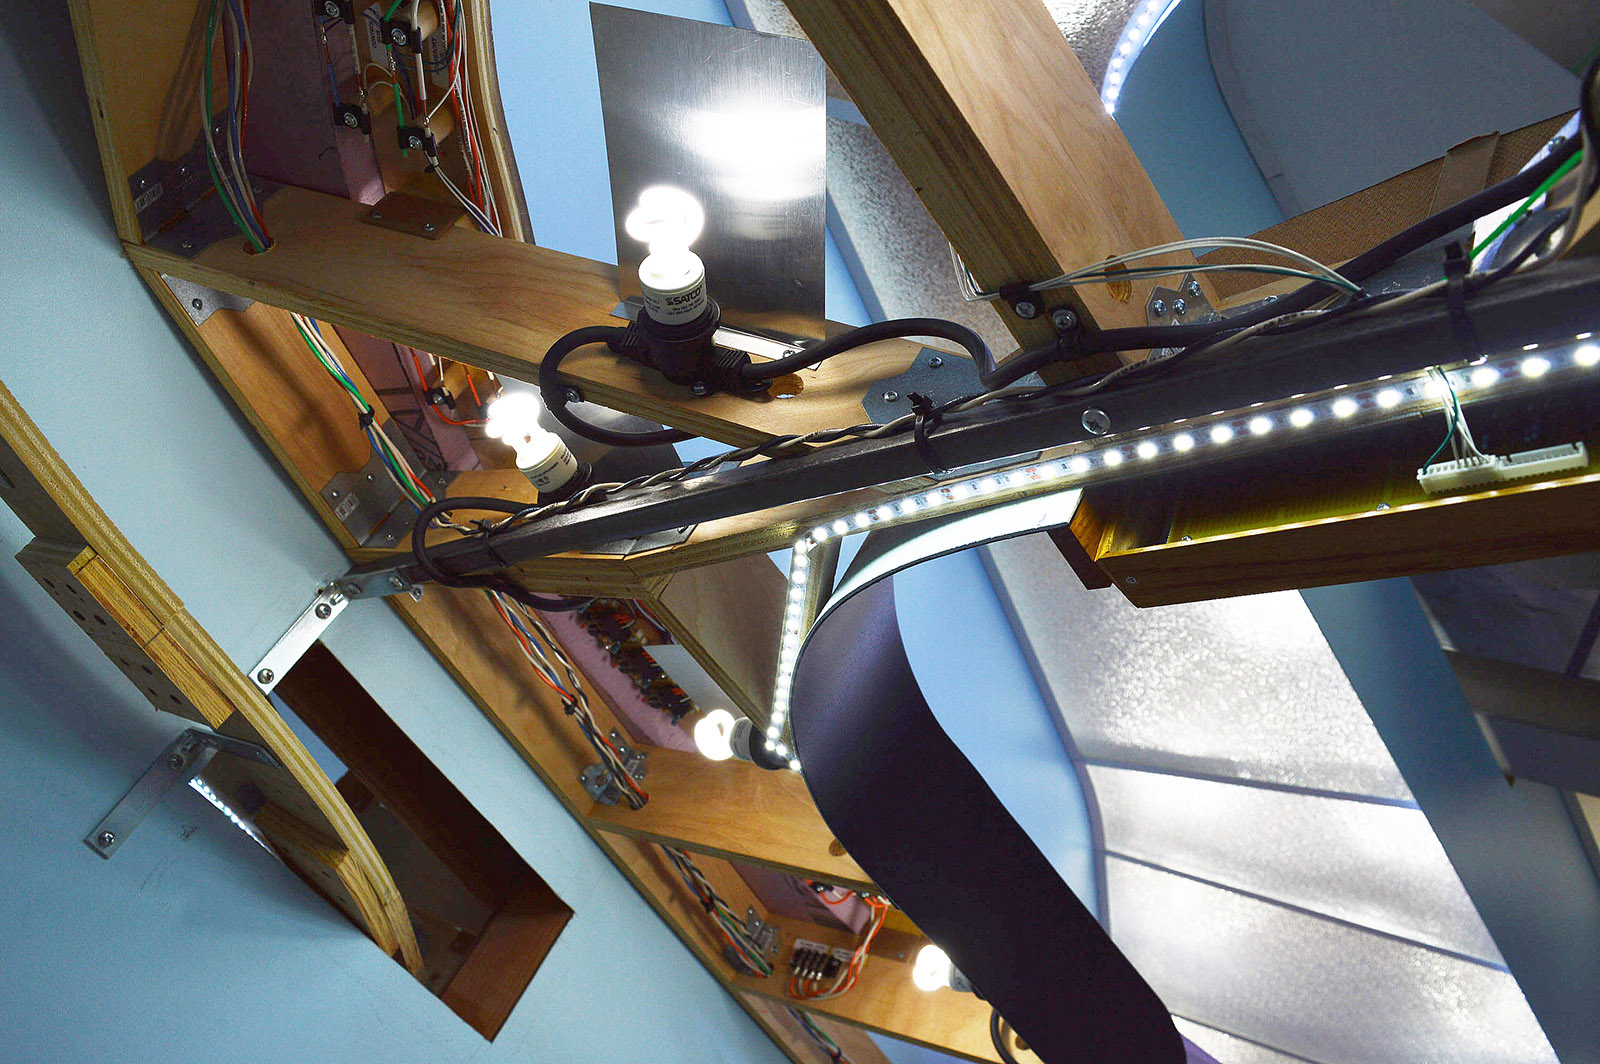
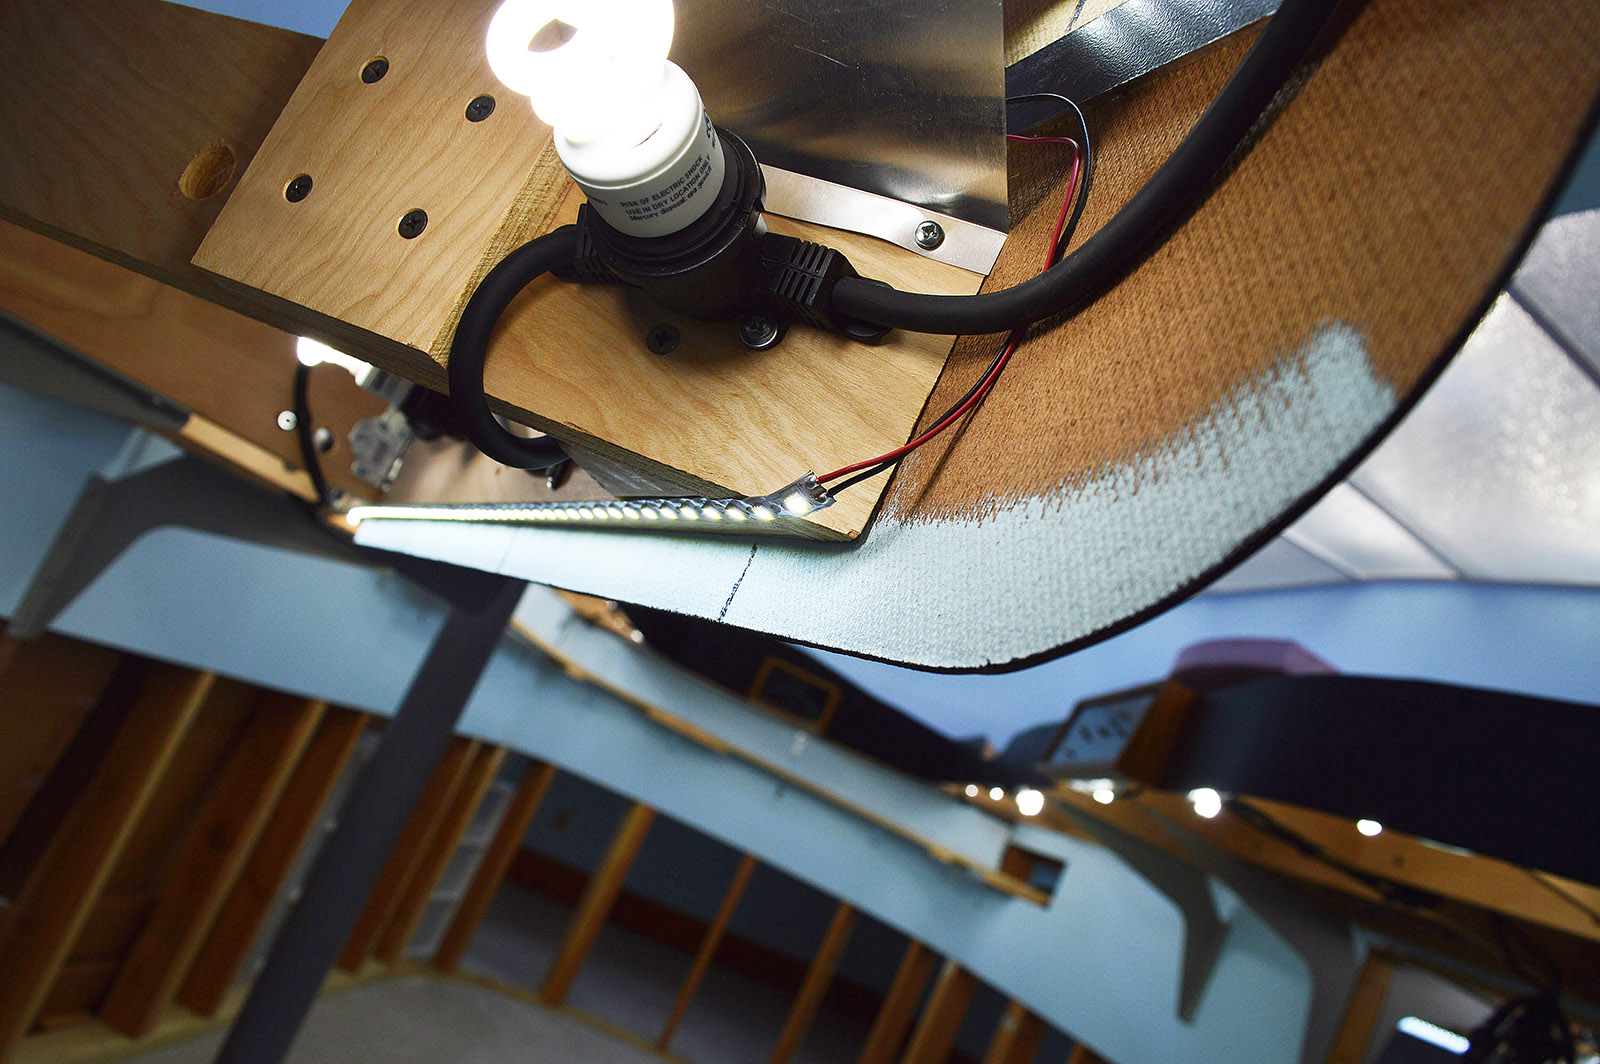
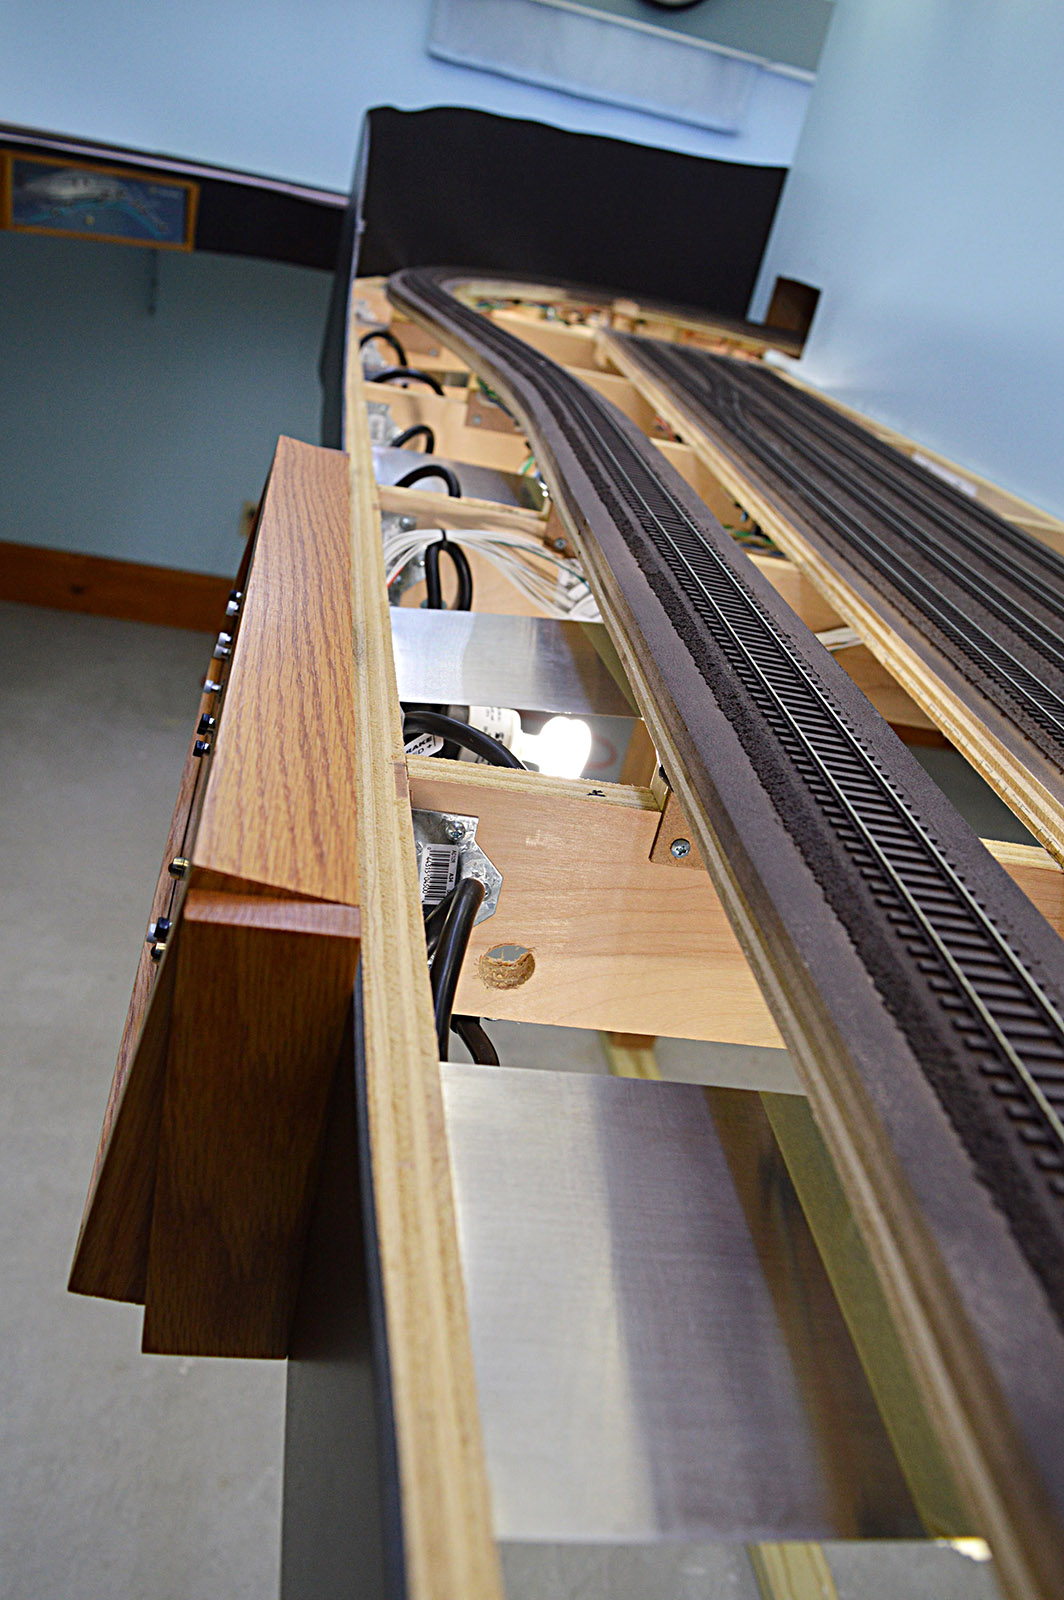
Installing lighting on benchwork that was built under the assumption no lighting would be present was not without its challenges but in the end it all worked out. Some random photos of the install:

Surveyor work
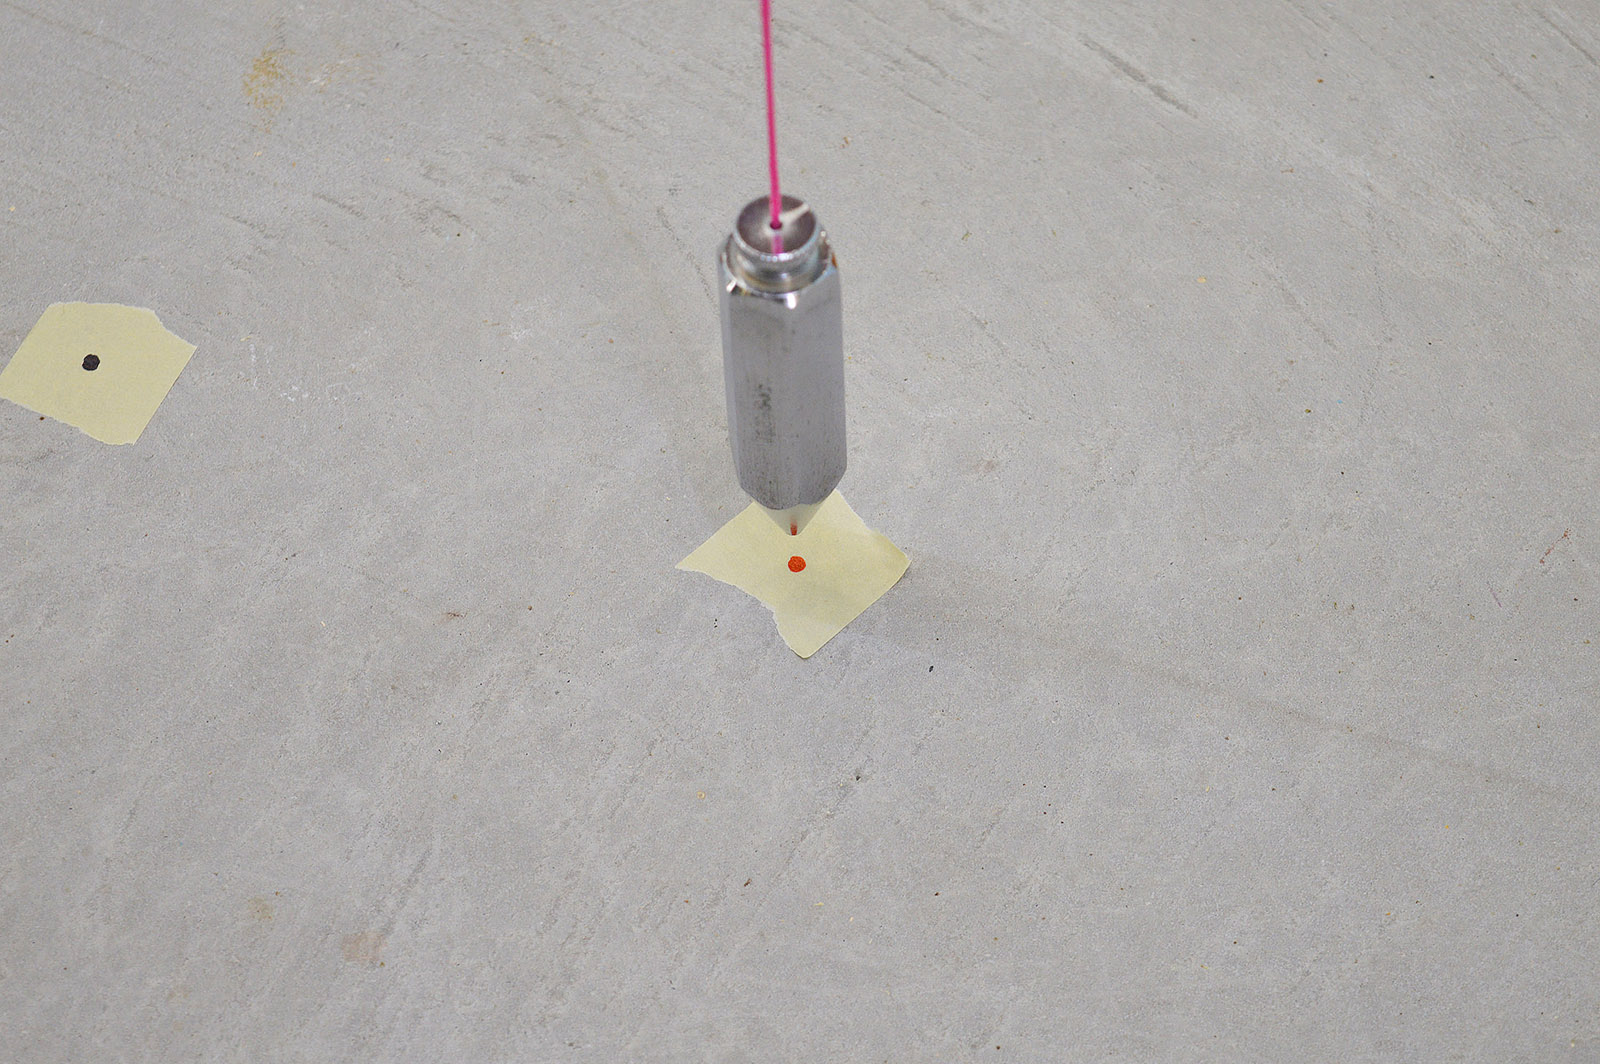
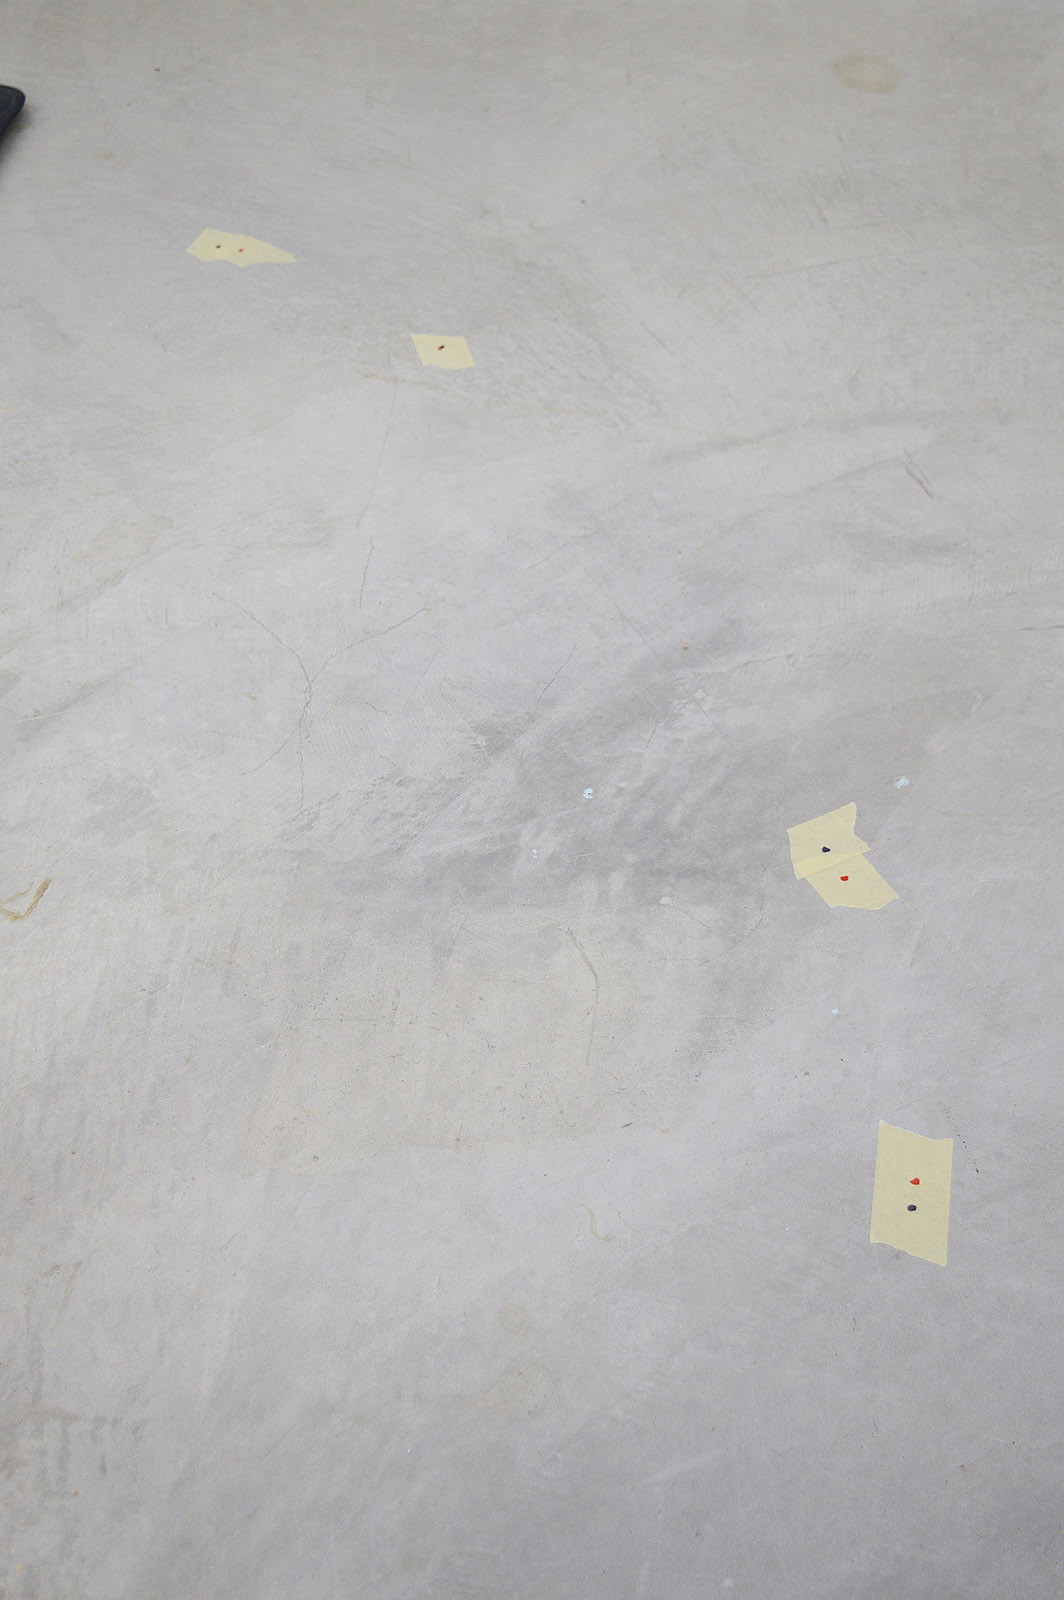
Aesthetics are important to me. To that end I want to make sure the upper and lower deck fascias have the same contour and vertical alignment. Lumber is cut in the workshop and assembled into benchwork in position on the basement floor. Measuring the upper deck provides the length and cut angles for the lower deck boards as they will be identical except in depth. To facilitate assembly on the floor I placed a dot at the location of each upper benchwork board joint (red dots) and dots for the fascia attachment screw positions (black dots). To keep it a one person job the dots were located using plumb-bob-on-a-stick.

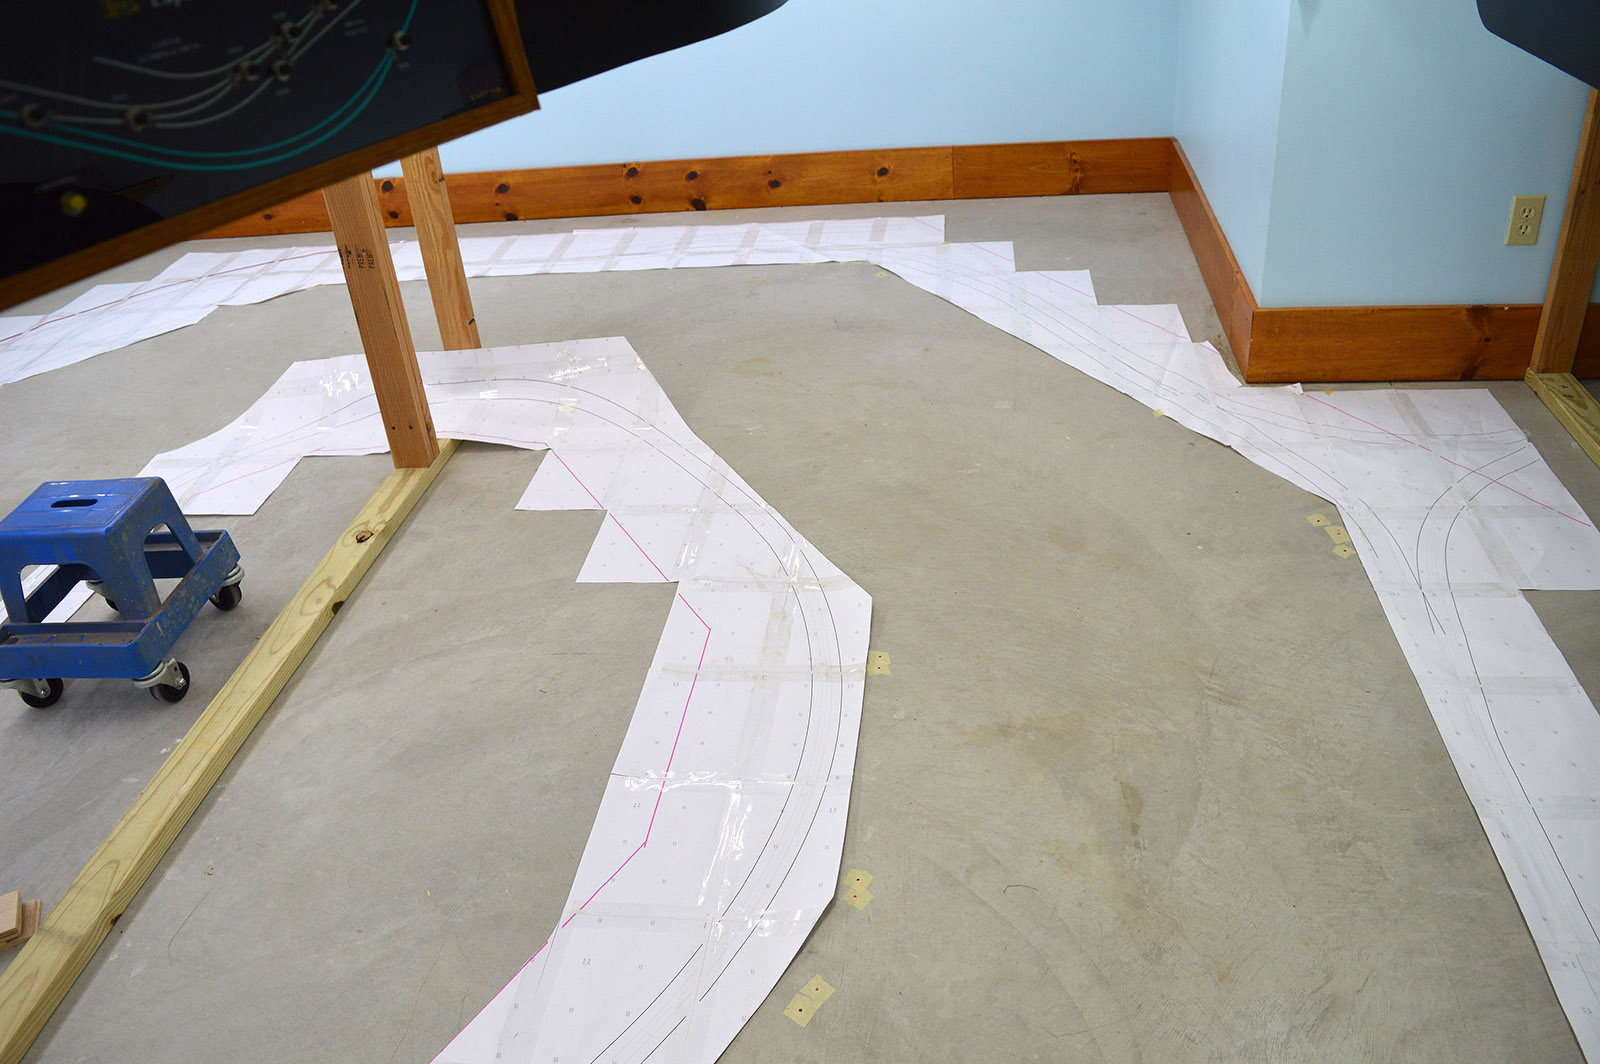
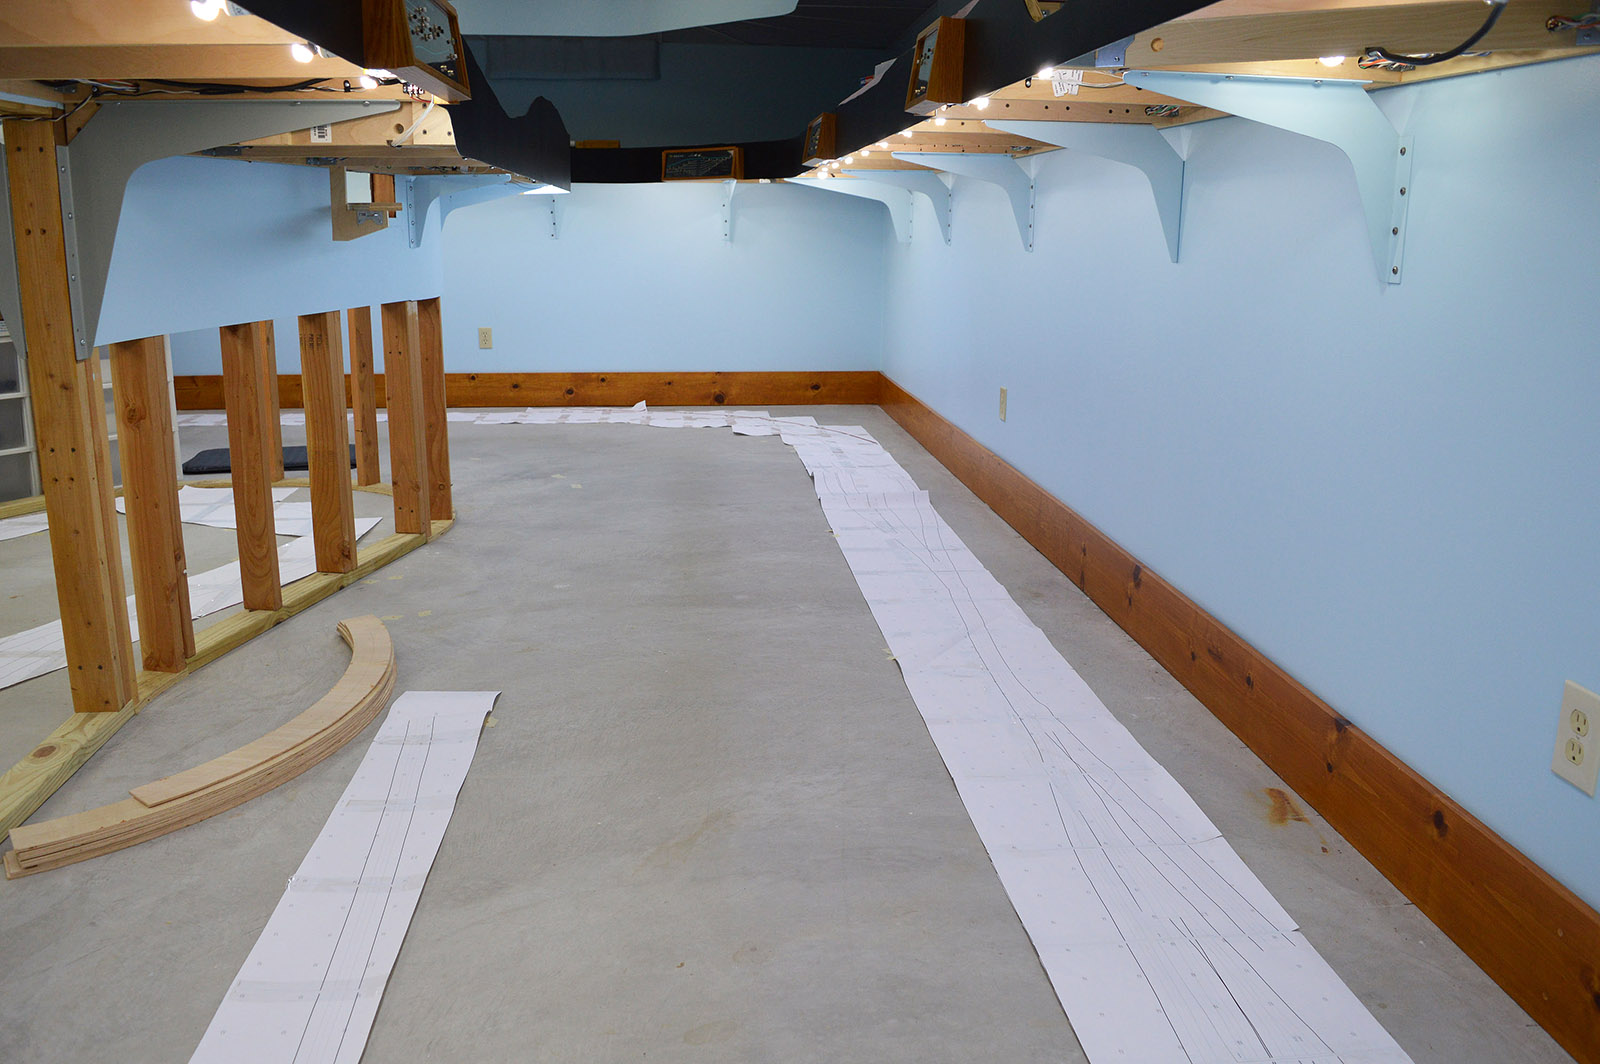
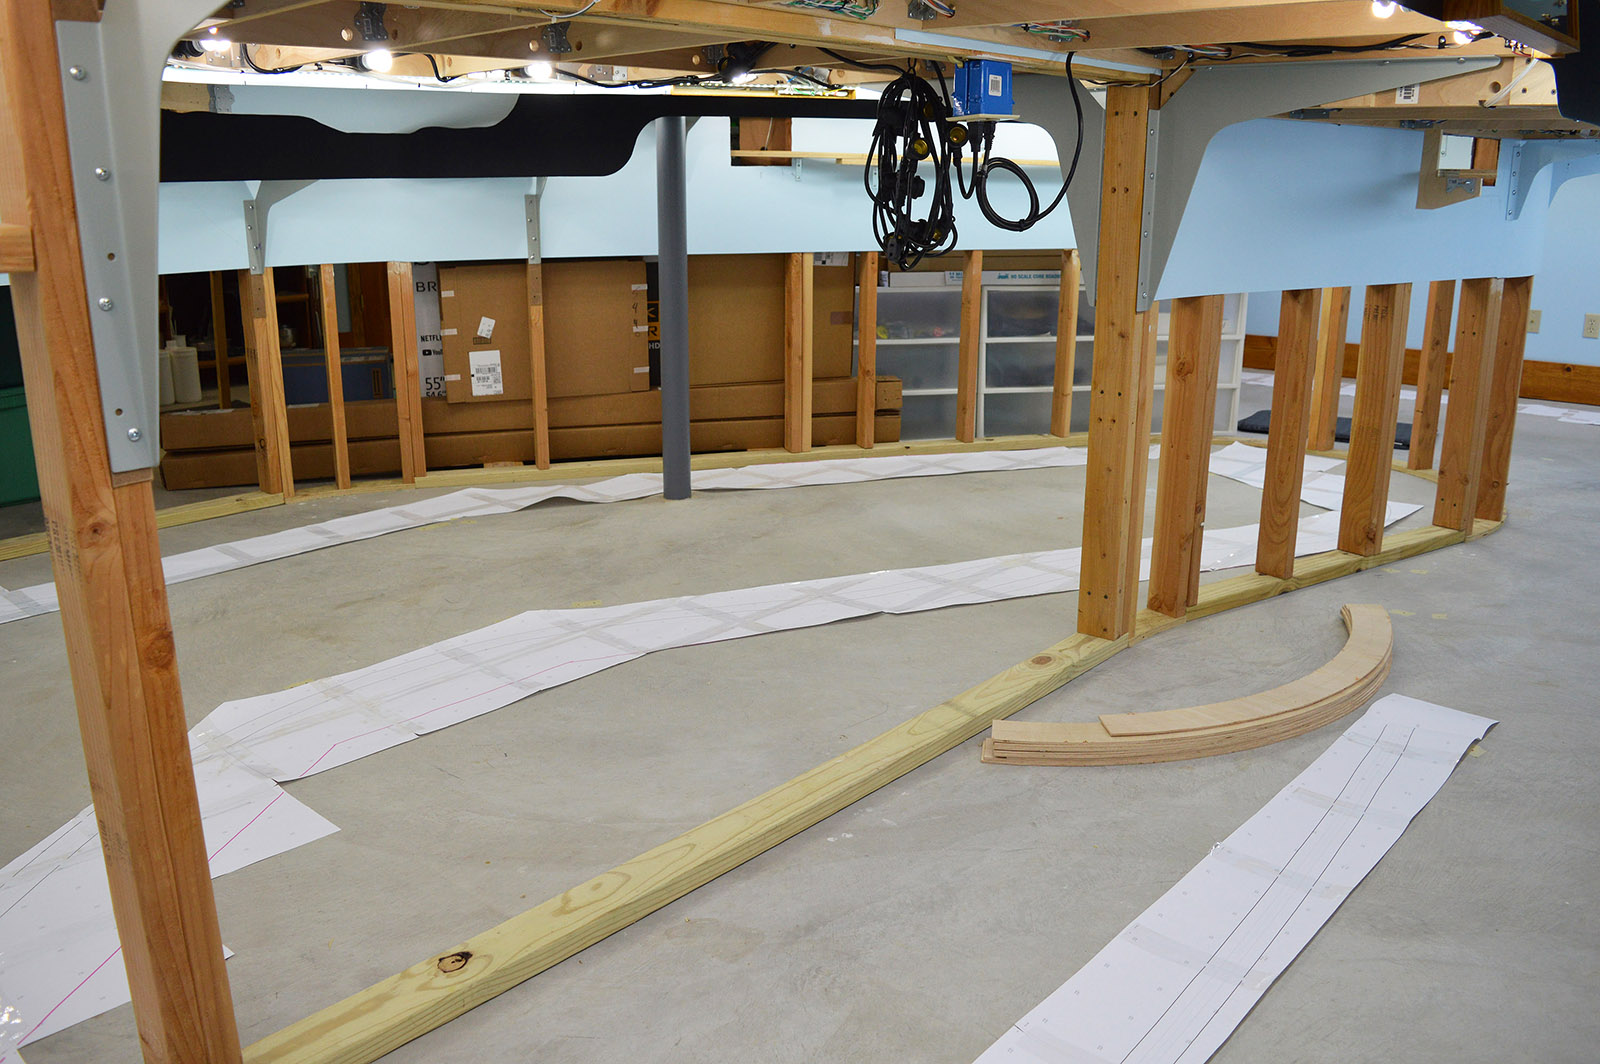
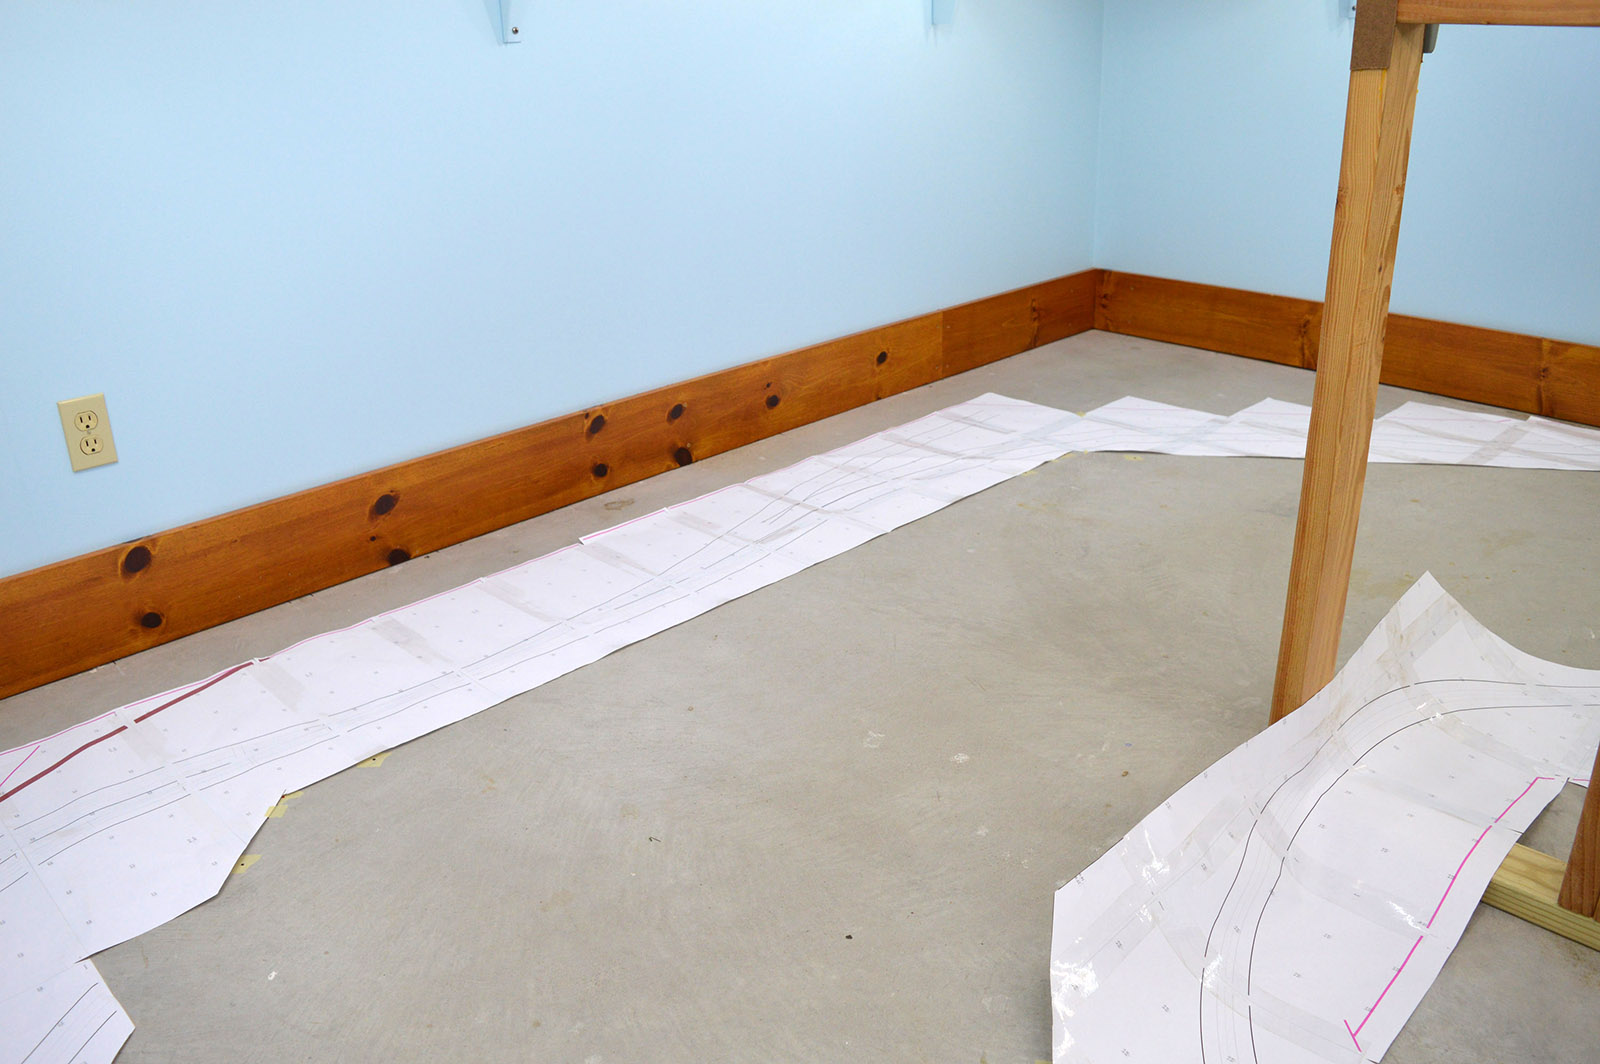
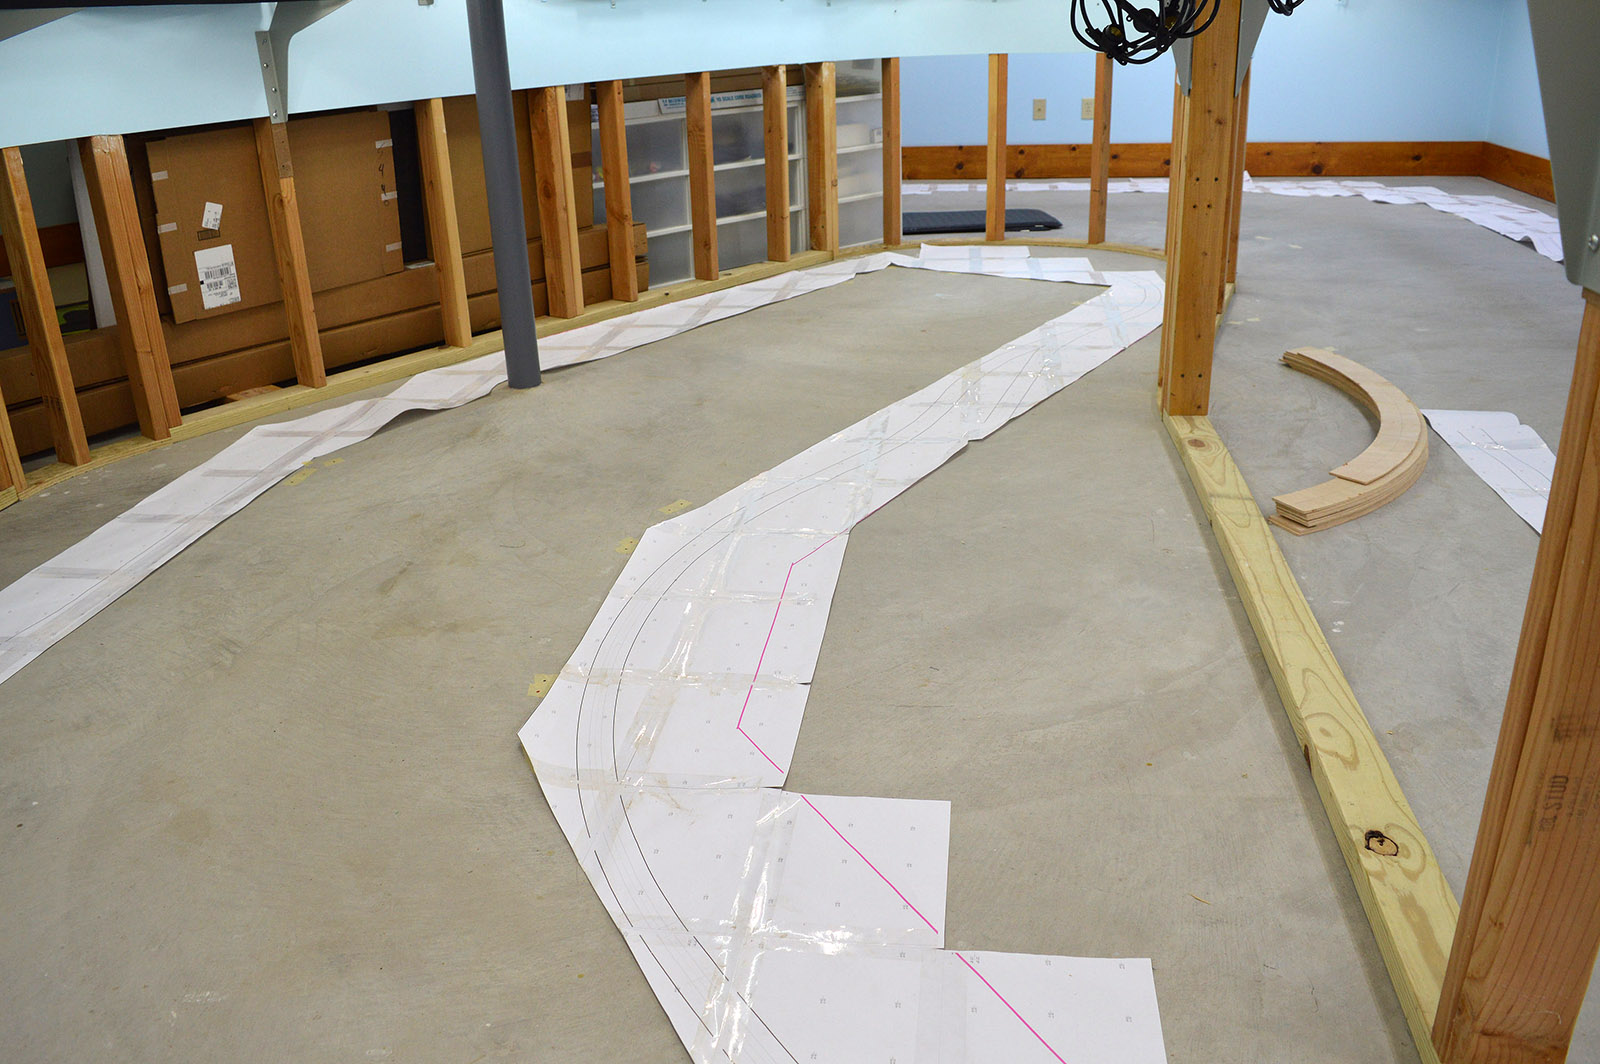
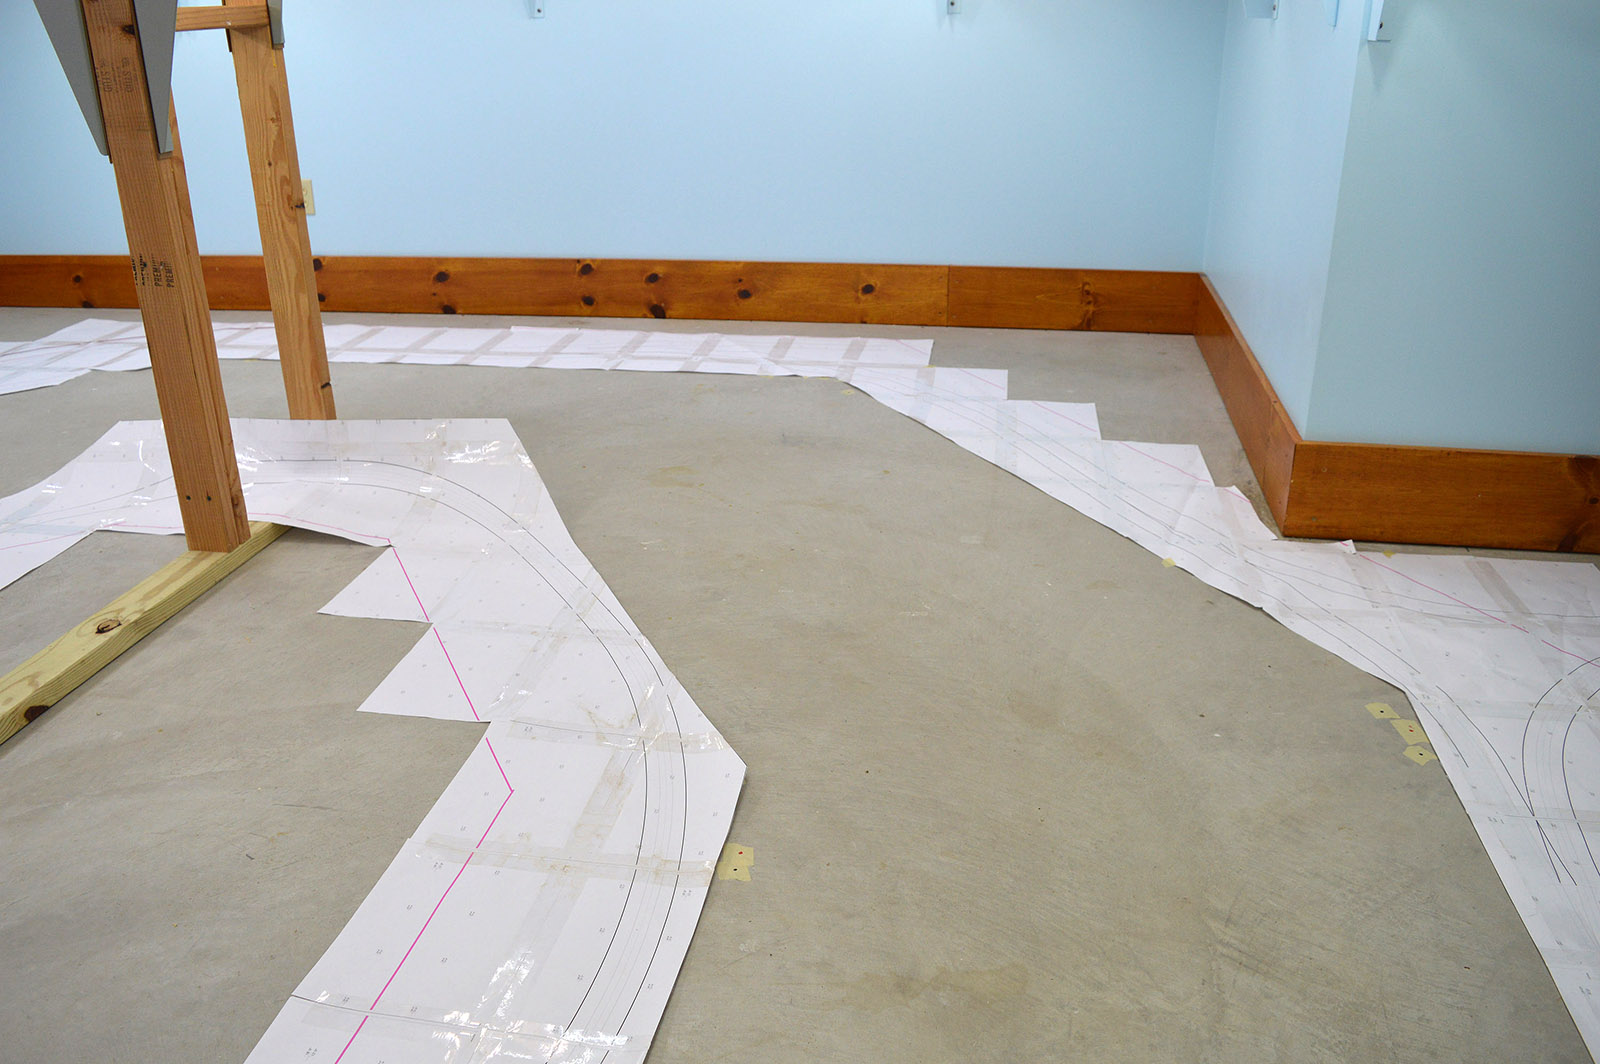
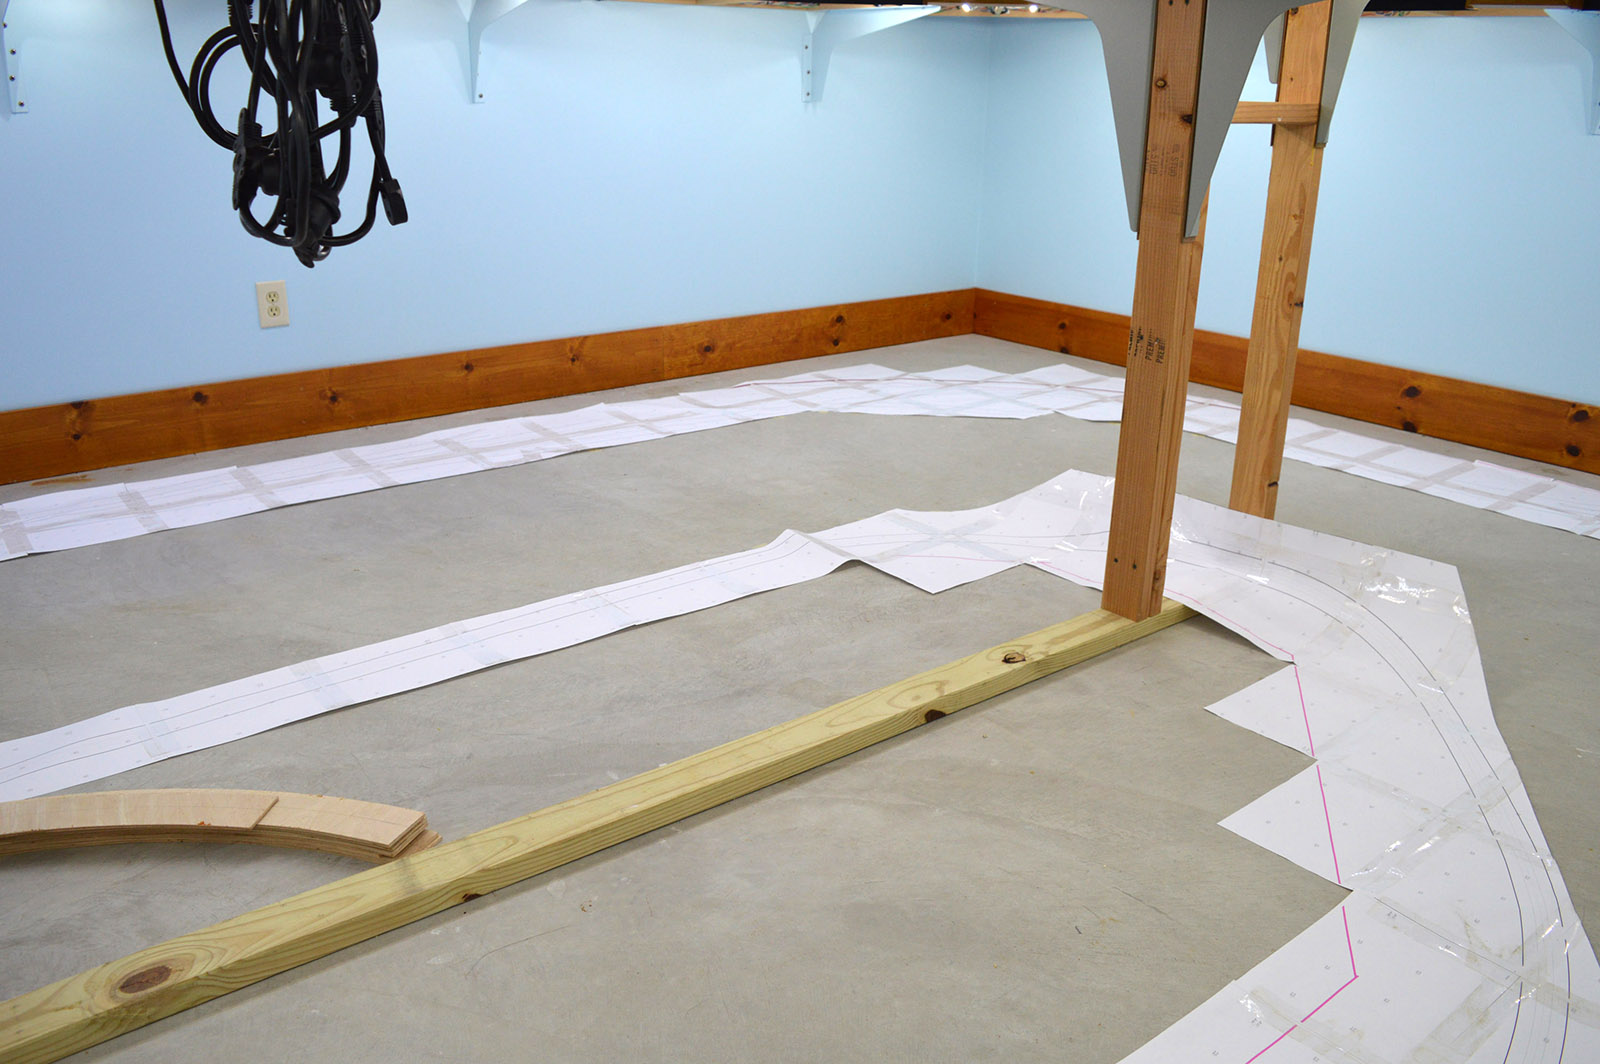
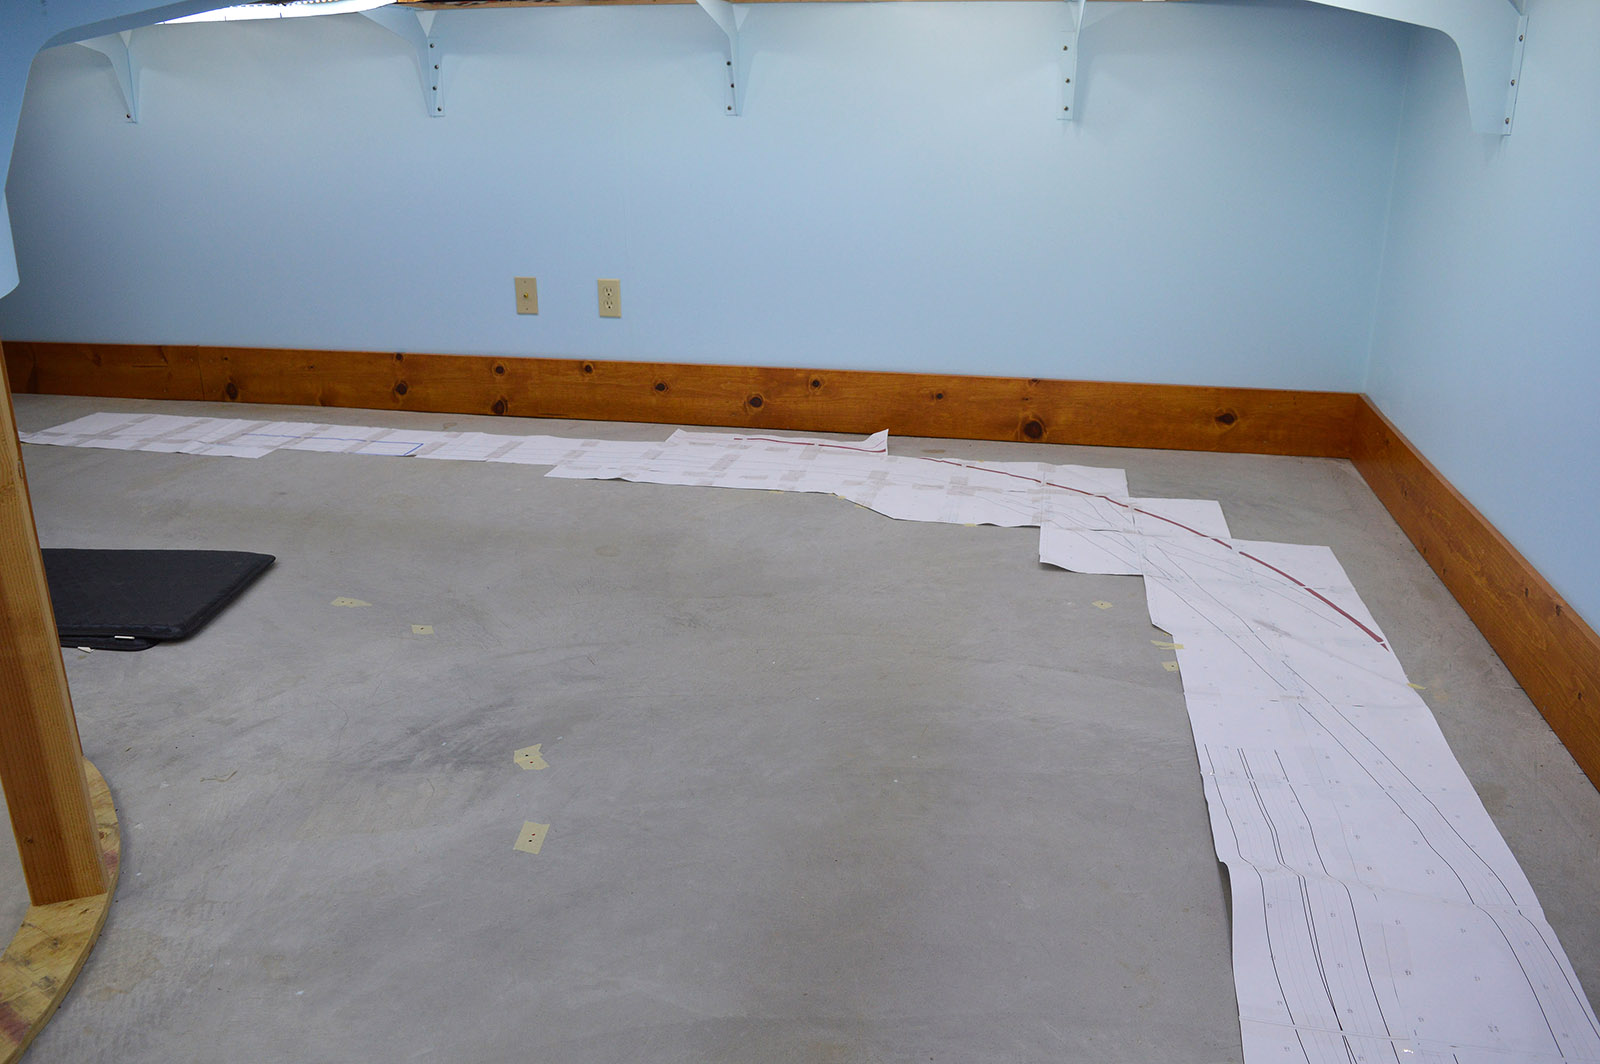
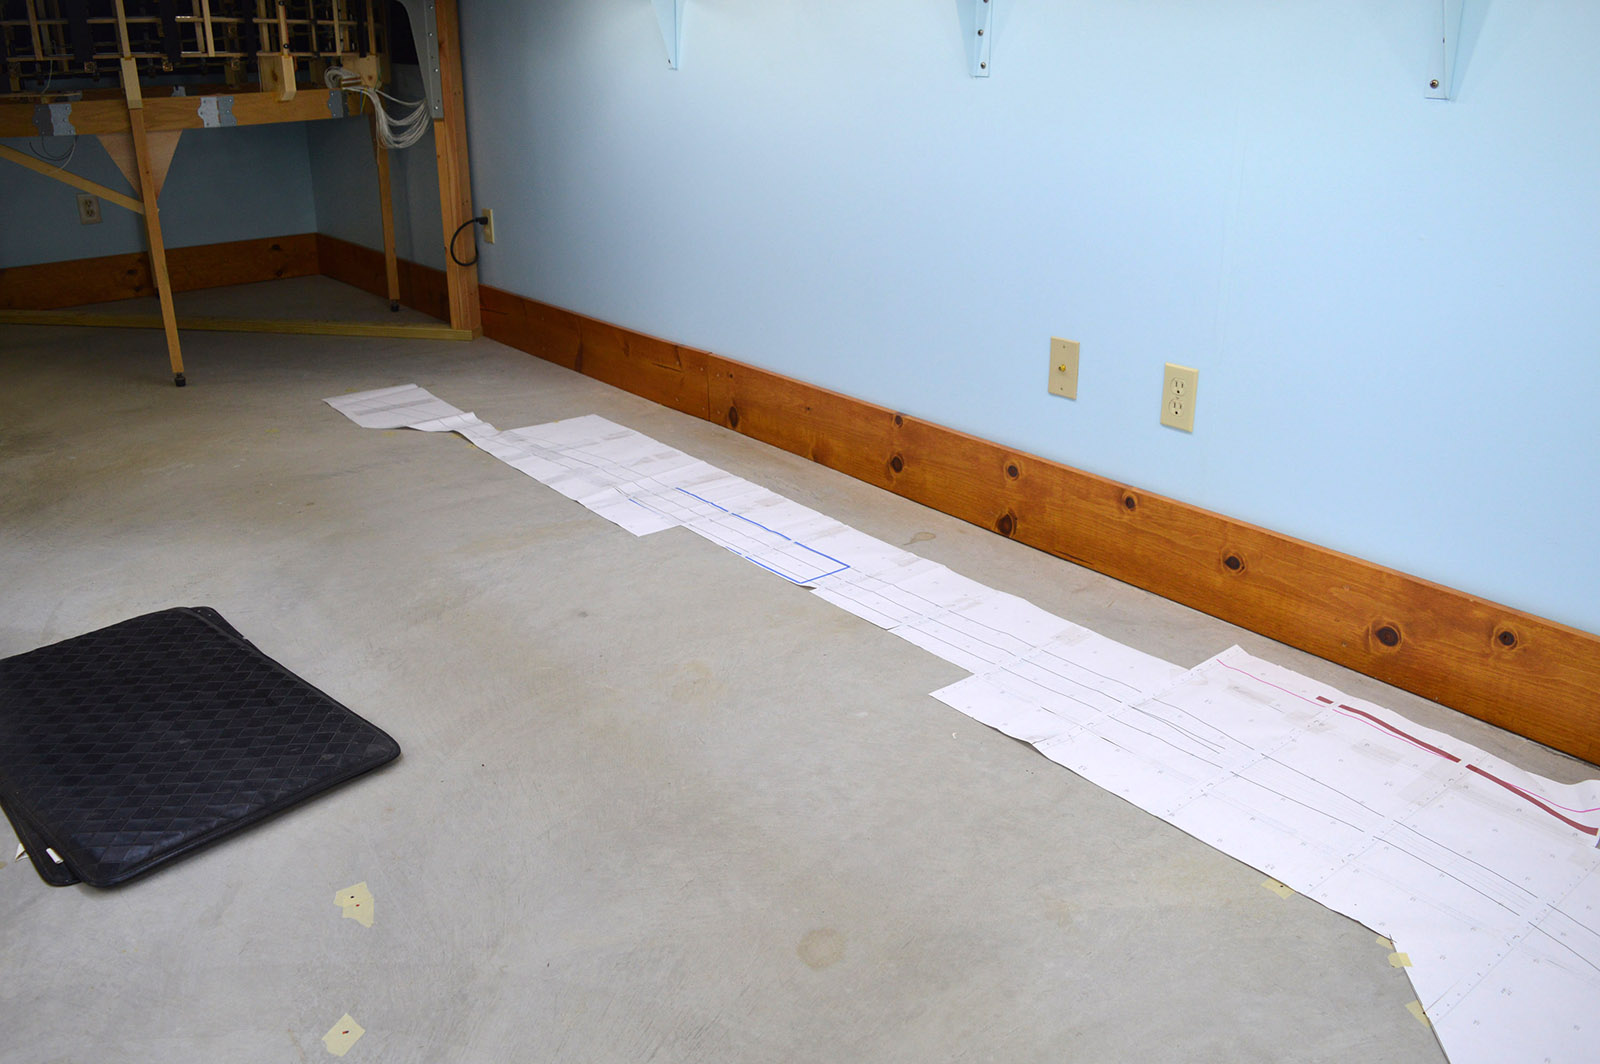
Paper track plan
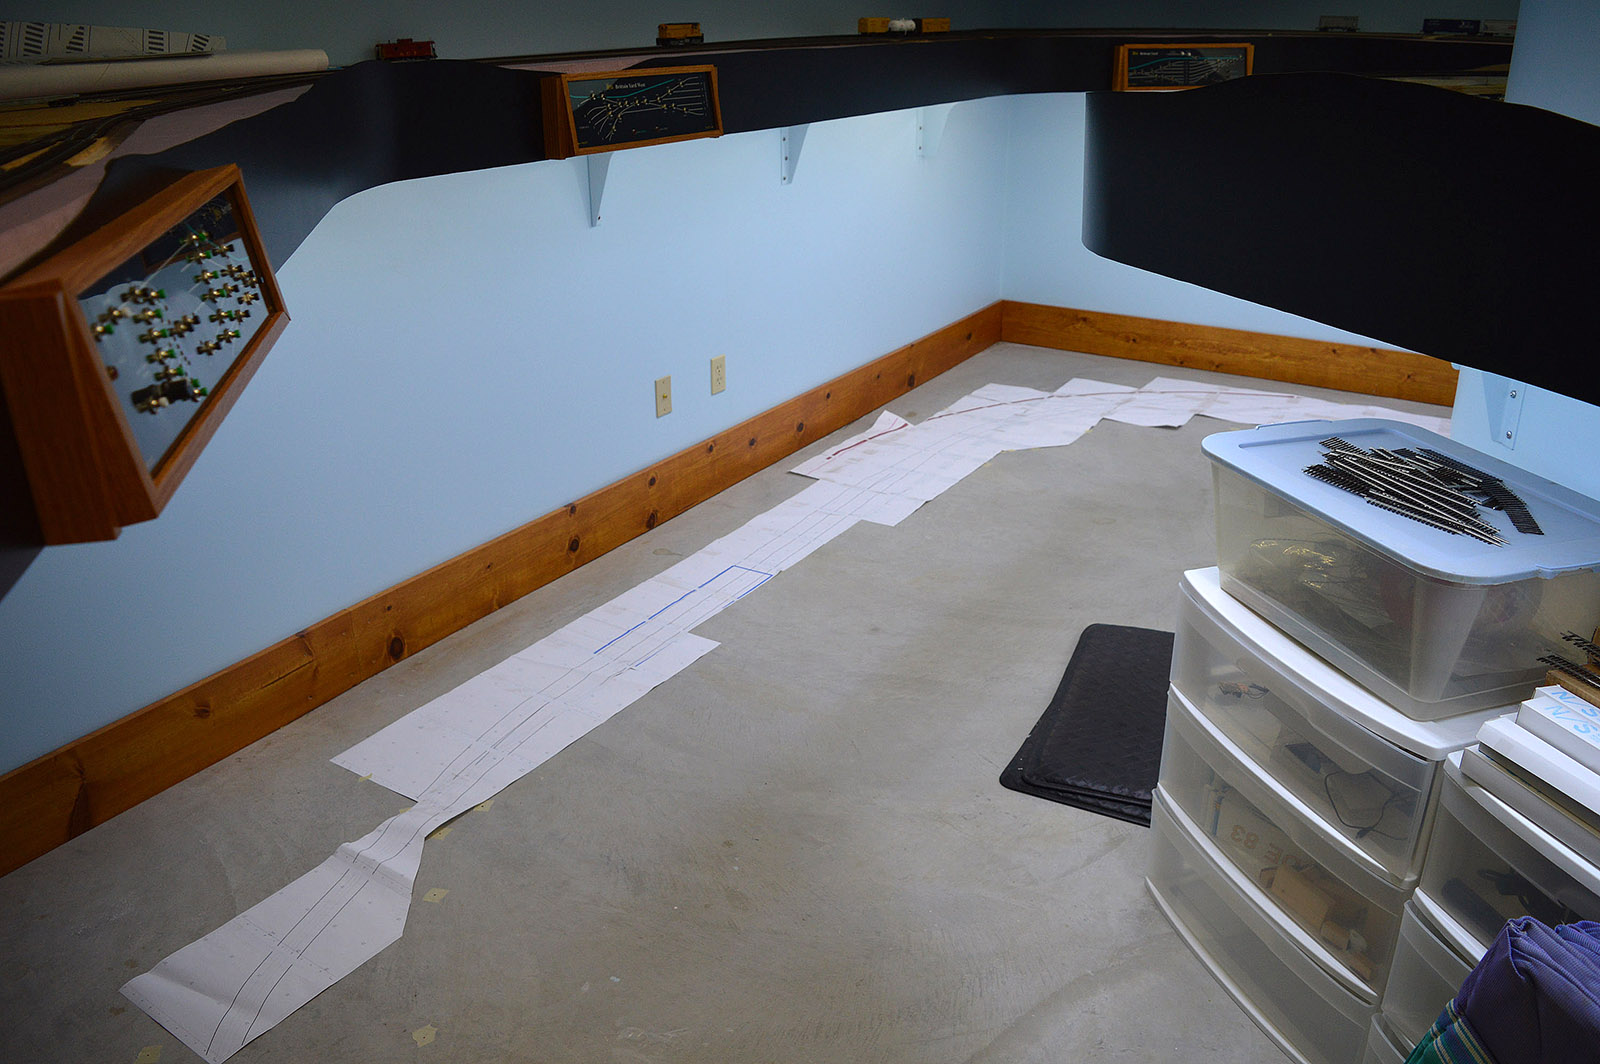
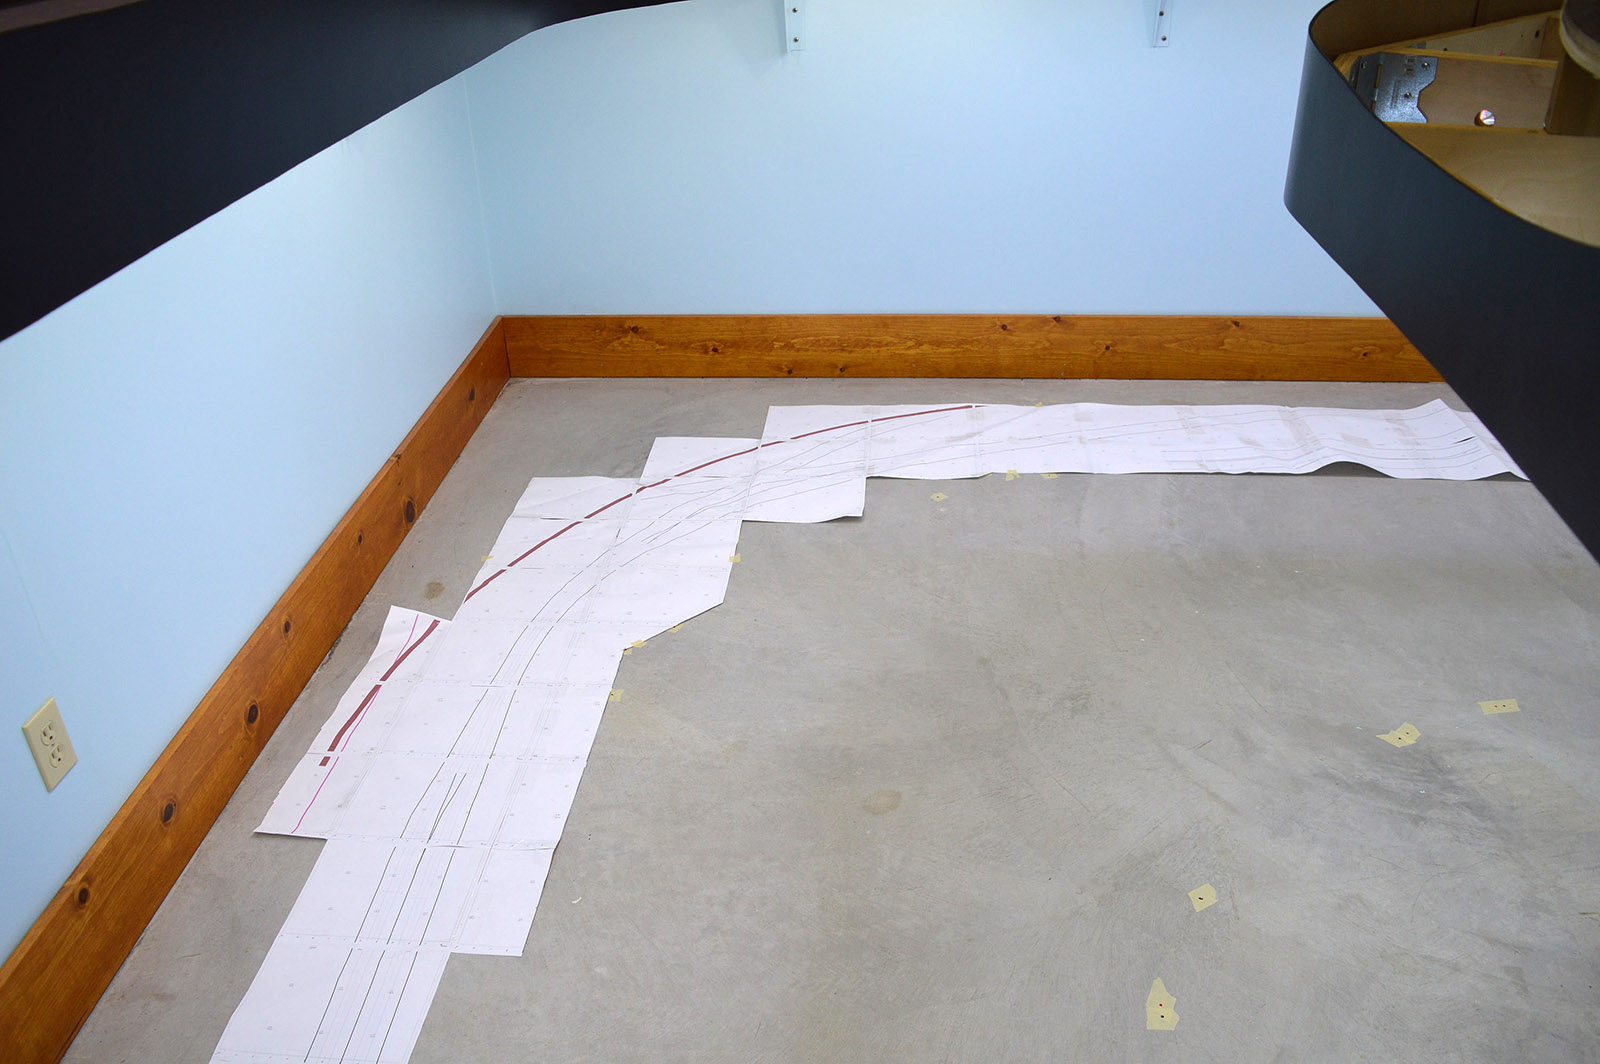
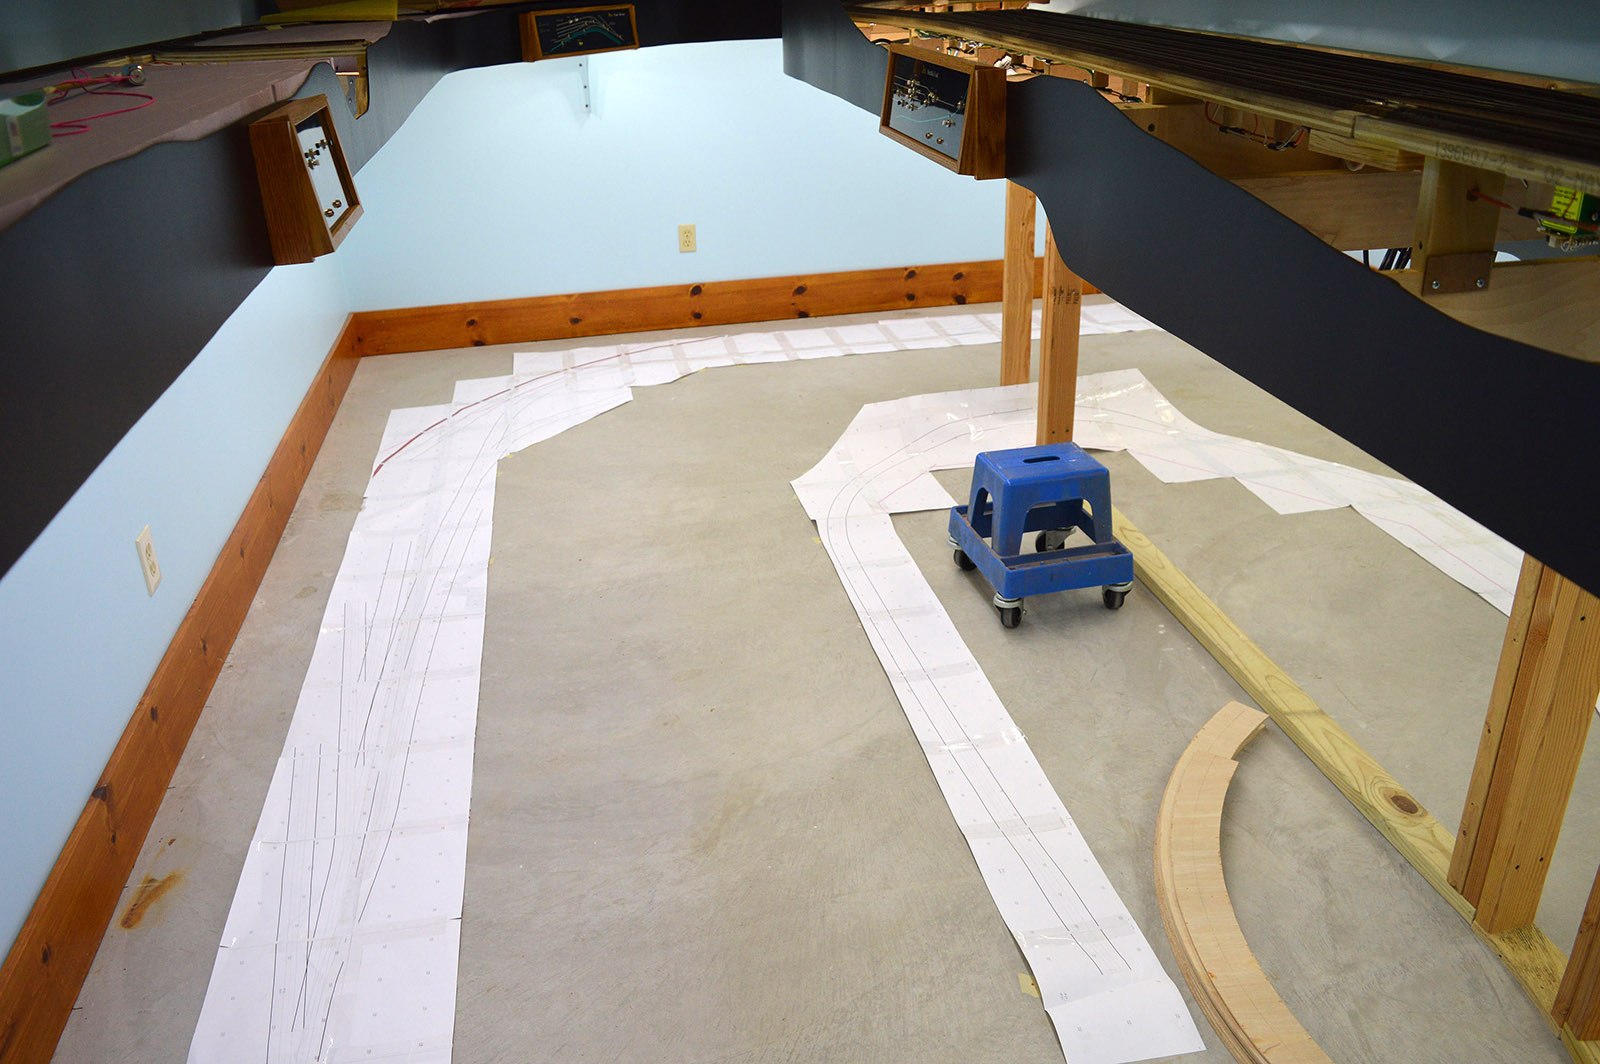
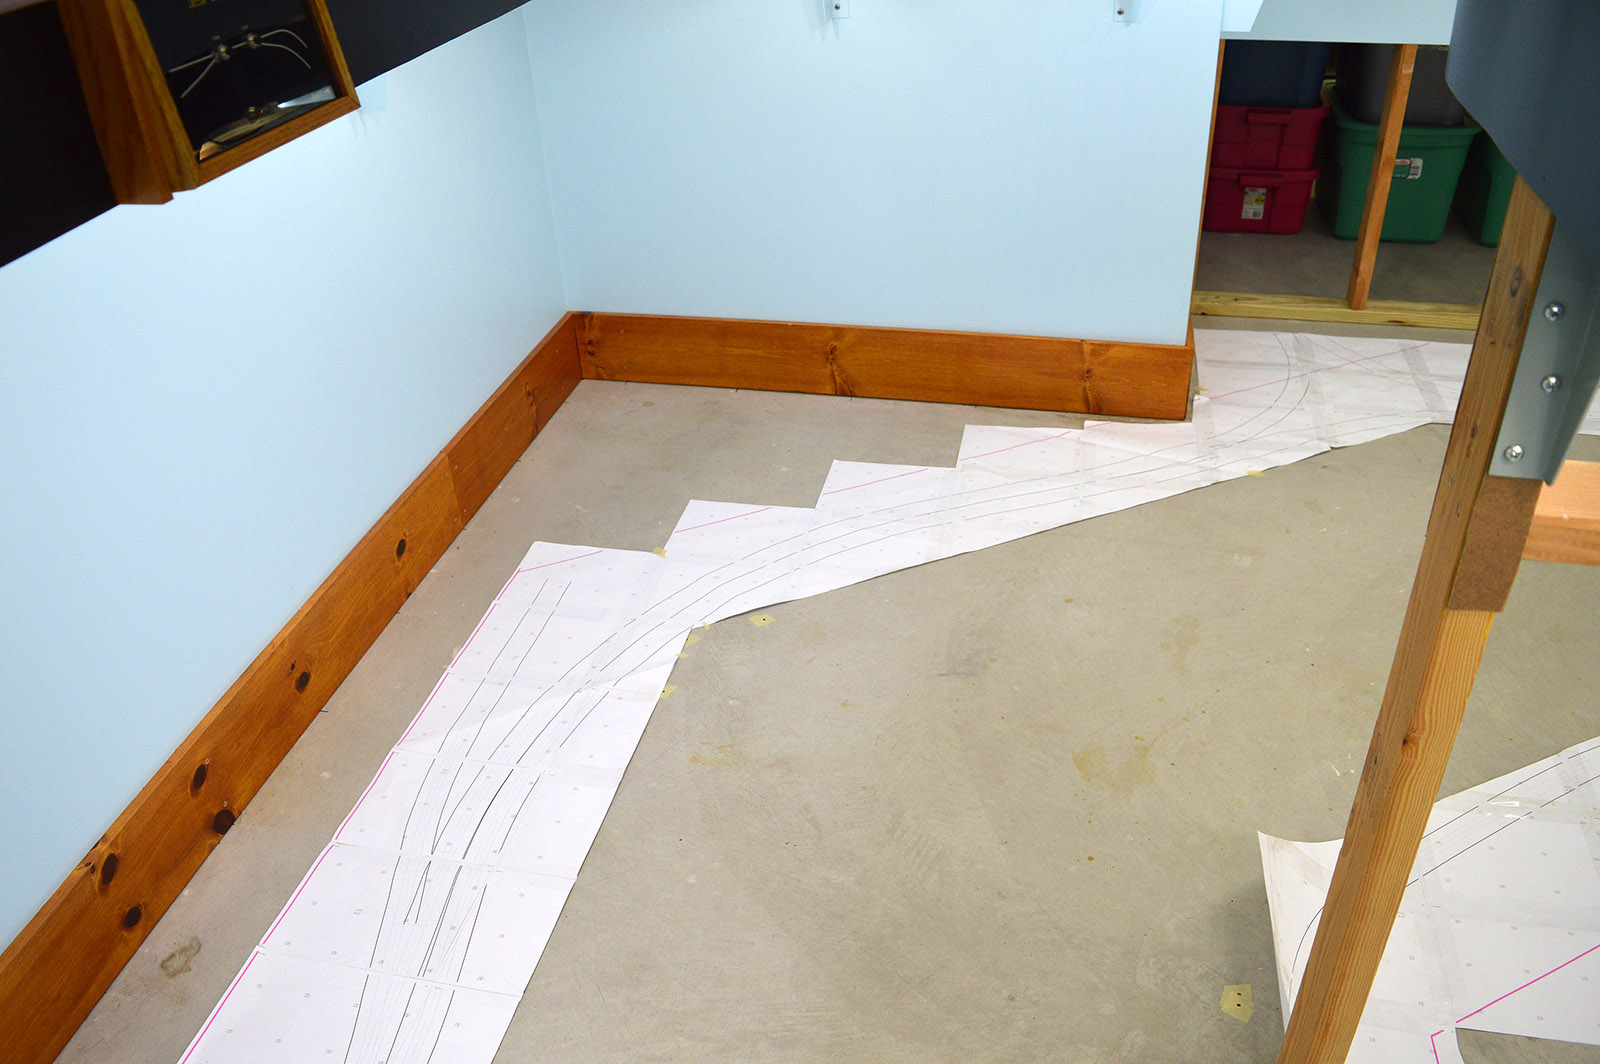
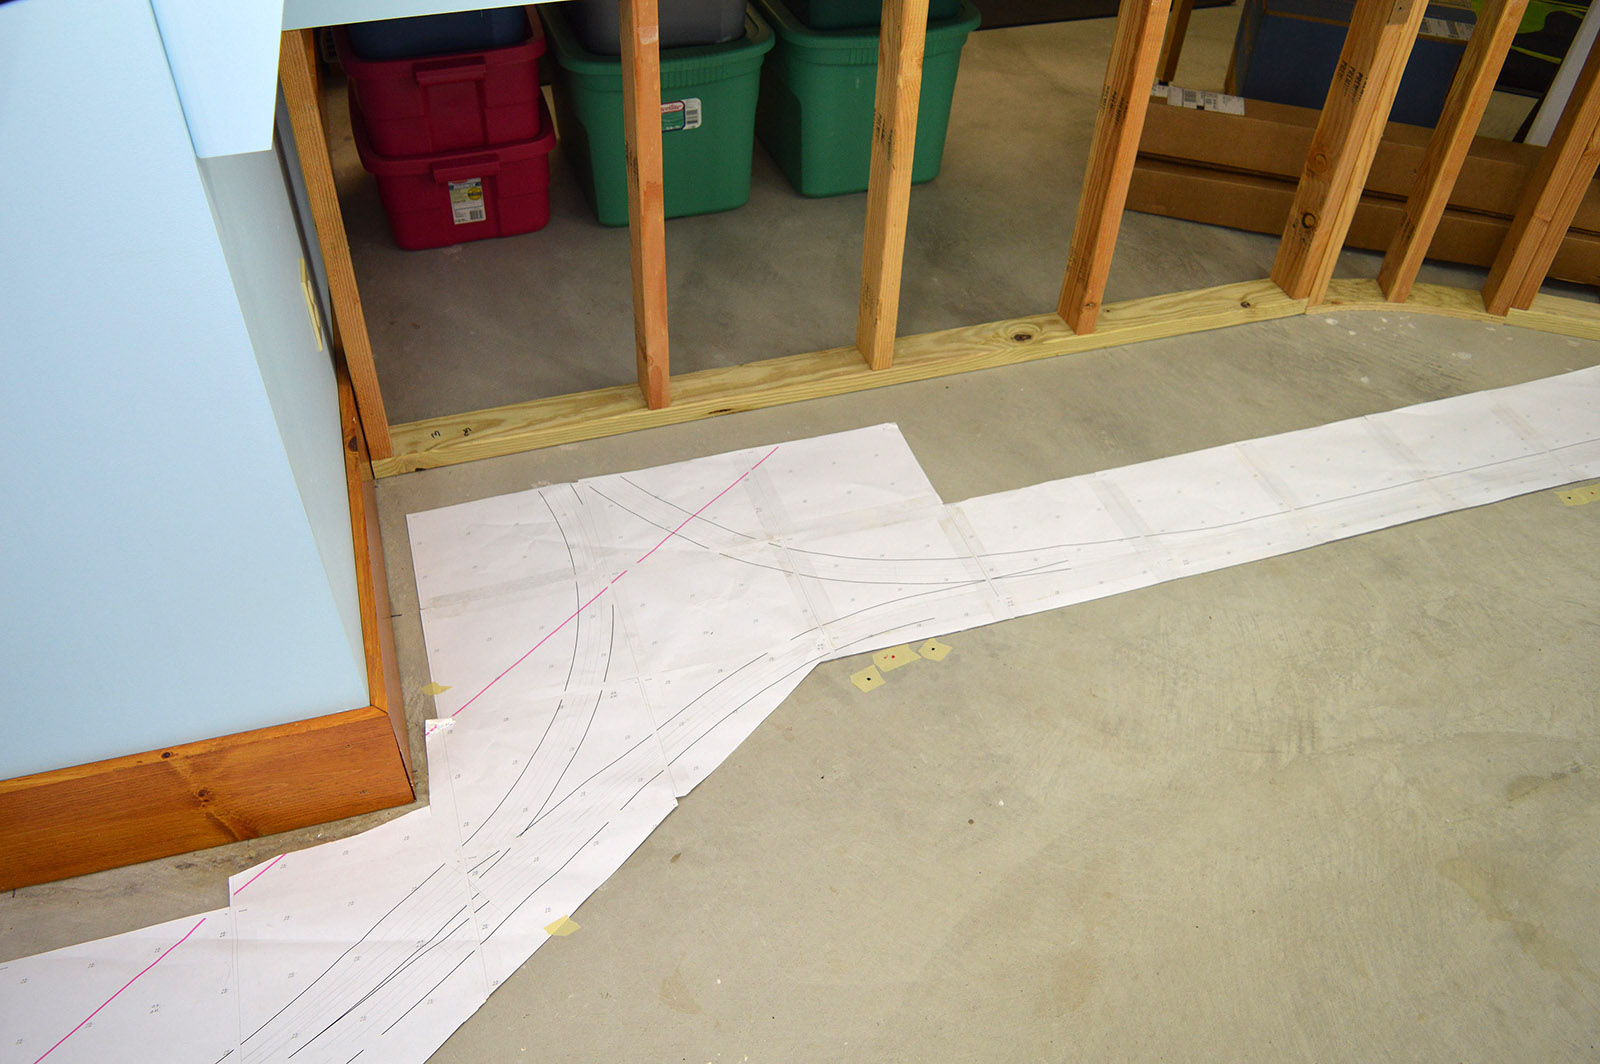
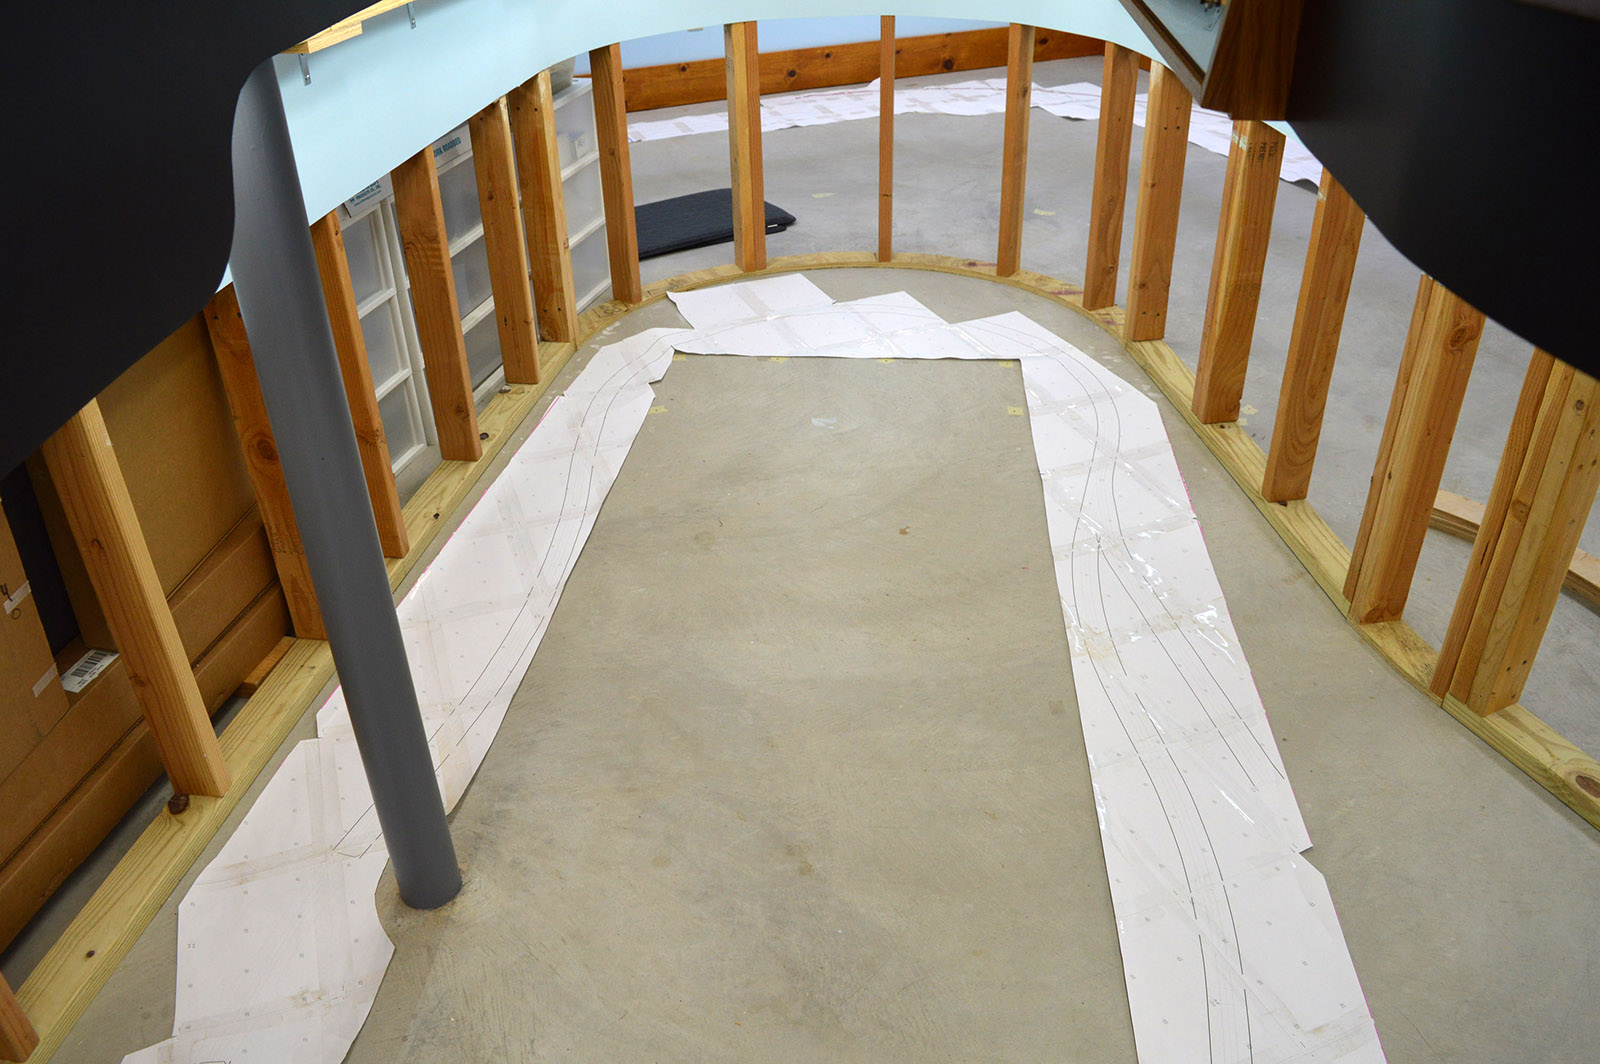
I printed the XTrackCAD file at 1:1 scale, taped it together with clear packing tape, and positioned it in rough alignment with the dots on the floor.
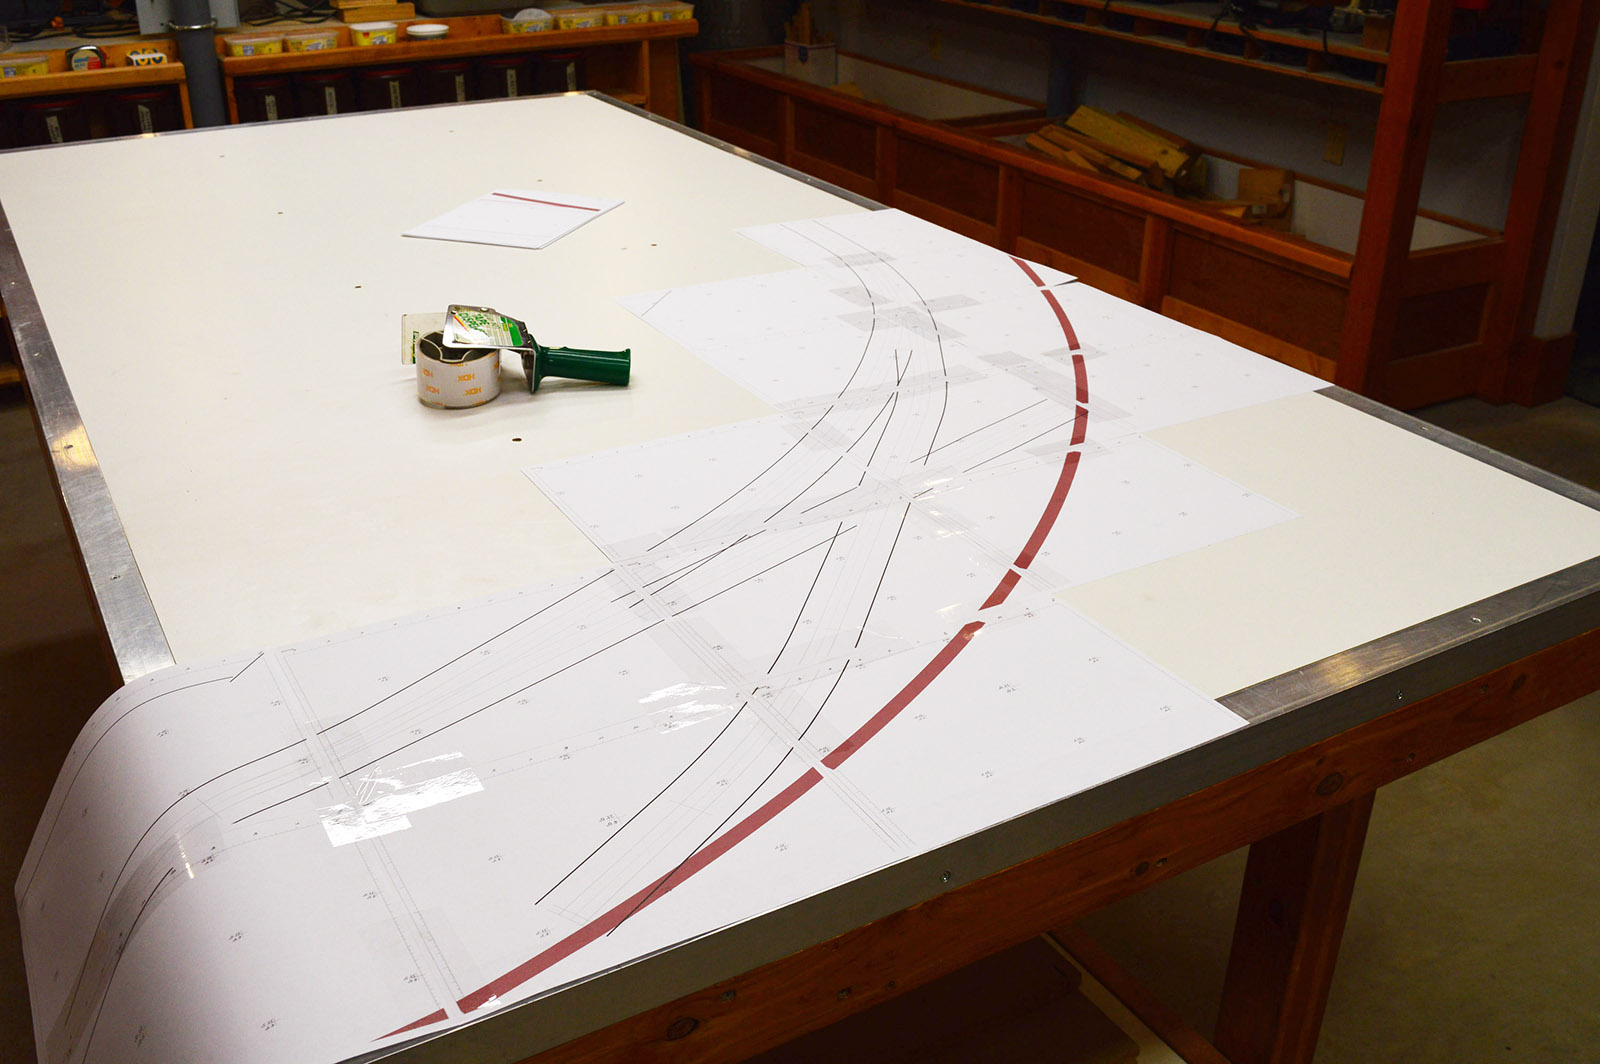
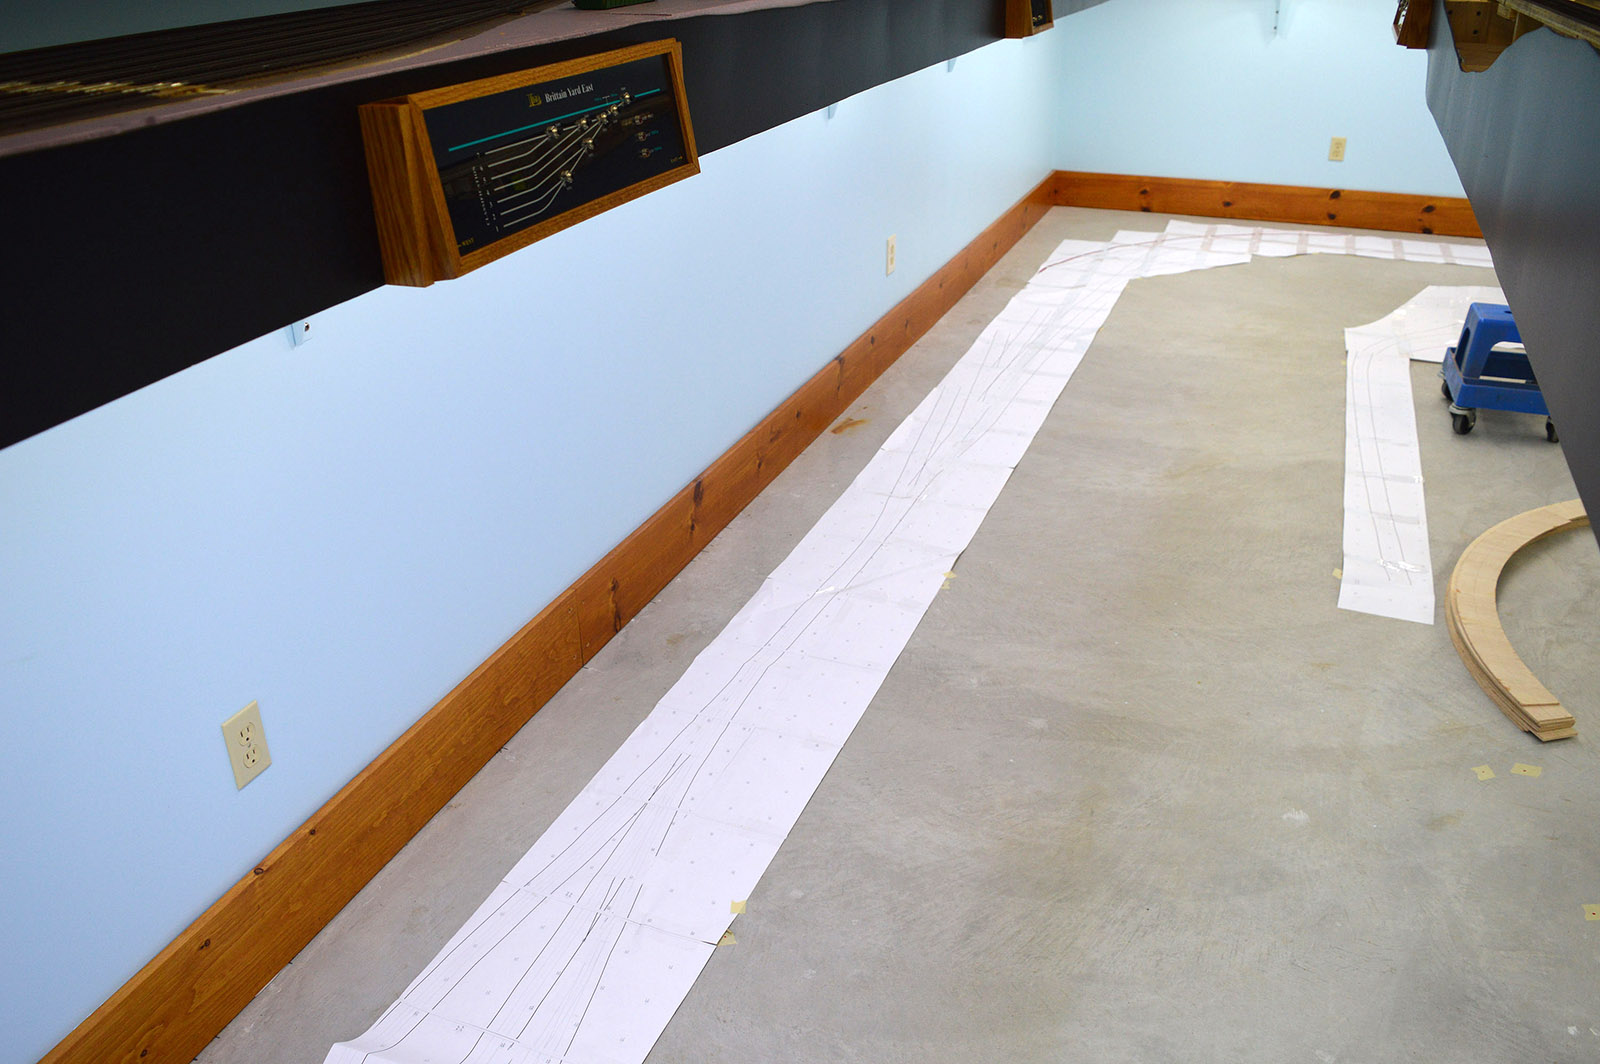
The paper track plan isn’t so much for building benchwork as it is to make sure I don’t put a crossmember where a Tortoise switch machine will be. That’s why rough alignment with the floor dots is sufficient. Later I will cut out the the track print to use as a pattern for cutting plywood sub-roadbed. The pics below were all taken with only lower deck lighting turned on. Looks like there will be sufficient light, eh?

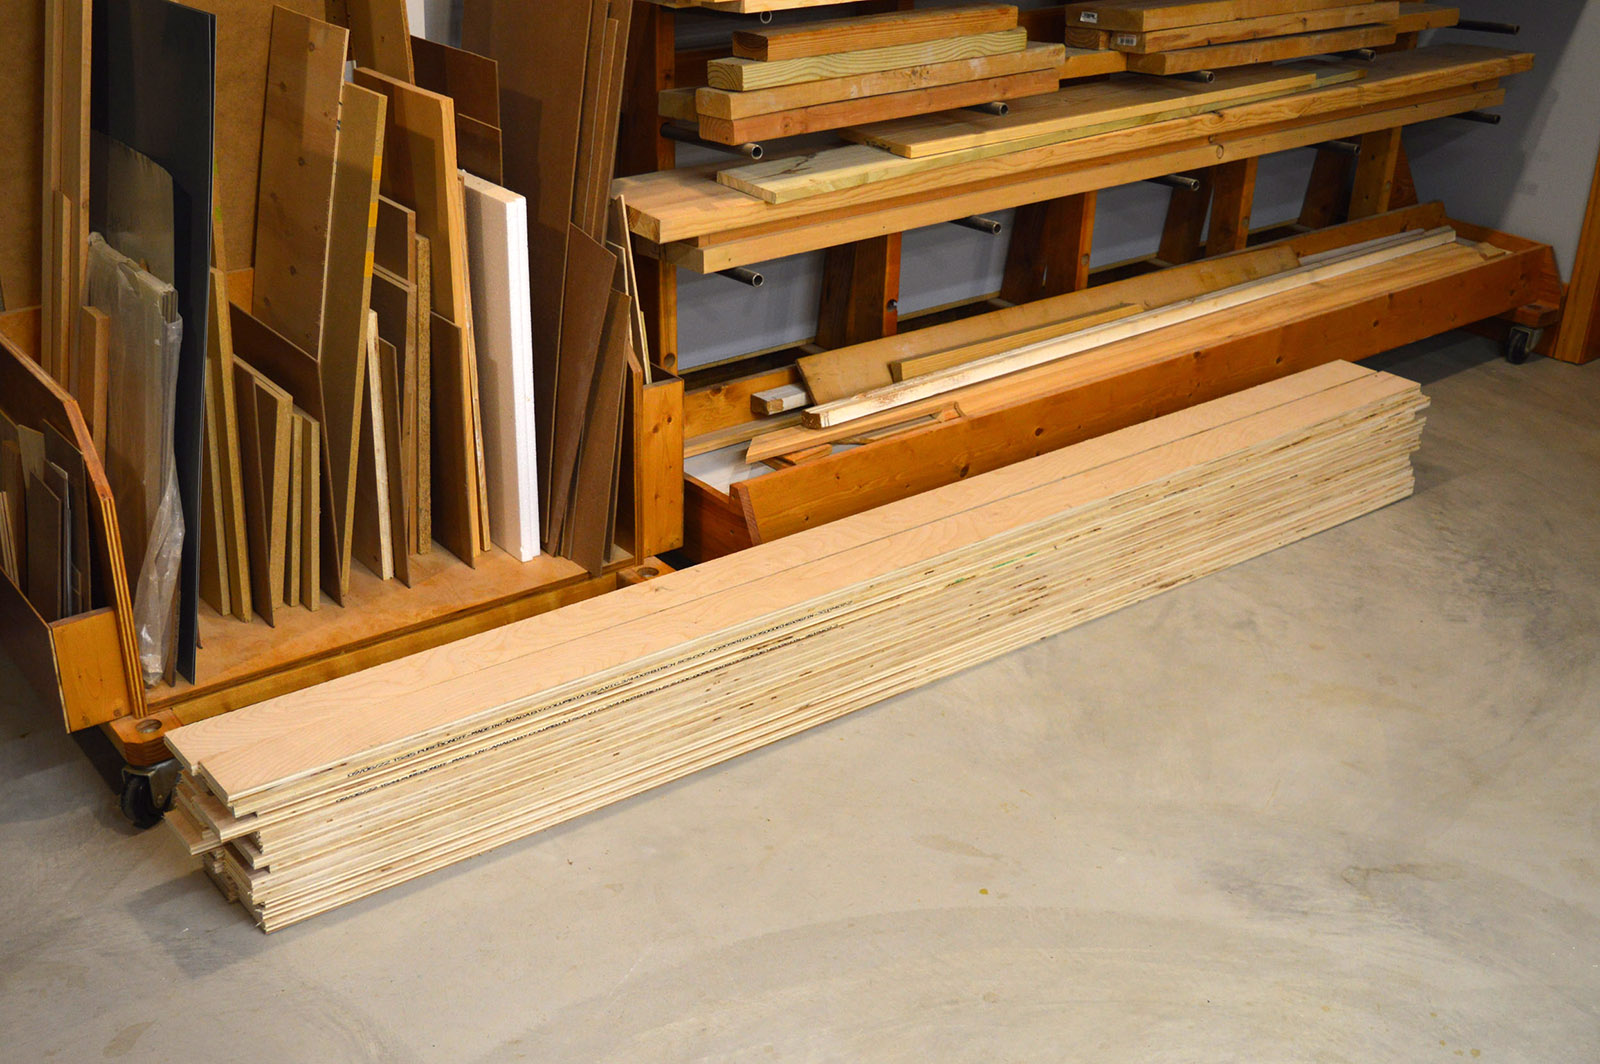
1X4’s
The last preparatory step was to cut some lumber. I ripped two 4×8 sheets of 3/4 birch plywood into 1x4s – 3/4 x 3-1/2 actual. A stack of straight lumber ready to go. I have two more sheets in the barn if I need more. Dang, plywood sure has gotten expensive.
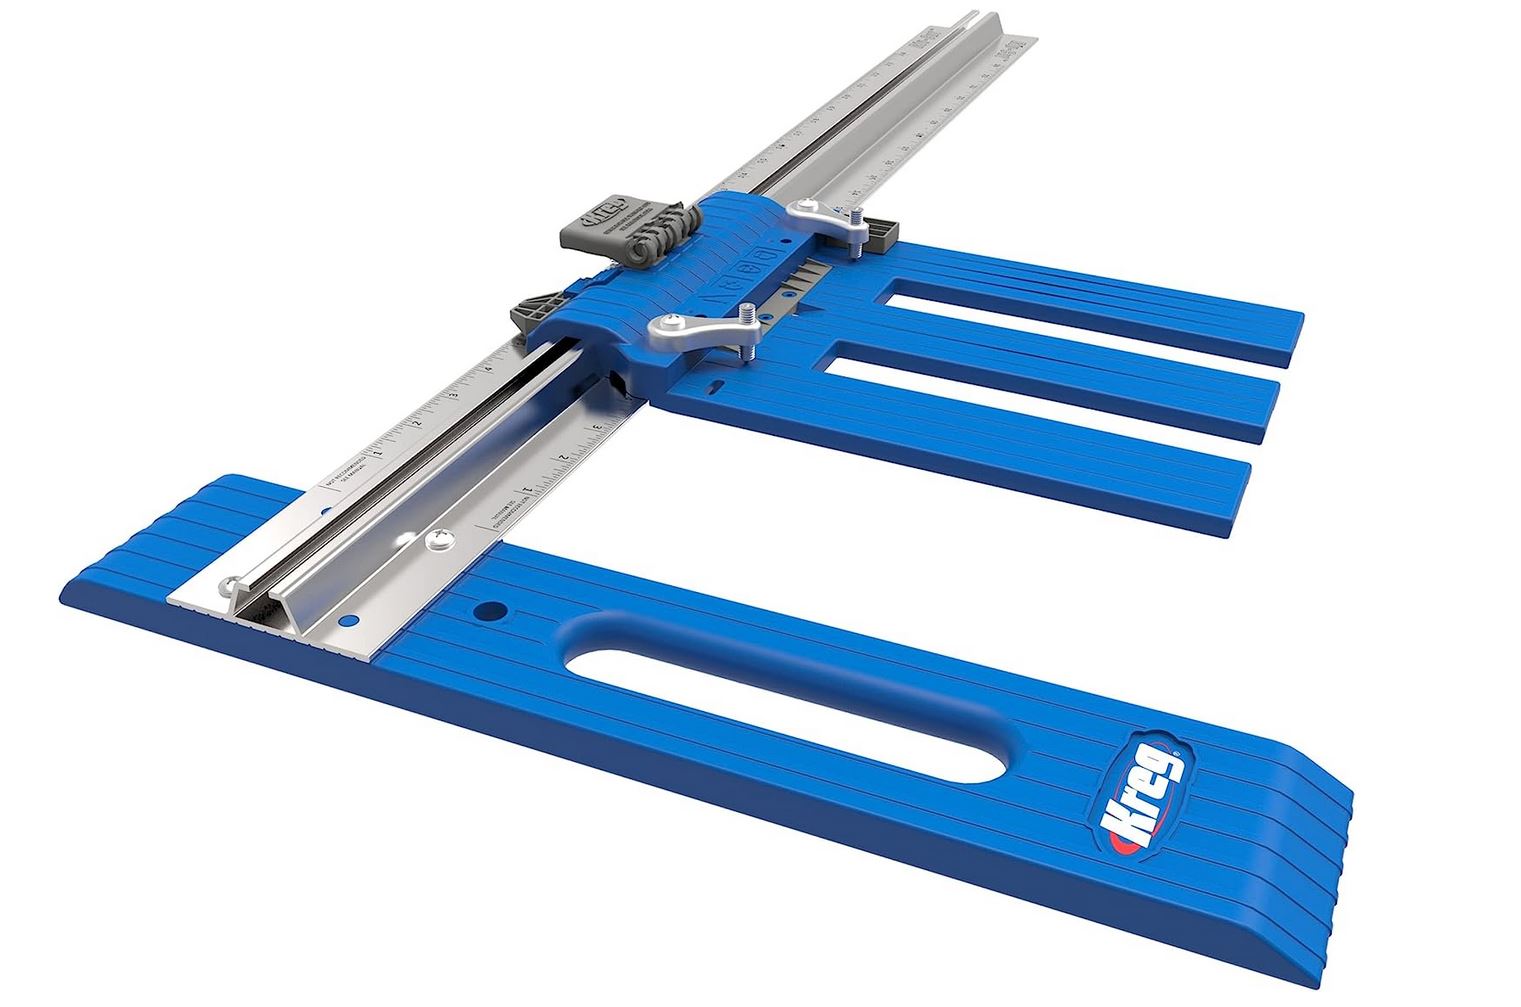
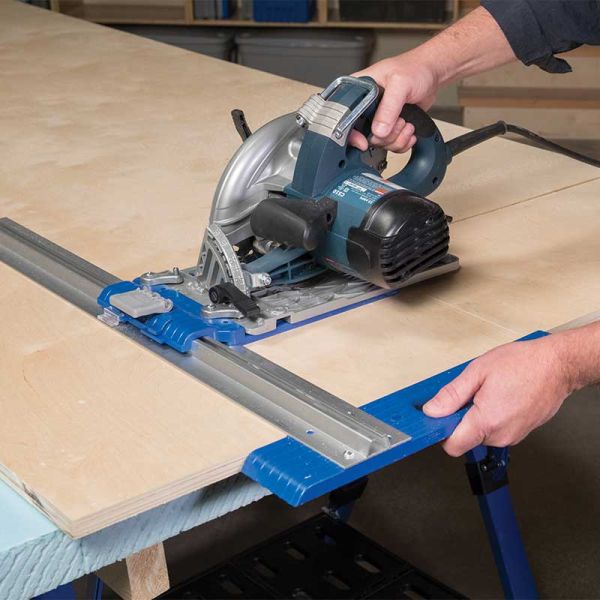
This was also my first opportunity to try out a new tool my wife gave me for Christmas last year – a Kreg Rip-Cut jig. You mount your circular saw to it and make rip cuts using the board edge as a guide. If you have ever manhandled sheets of plywood across a table saw you know it is not a lot of fun. Even with infeed and outfeed tables it is backbreaking work. To avoid this in the past I used a long piece of aluminum angle as a clamped on fence or guide for the circular saw. That worked for the most part but no where as accurate or fast as the Kreg Rip-Cut. It made slicing up the sheets into strips almost effortless. And they are all exactly 3-3/4″ wide. Really liking the Rip-Cut.
Up next, build benchwork. It’s like it is 2012 all over again!
