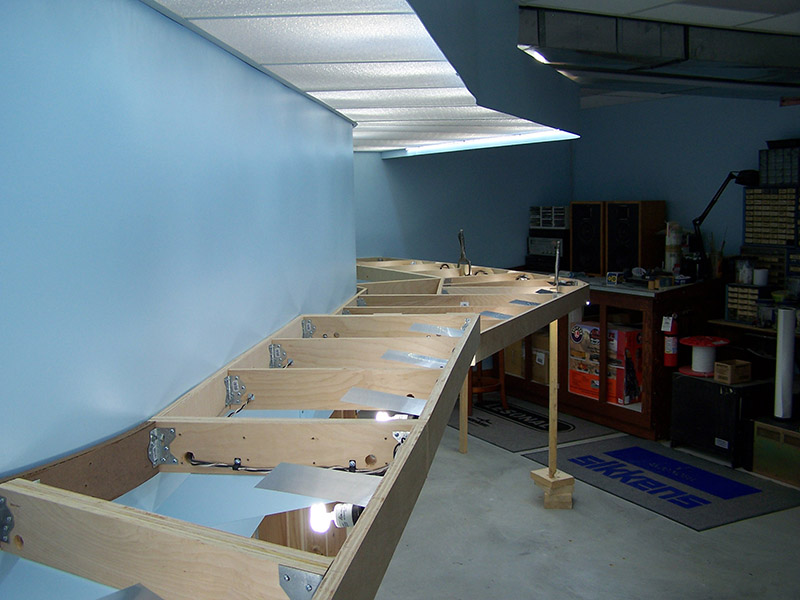
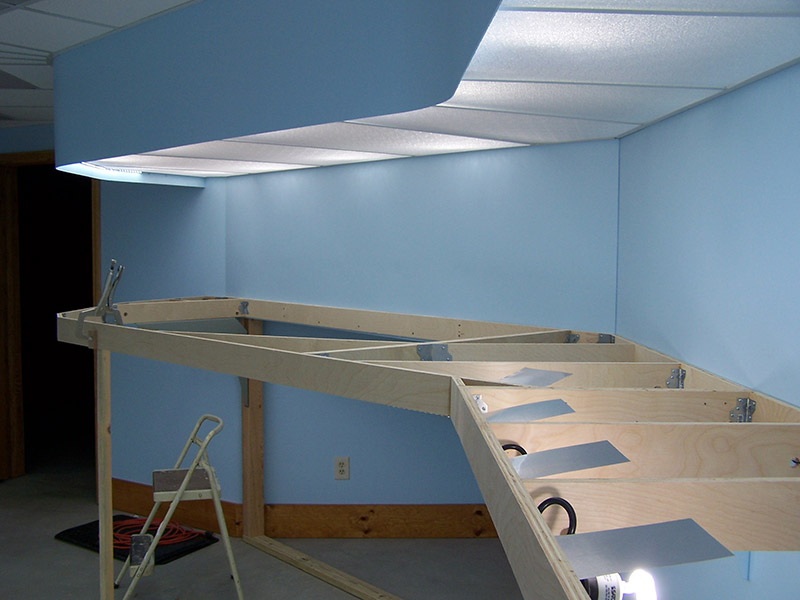
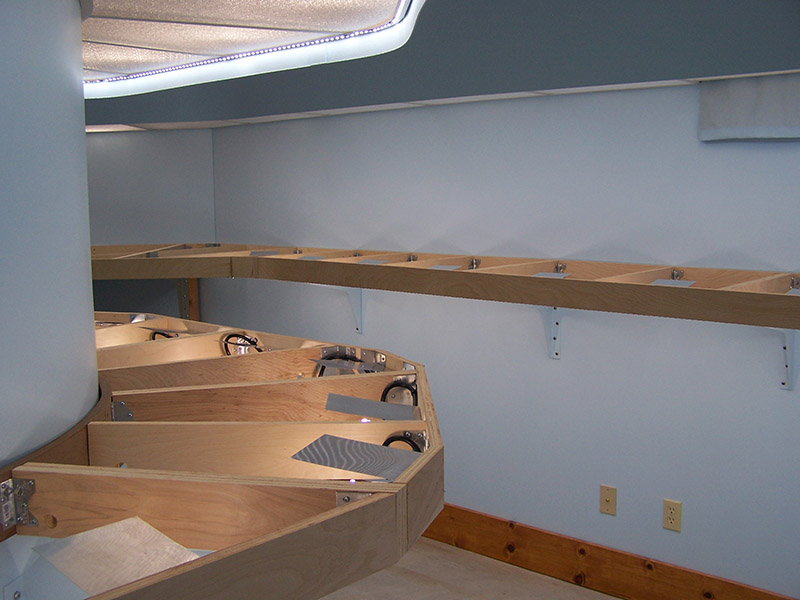
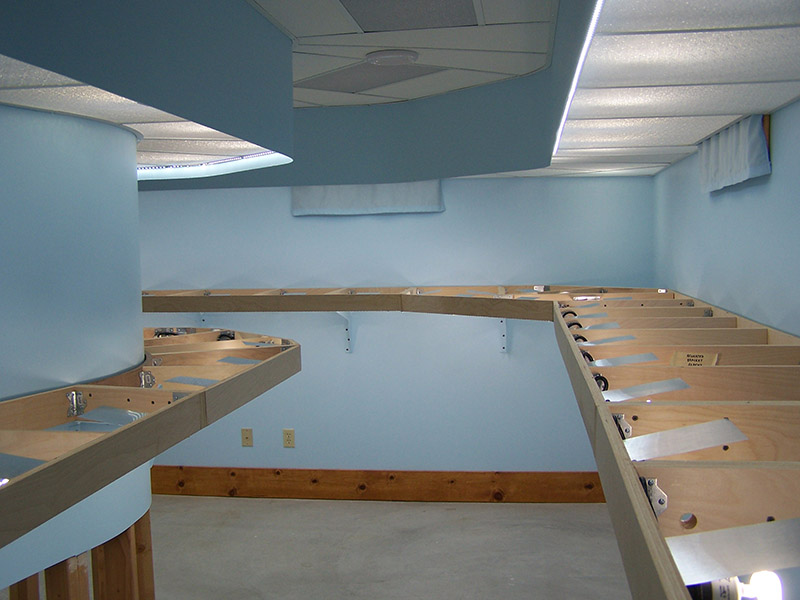
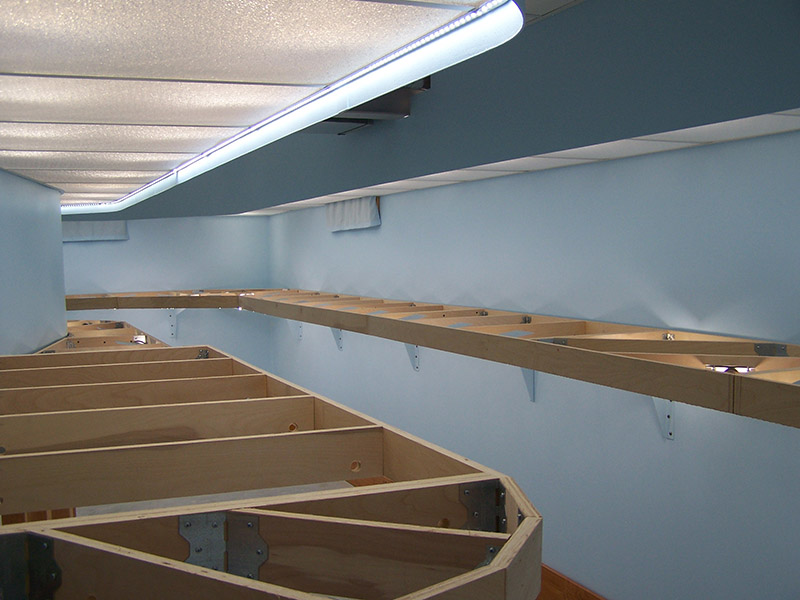
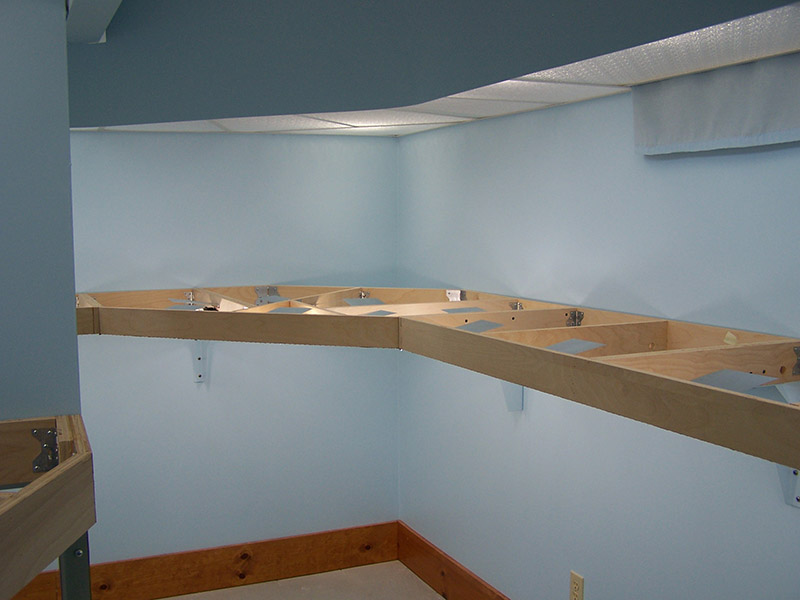
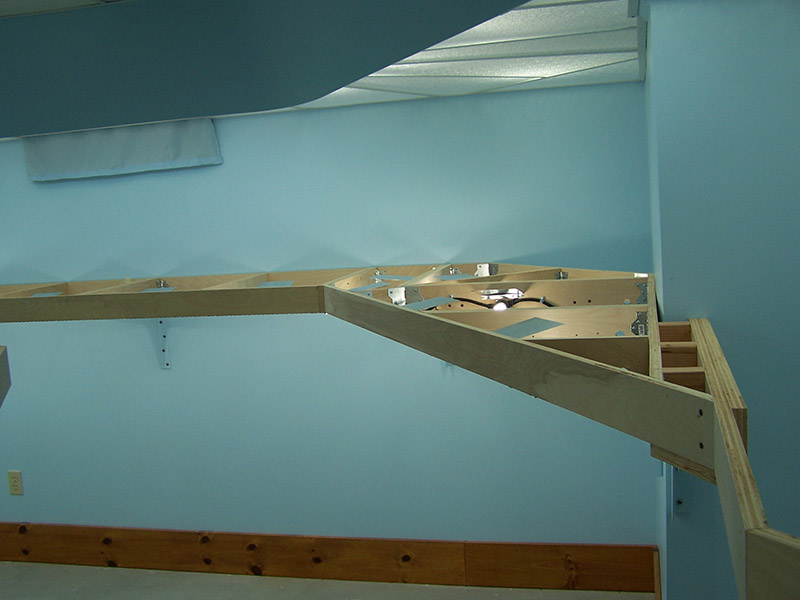
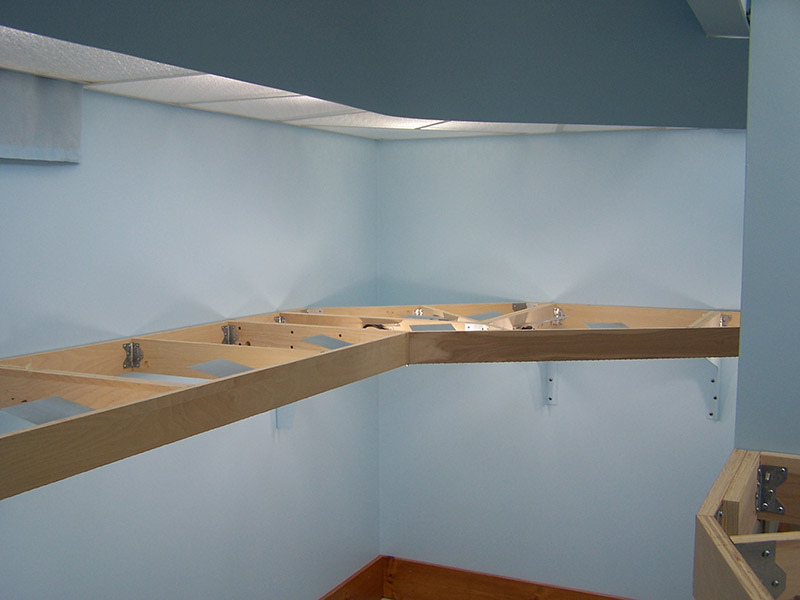
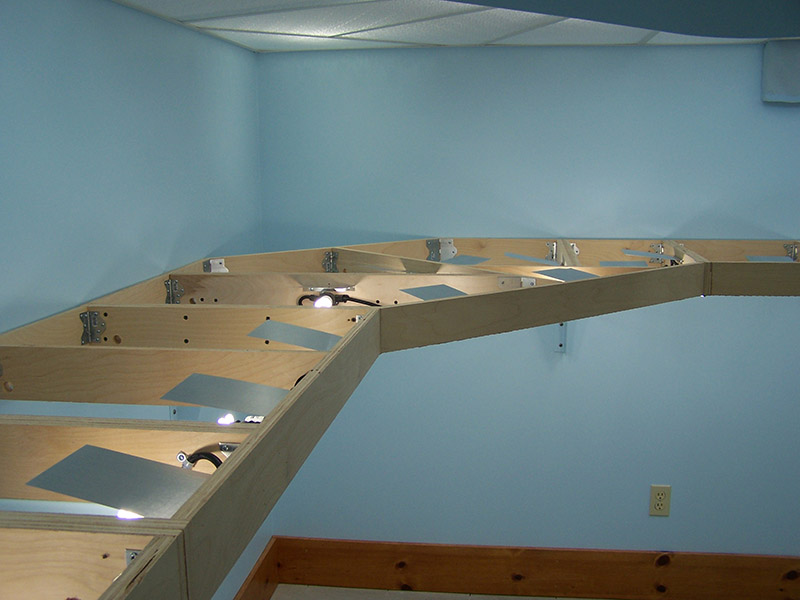
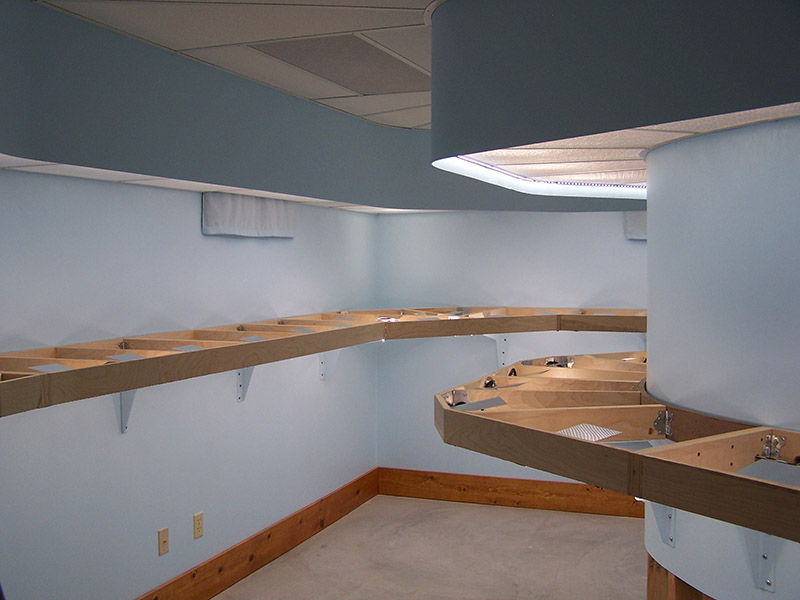
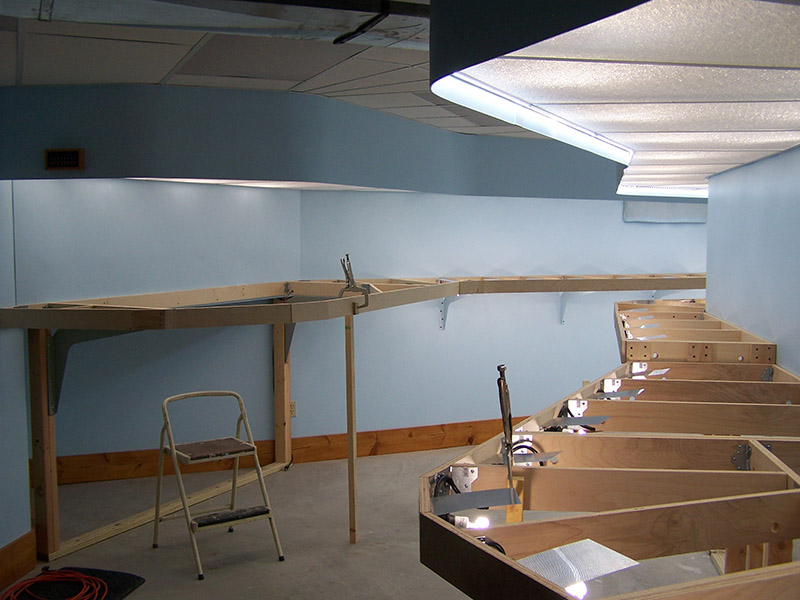
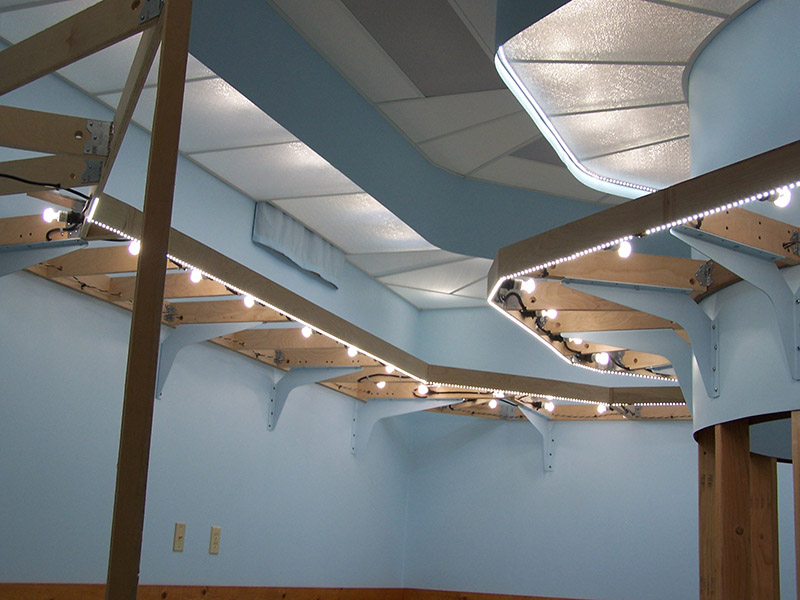
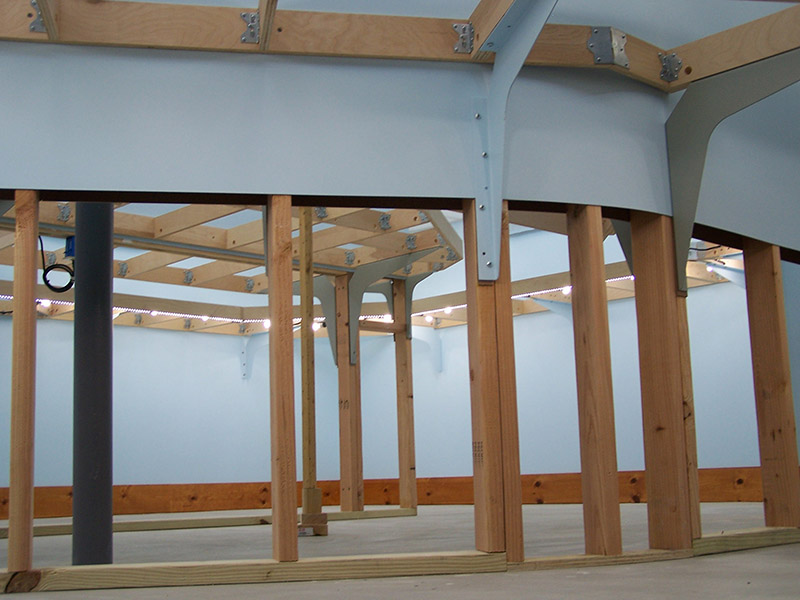
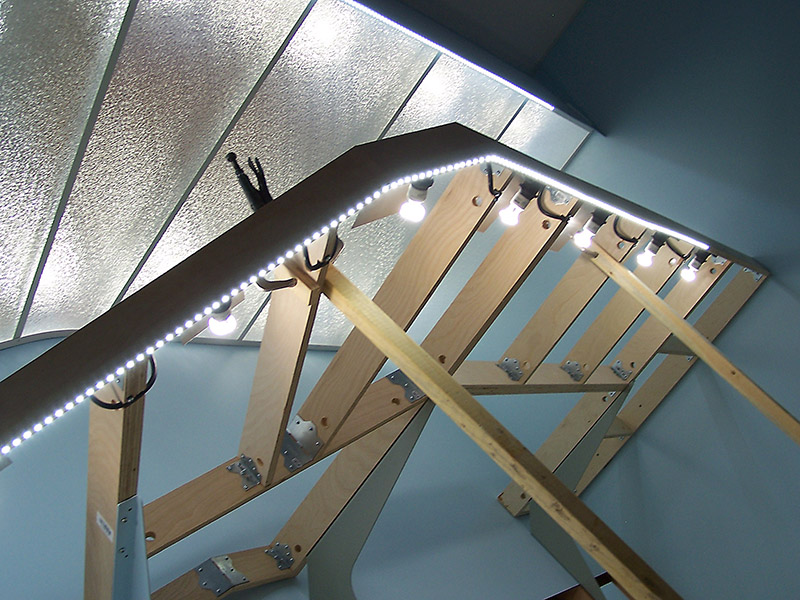
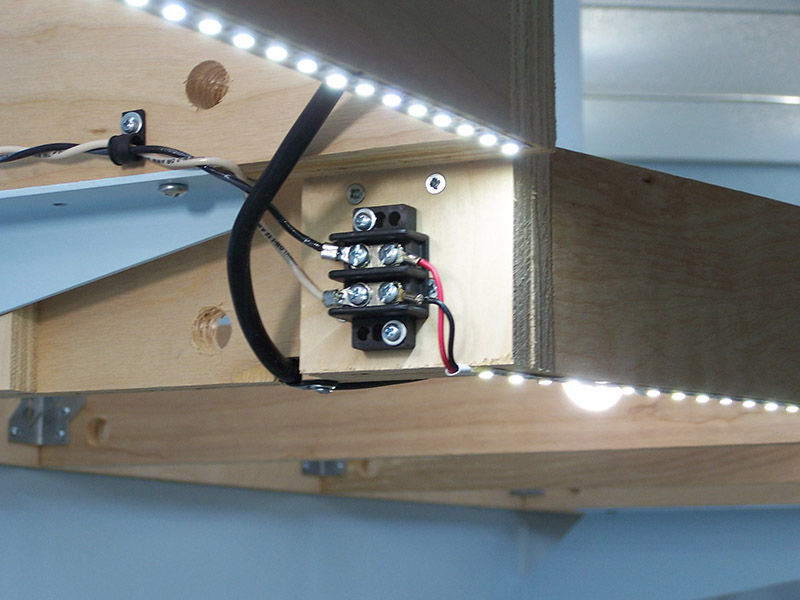
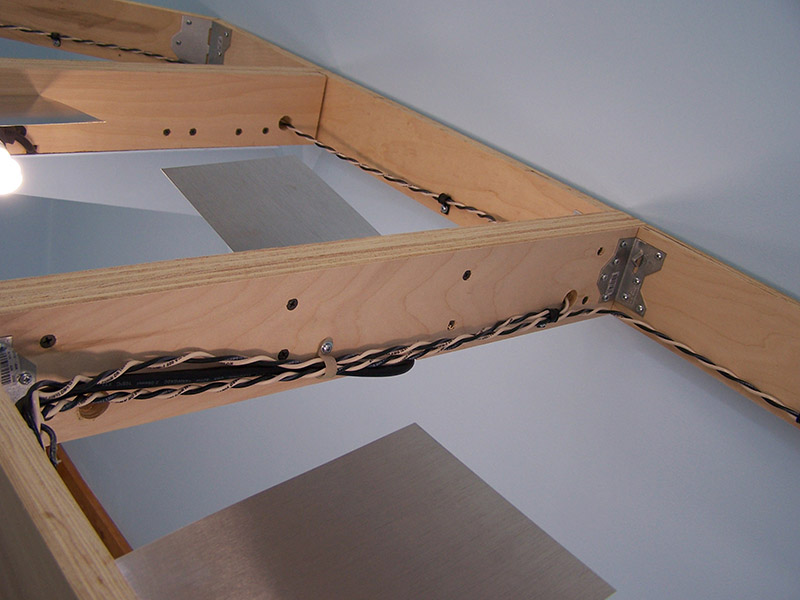
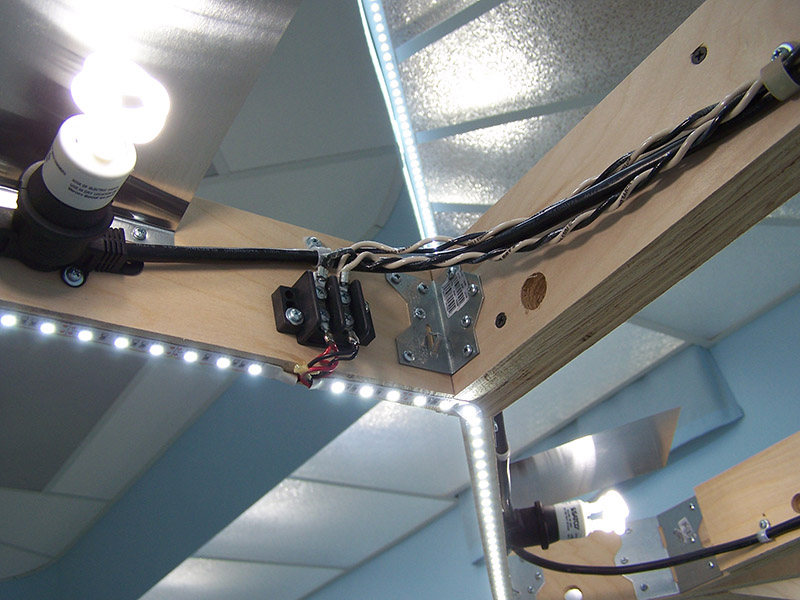
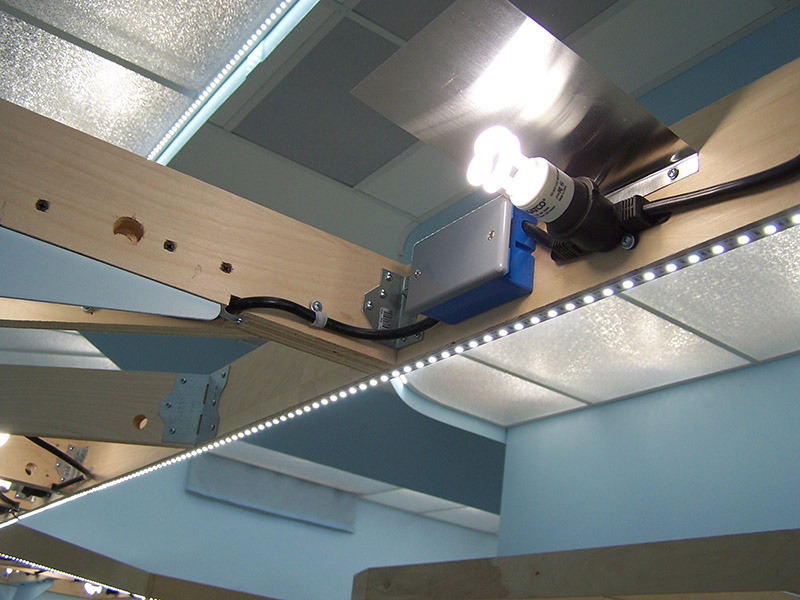
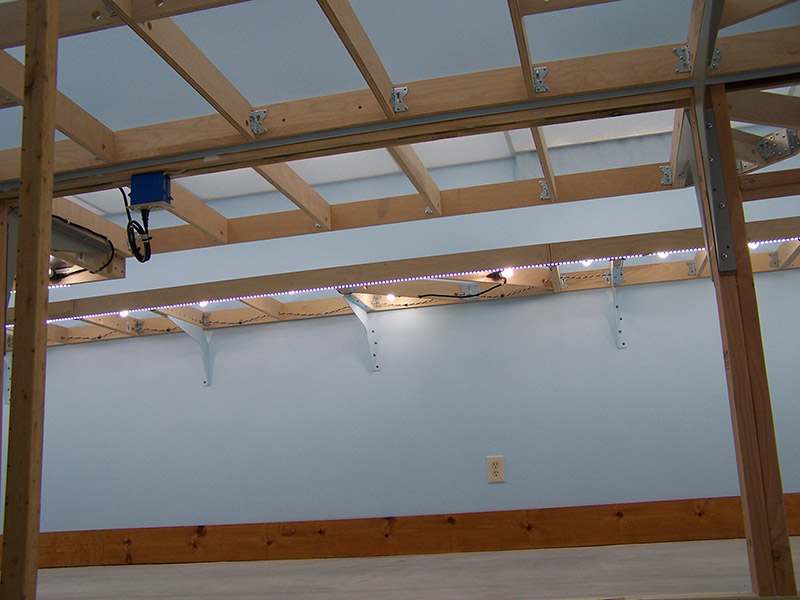
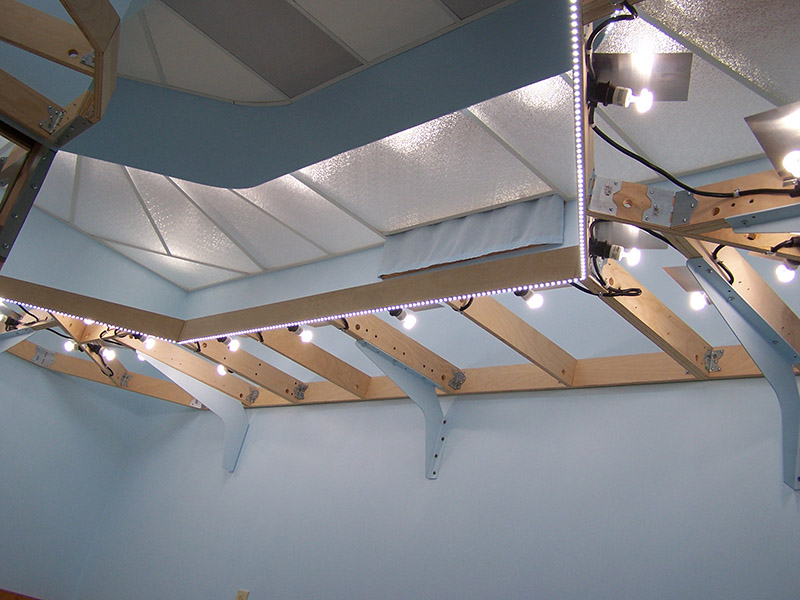
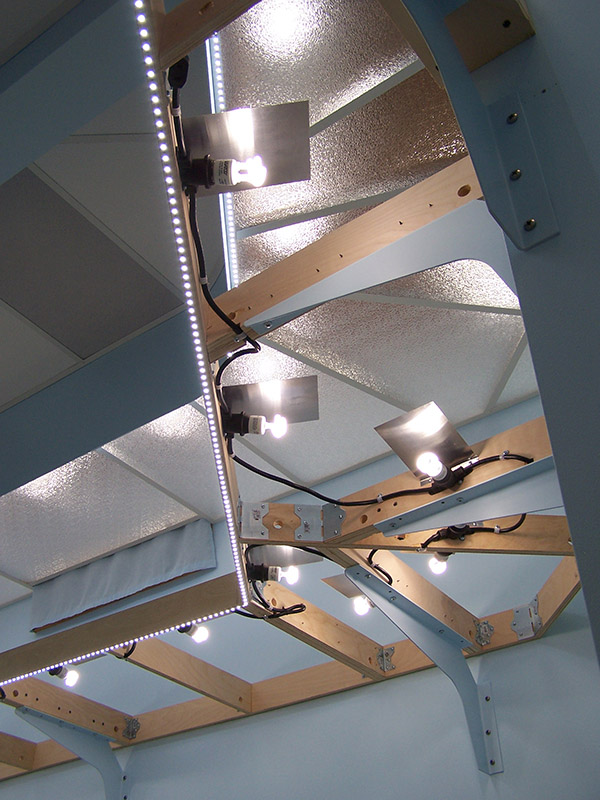
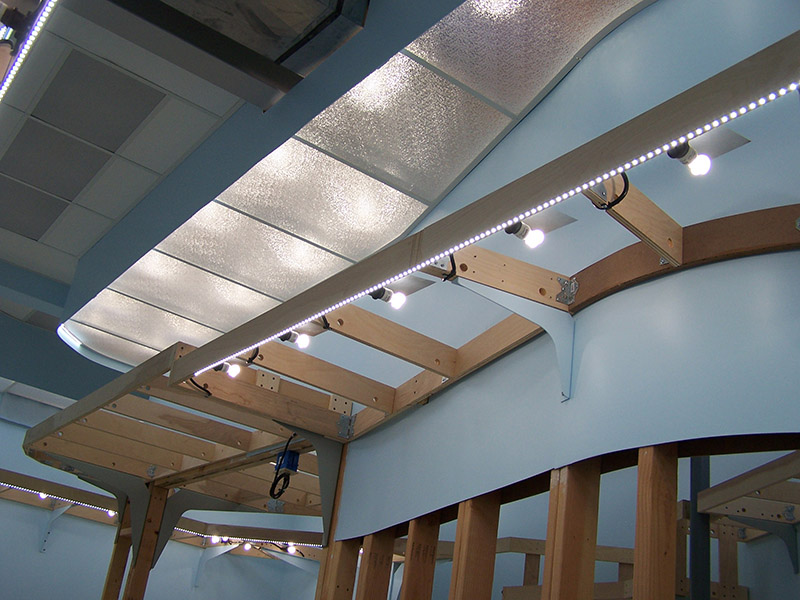
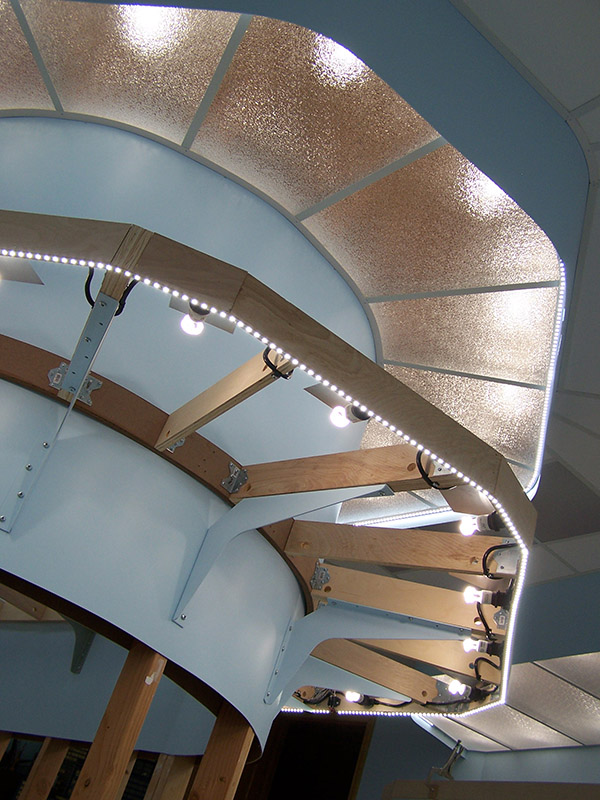
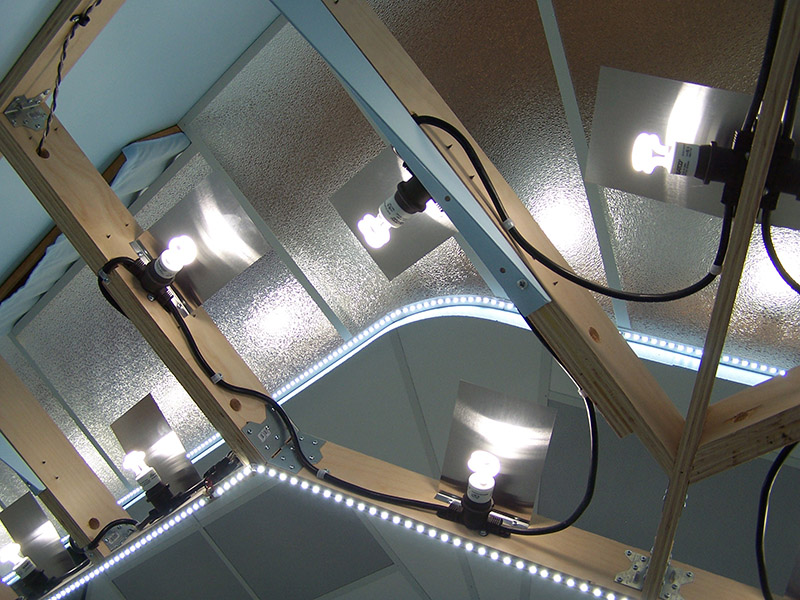
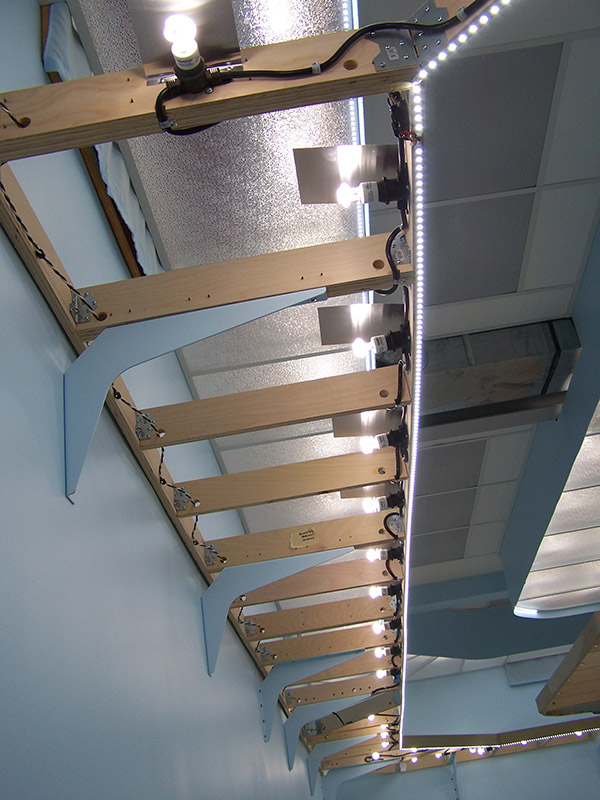
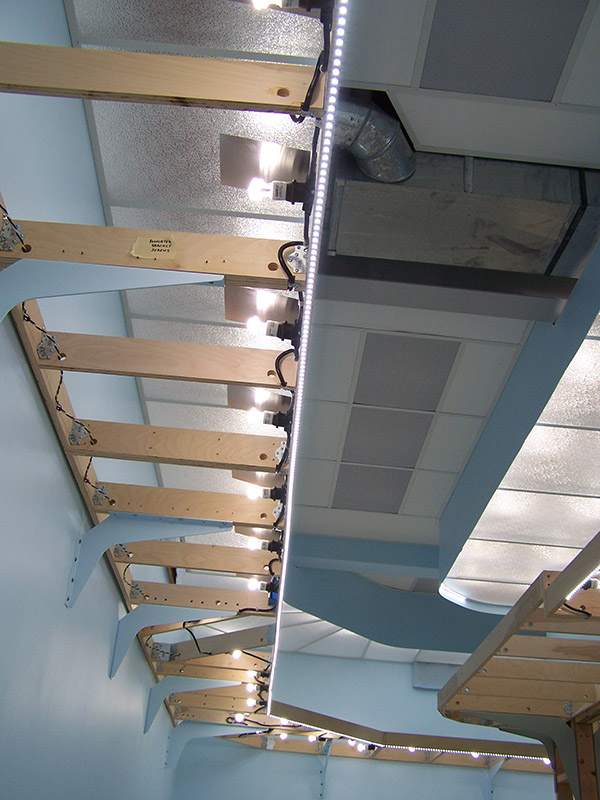
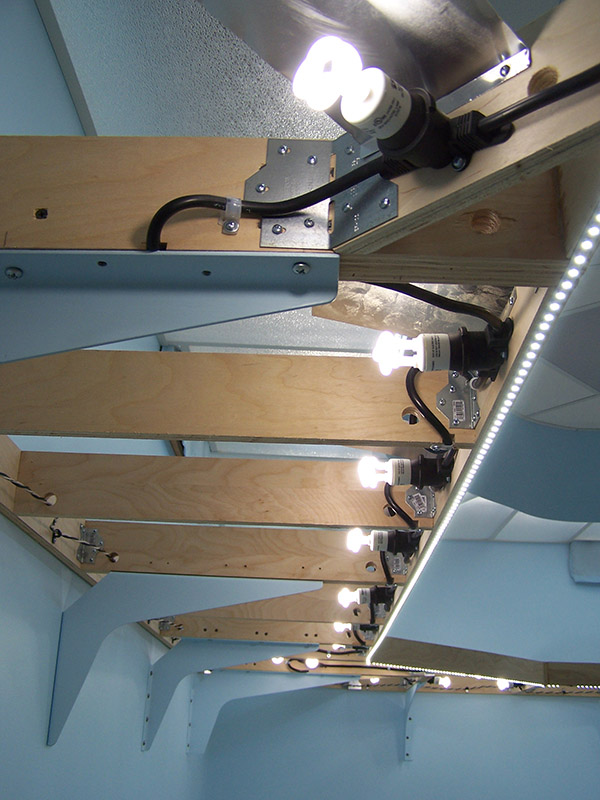
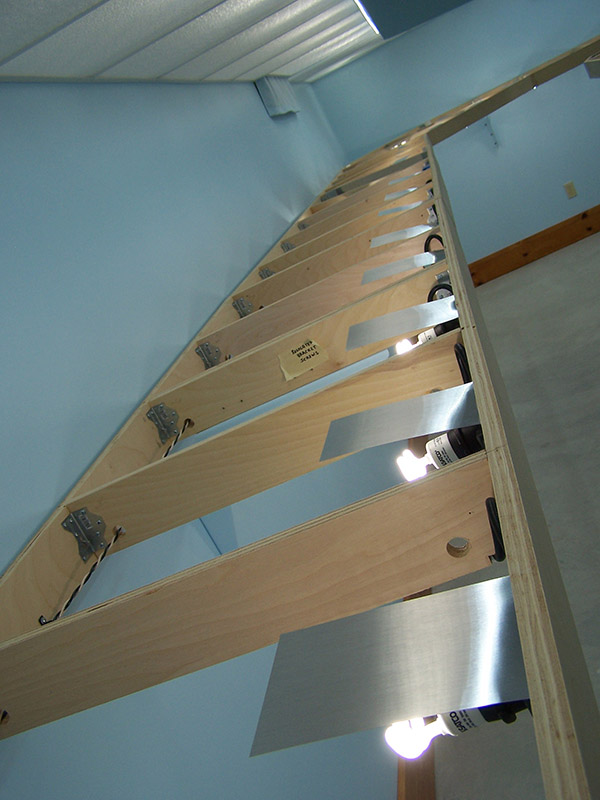
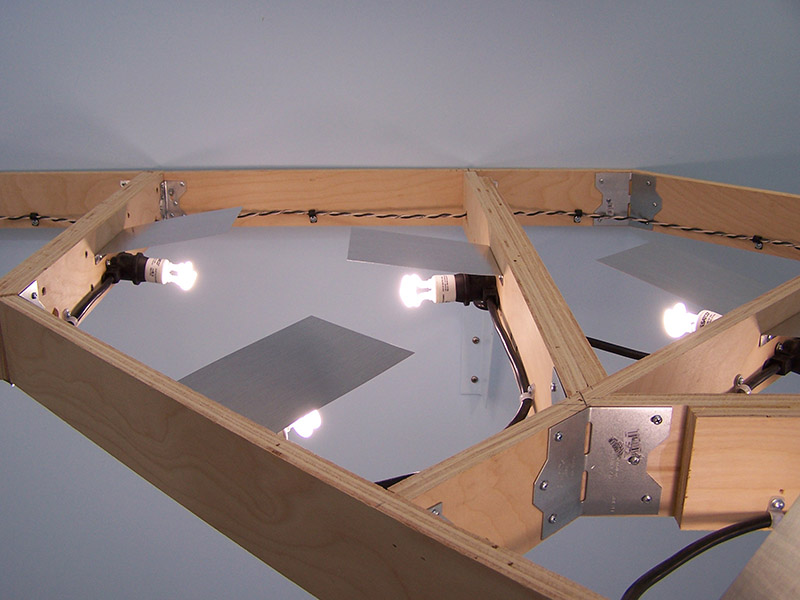
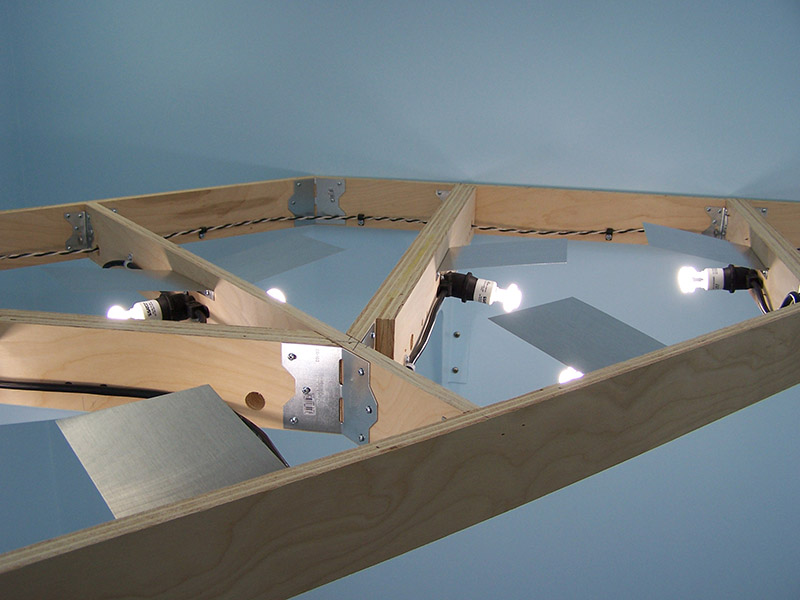
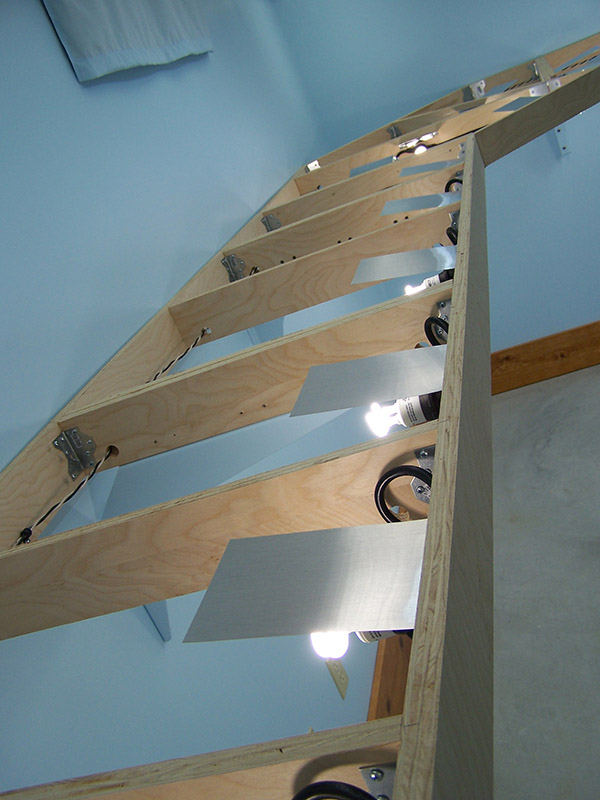
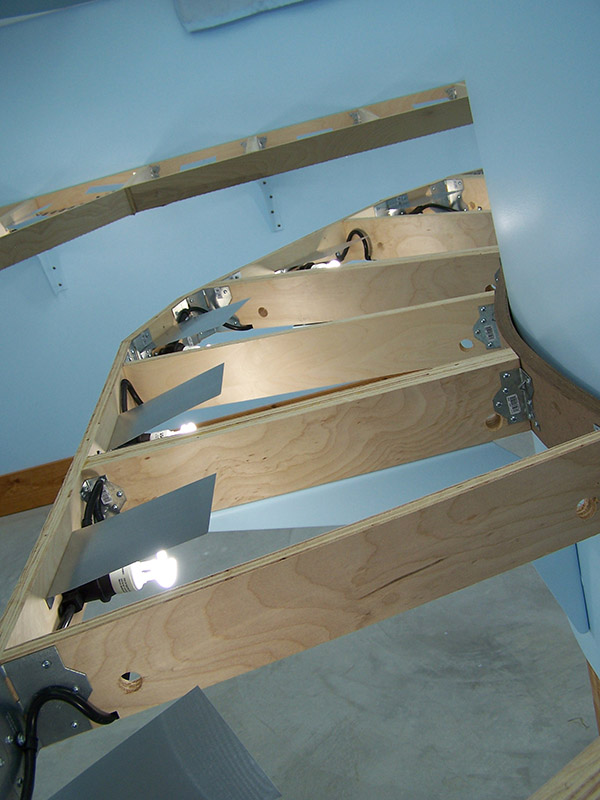
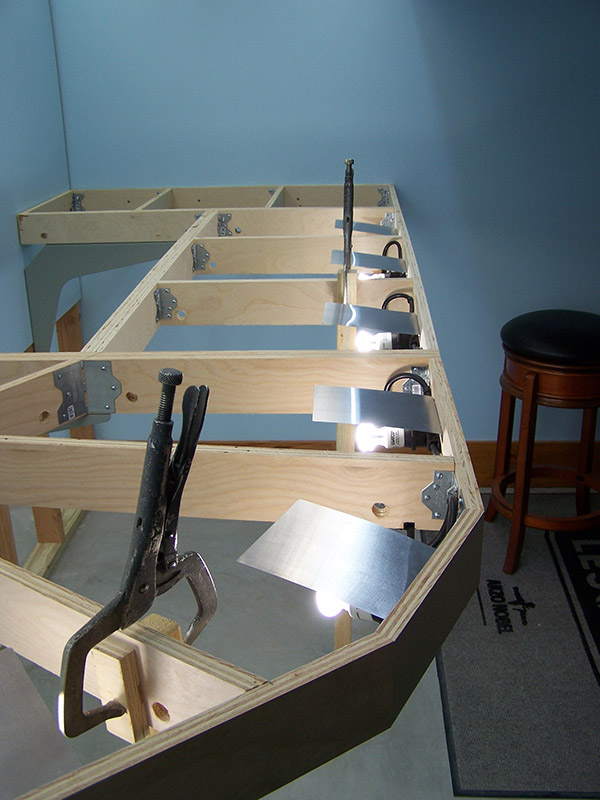
This certainly has been a day long coming. The layout lighting for both decks is completely finished and operational. There are more light bulbs and LEDs than Carter has liver pills! The layout also received its first in-benchwork wiring – the lower deck LED supply runs. Another 75′ of 12 ga. solid copper wire with crimped and soldered terminals. A pair of 3/4″ holes have been bored through each crossmember across the whole upper deck for wire runs. I originally wanted to wait until the risers were located before drilling wiring holes but that plan was foiled as I decided to install the LED wiring now. Didn’t want to get way down the road with sub-roadbed construction only to find there is a problem with the LED installation. Luckily, the LED and CFL install worked right first time out.
Next up… sub-roadbed for the track. Getting one step closer to running trains!


This is some seriously fine work. I have been watching your blog with interest. I may be missing something, but I have a questions and a comment.
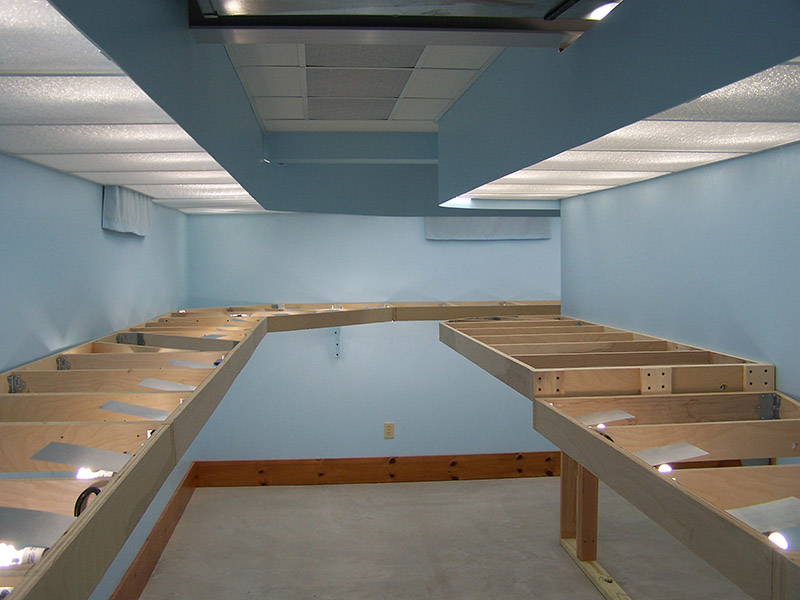
What are all the lights under the bench work for? Staging tracks, light for storage?
Is the voltage for the LED low voltage? I ask because I could see someone/myself reaching under the layout in the future and coming in contact with the open terminals strips. Not fun if 120volts. (only mention to reduce safety concerns)
It is really looking good. I can’t wait to see some trains run.
Art
Art,
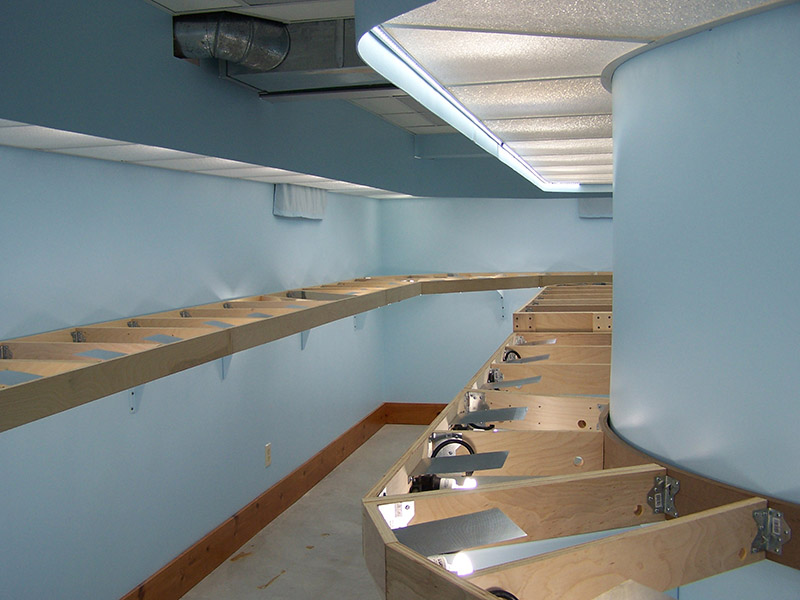
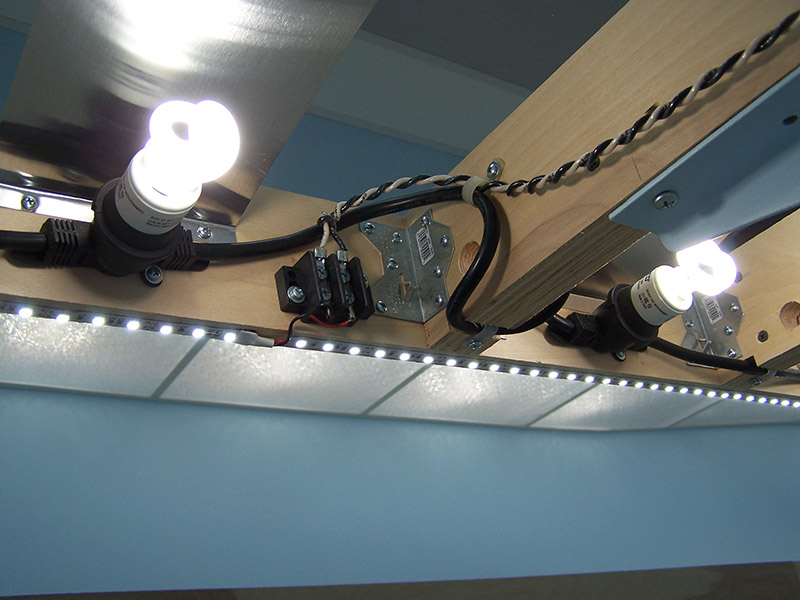
Thank you for the compliments. To answer your questions… the lights in the benchwork are illumination for the yet-to-be-built lower deck. The LEDs are 12v so no shock hazard. They are wired with 12 ga solid copper wire to minimize the voltage drop. The wiring run from LED strips to power supplies is up to 50′ for some strips. Thanks for following along.
I have been following your blog for quite a while as well and find it excellent. Your attention to detail is fantastic. I have been eagerly awaiting your track laying and railroad operation, I can hardly wait to see some of your AC&Y trains running.
Rob
Alan,
Excellent work with the lighting and supporting wood work! You’ve a talent or two there sir! I’m a new comer to your blog (found it via MRH mag site) and am looking forward to crawling through the archives here.
Cheers!
Thanks for the kind words guys.
Why CFL’s and LED’s? I could see if the LED’s were blue for “night” running but both lighting systems appear to be white. Can you explain.
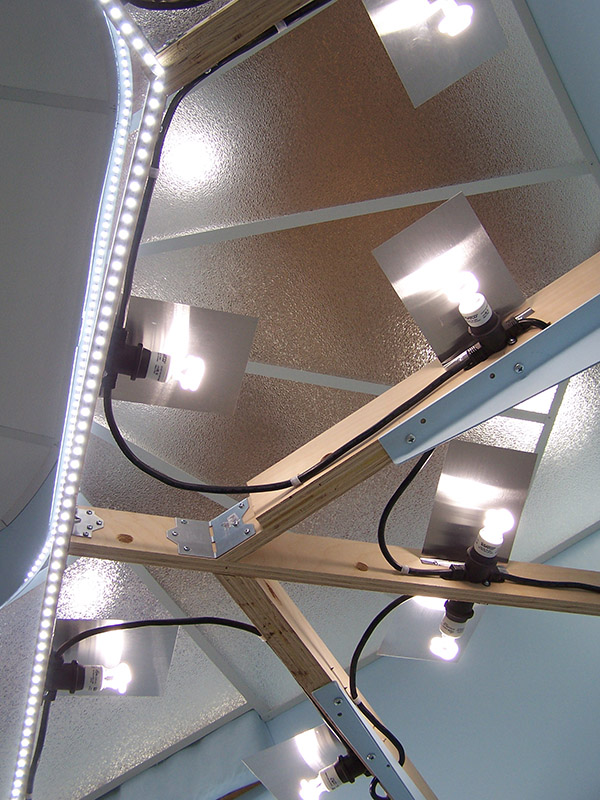
The color of the light, the quantity of light, the mounting arrangement, and the cost of installation are the criteria that dictated my choices. On top of all that I wanted to minimize shadows and hot spots as best possible.
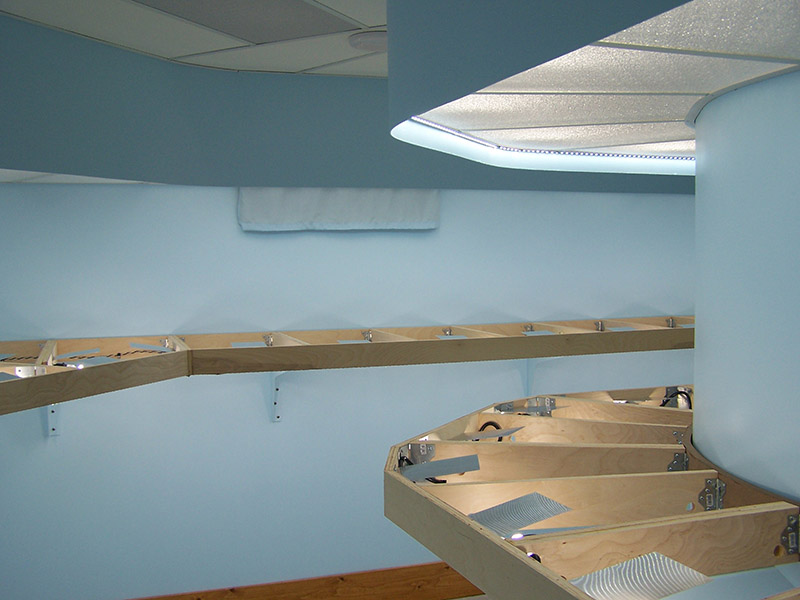
5000K Daylight is the highest temperature CFL bulb readily available at a reasonable price. By itself it still isn’t blue enough to truly look like real sunshine. 6500K CFLs are very expensive so they were not an option.
LEDs are available in 6500K with no price penalty compared to lower temperature LEDS. The 6500K LEDs look much closer to real sunshine but are a little shy in volume of light they put out and appear a bit too blue for my tastes.
The readily available, inexpensive LED strips use either a 3528 SMD or a 5050 SMD with the 5050 being the brighter of the two. There are brighter LED strips available but again cost becomes a problem. To keep cost under control I was limited to using 5050 SMDs.
Putting the 5000K CFLs together with 6500K LEDs delivered what looked to my eyes to be real sunshine.
I could have bought 5000K LEDs instead of CFLs and gotten the same temperature color light however the inexpensive 5050 LED strips don’t put out as much light as the CFLs. It would have required several strips of LEDs to get the same quantity of light the CFLs deliver. If you examine my lighting valance you will see there is no place to mount a bunch of LED strips. I found the LED light to be much diminished when I placed them behind the Lexan light panels. The CFLs work great behind Lexan panels.
The LED strips require 12v power supplies and interconnecting wiring. The CFLs are on a party light string. This made the CFLs very simple and inexpensive to put in place compared to the LEDs.
So, the CFLs were the right choice (inexpensive and easy to install) to do the heavy lifting of delivering the volume of light needed while the single strip of 6500K LEDs added just enough blue to make the combined light look like real sunshine. The LEDs being on a continuous strip also evened out the light spread slightly not that the CFLs behind the Lexan panels had hot spot issues. But I’ll take the free extra uniformity of the light.
Hope that makes sense.
You can get more details in the posts about my system under the Layout Lighting category.
https://lkorailroad.com/category/layout-lighting/