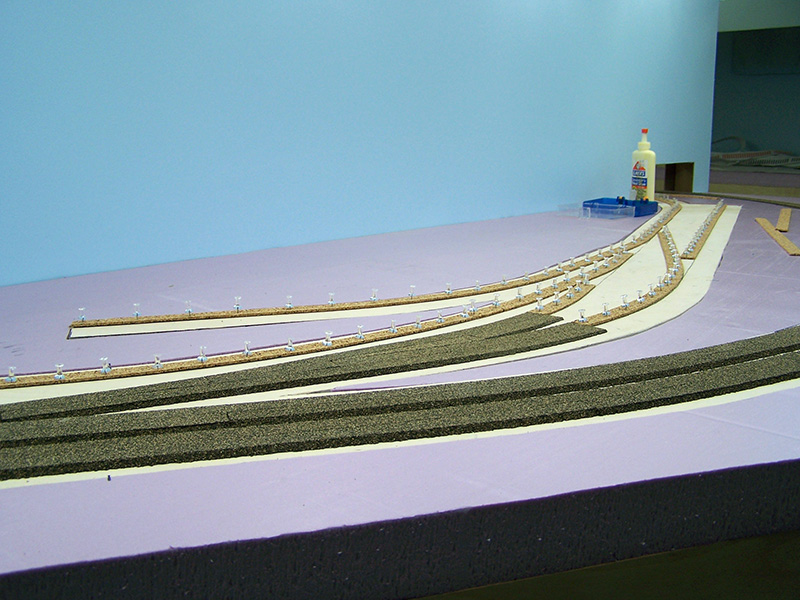
With more cork roadbed acquired I am back underway laying the LK&O right-of-way. Actually, I’ve made quite good progress. I am now measuring progress in gallons of glue spread! 🙂
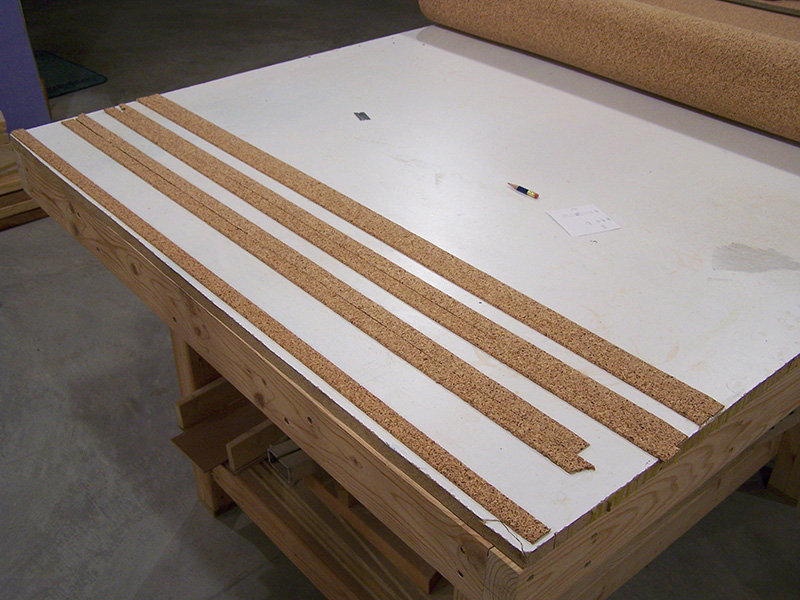
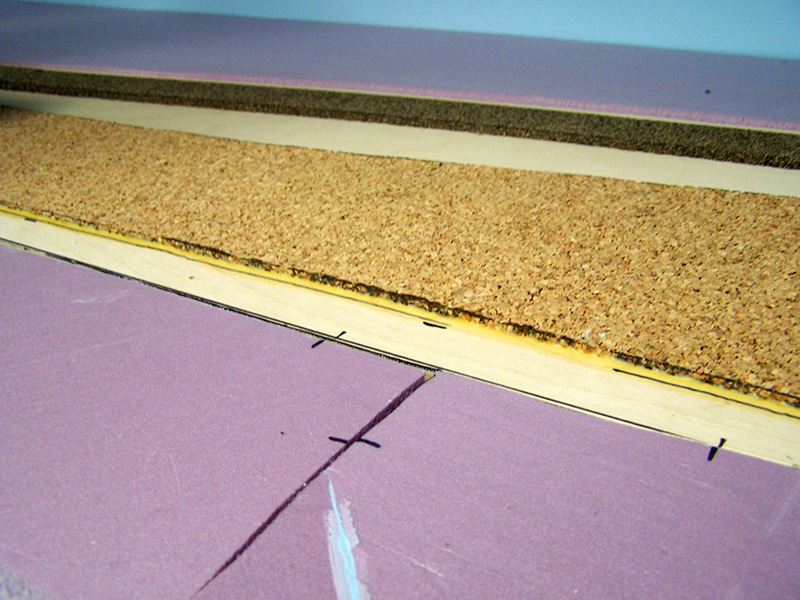
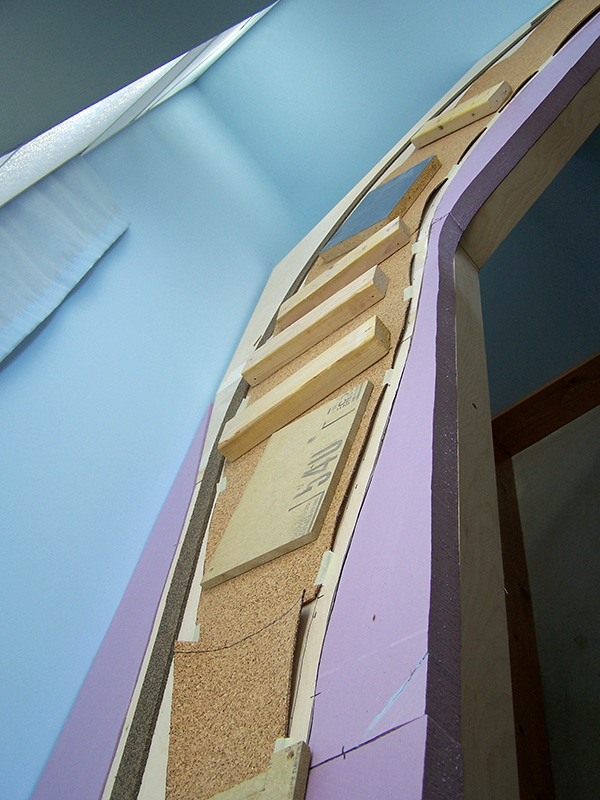
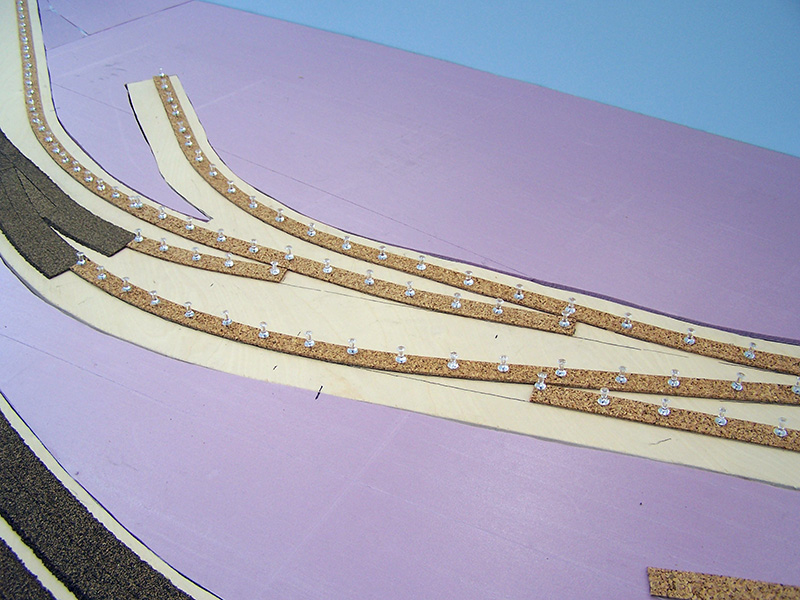
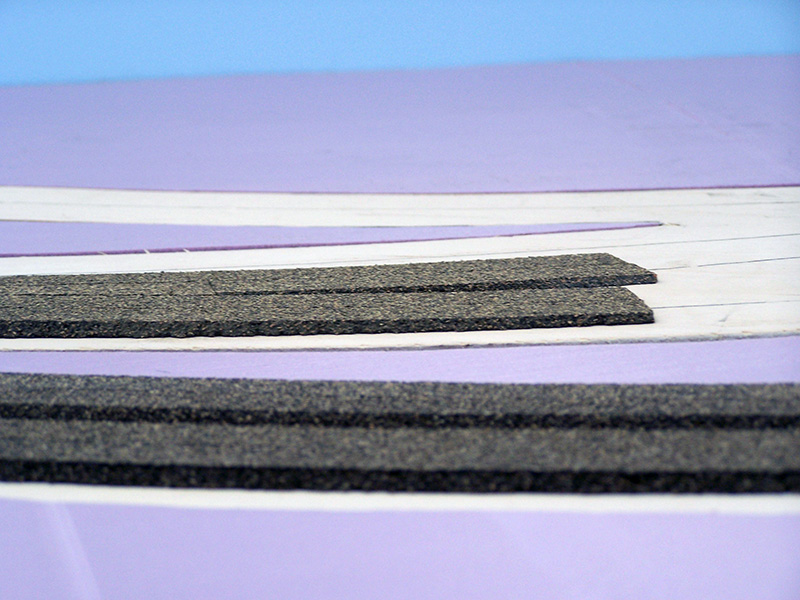
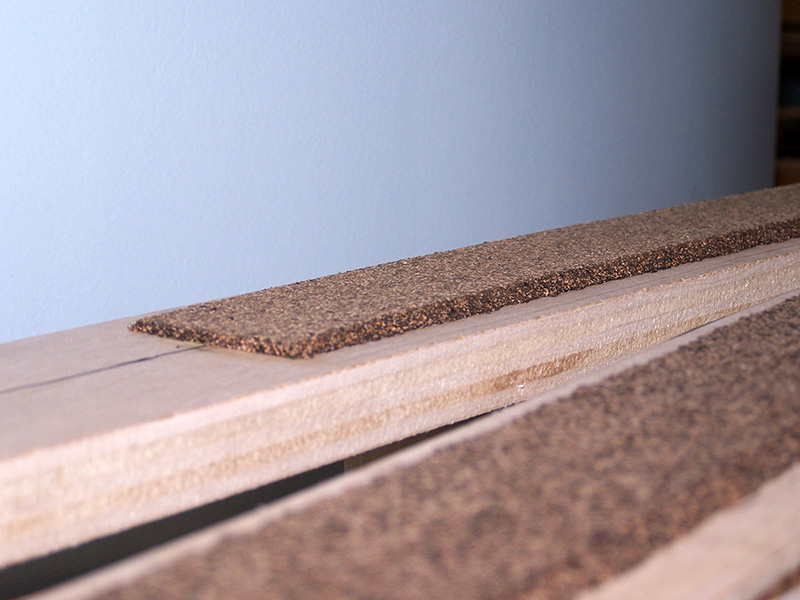
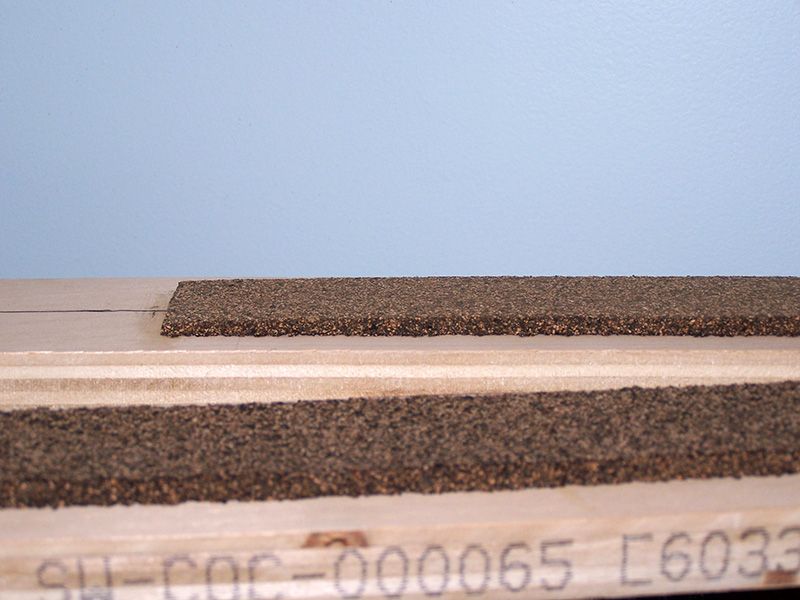
All of the mainline cork is in place and I have a good bit of spur cork laid as well. I am making my own roadbed for the spurs by cutting from the big-ole-roll of cork I bought to do the yard area. It is 1/8″ thick whereas the mainline cork is 3/16″. This is to represent the differences in ballasted roadbed like found on the real thing. Heavily trafficked main lines have a higher profile of ballast compared to lightly used spurs.
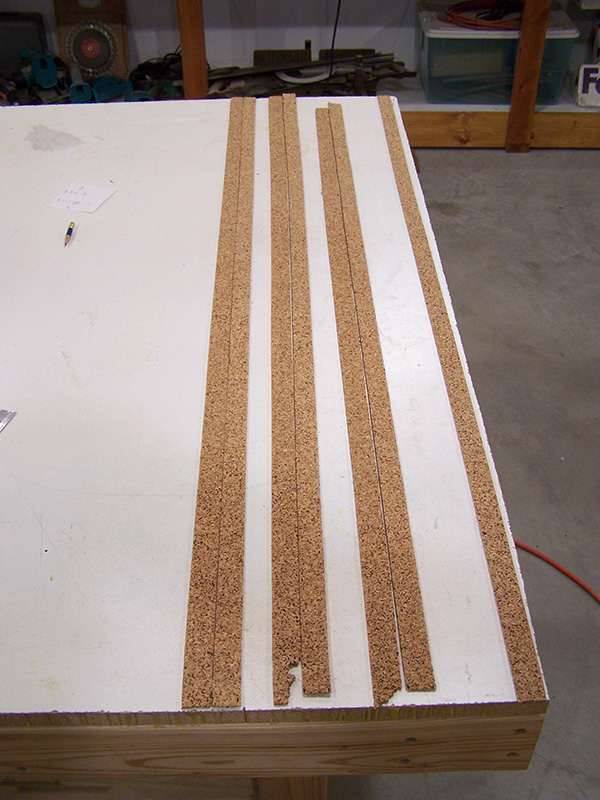
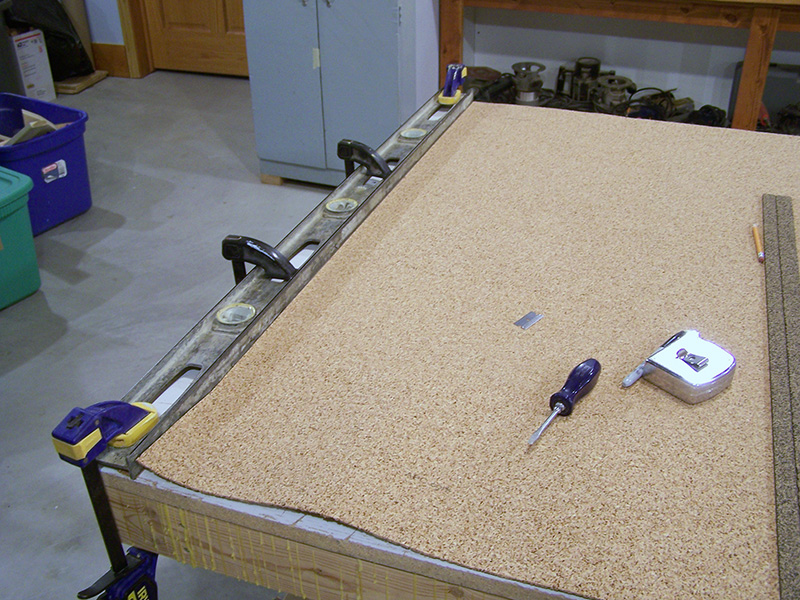
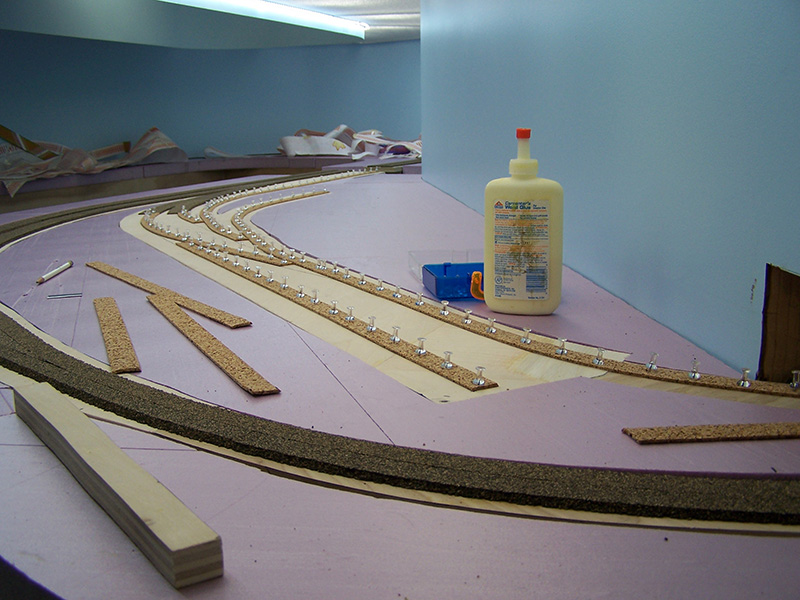
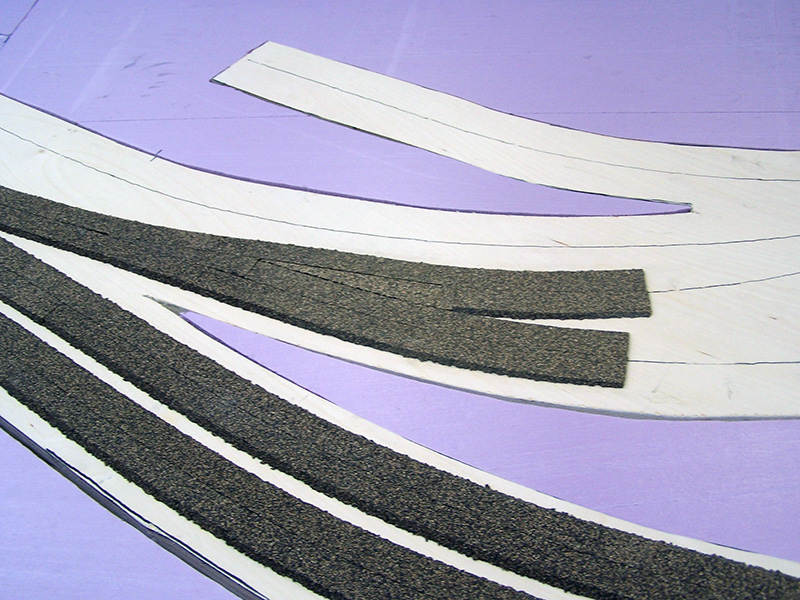
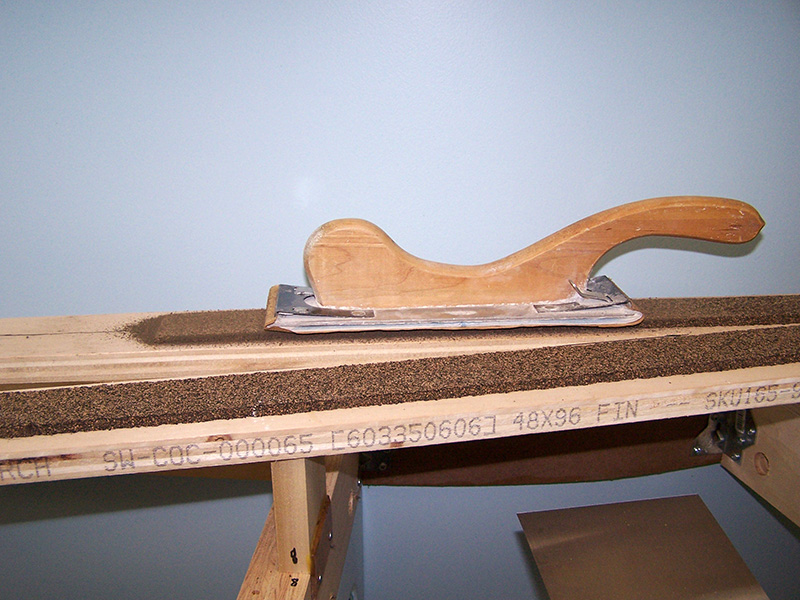
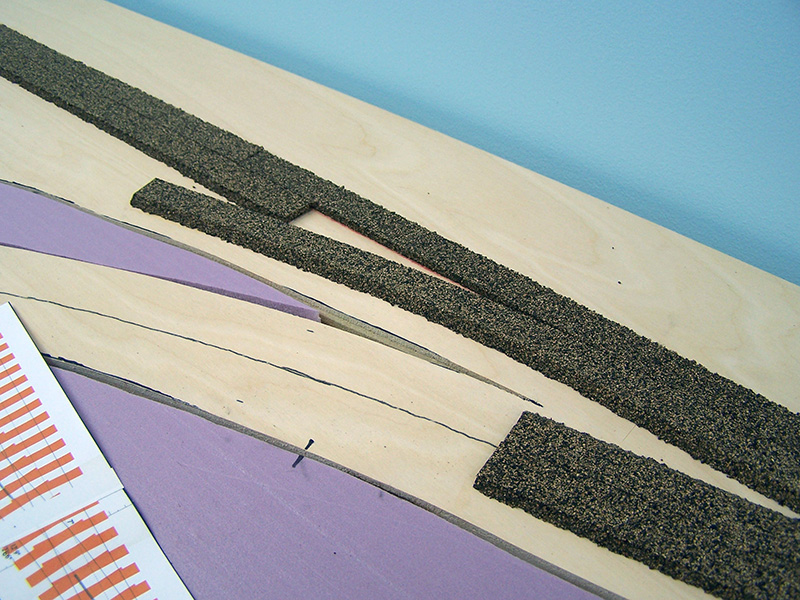
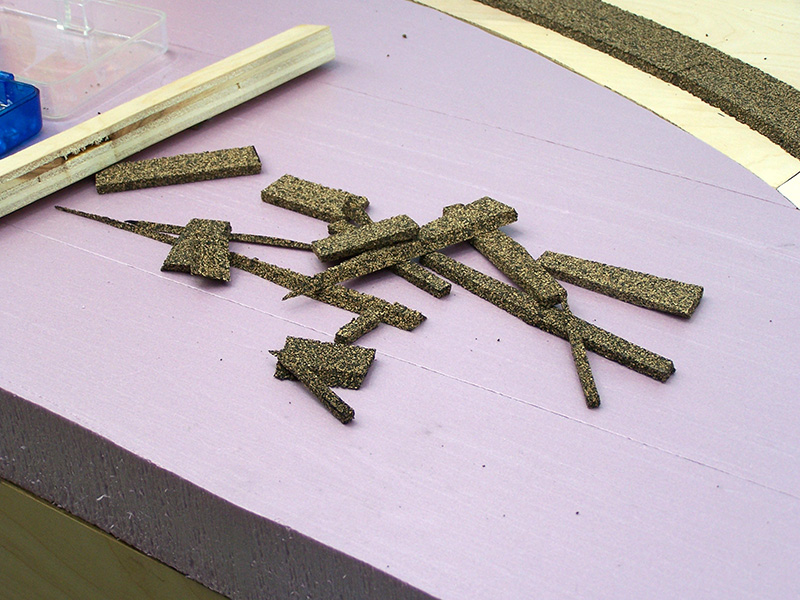
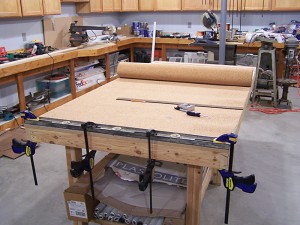 It is popular for modelers to use cork roadbed from the next scale down, which would be N scale in my case, to do the spurs. I would have done the same if it wasn’t for the fact I have a lot of cork sheet. The yard area required the sheet cork and I found that I could buy a 100 sq.ft. roll directly from a cork supplier for less money than I could buy the smaller sheets from traditional sources like craft shops. So, I bought the big-ole-roll of cork. My spur roadbed is easy to make. I clamp my old “not-so-level” level down at 15/16″ from the edge and make a 45 degree razor blade cut. Then I re-clamp at 1-3/4″ and make a 90 degree cut. Separate the two pieces and viola!, tapered roadbed just like the production stuff.
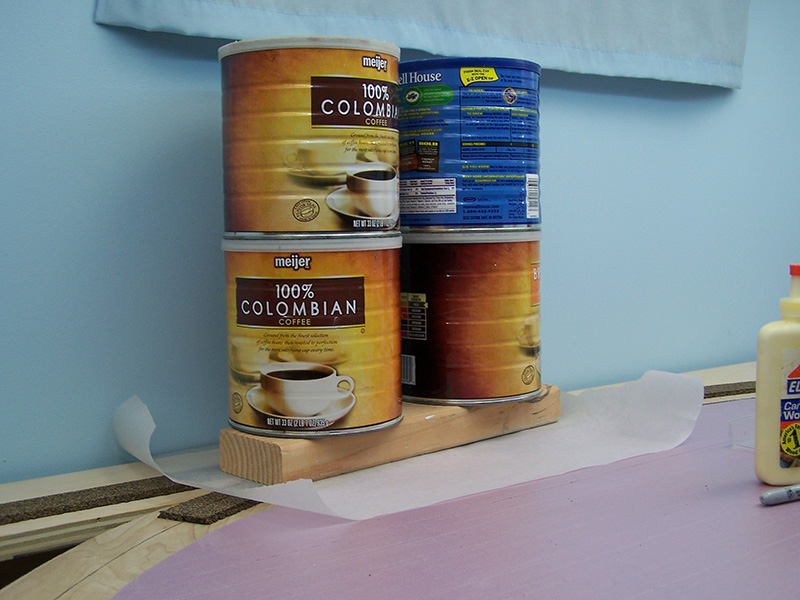
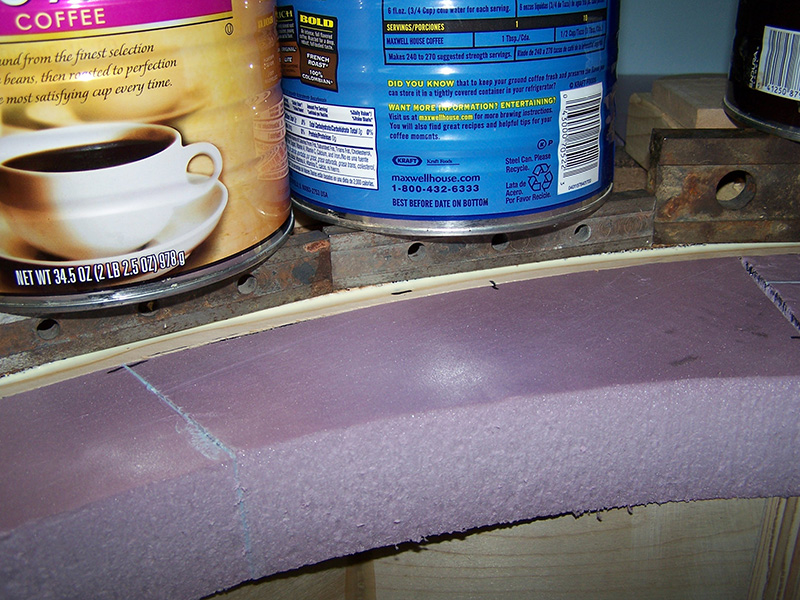
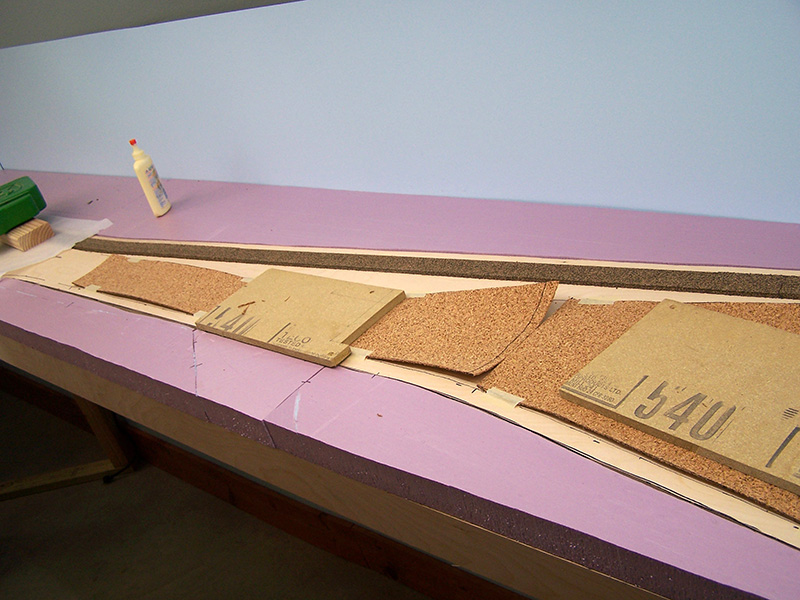
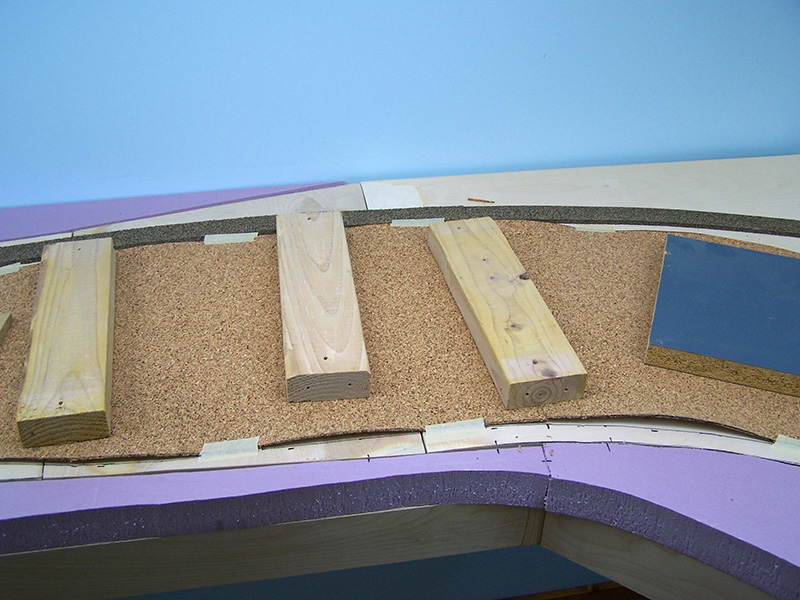
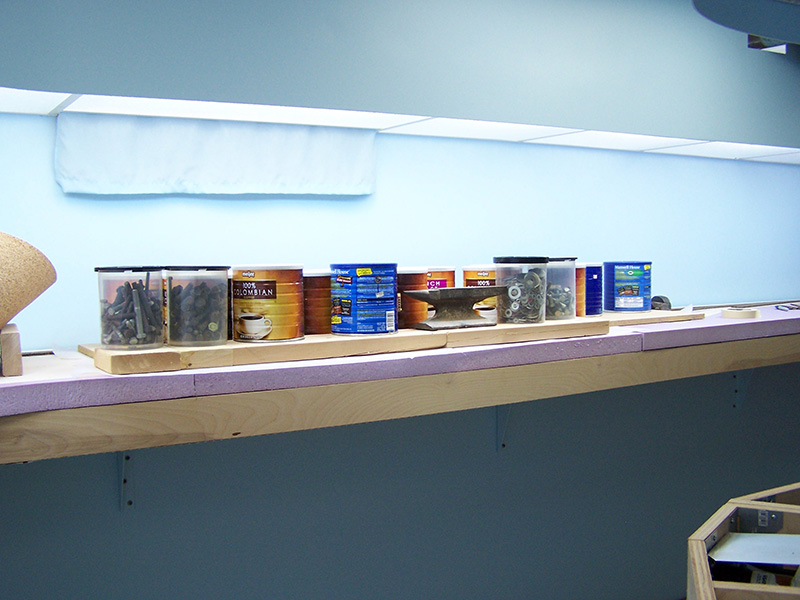
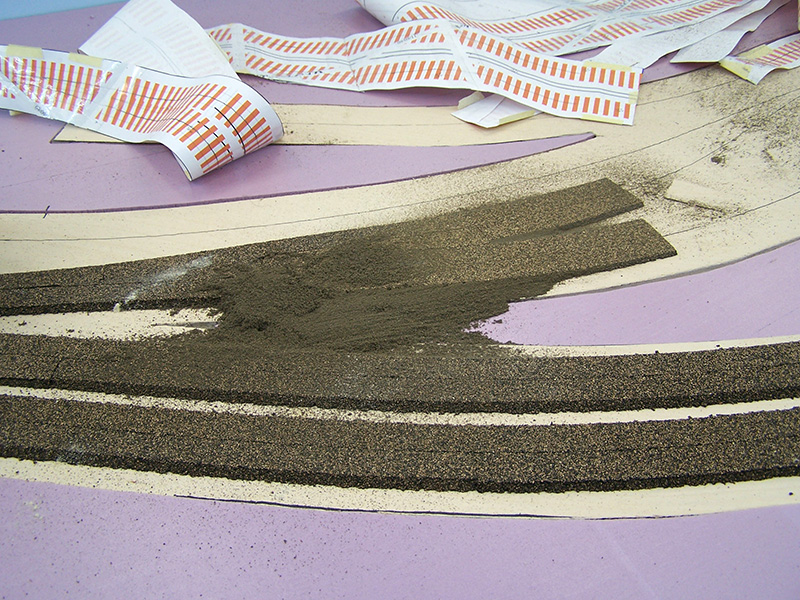
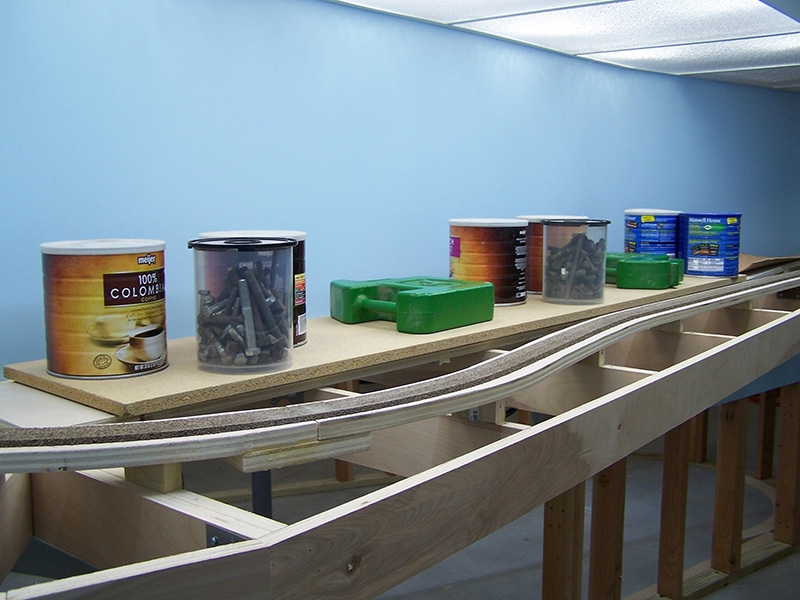
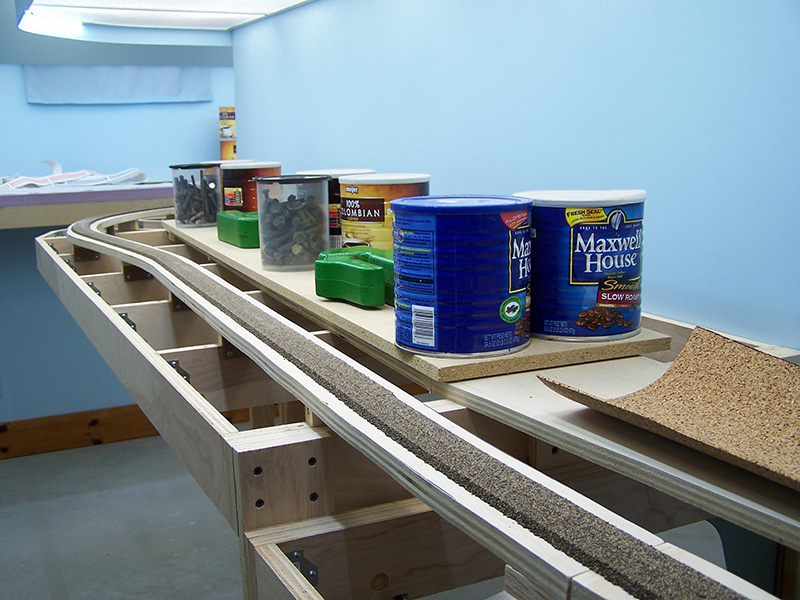
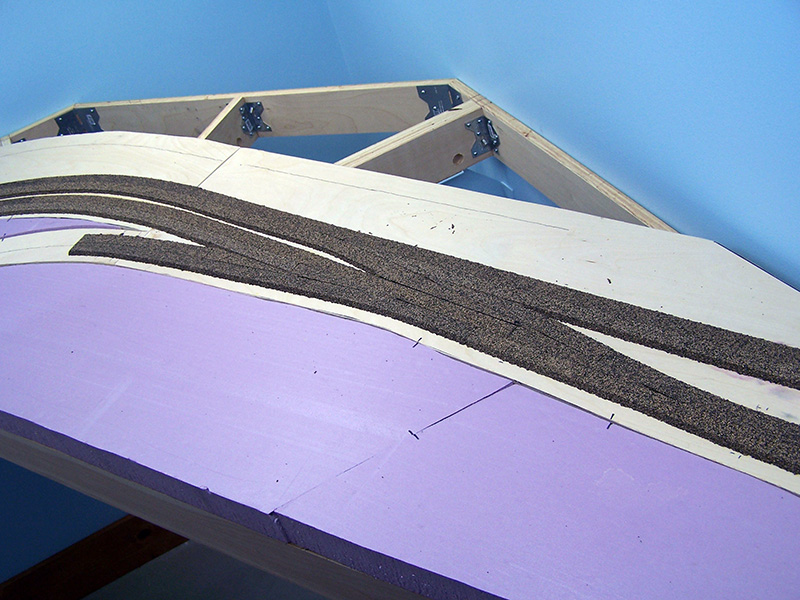
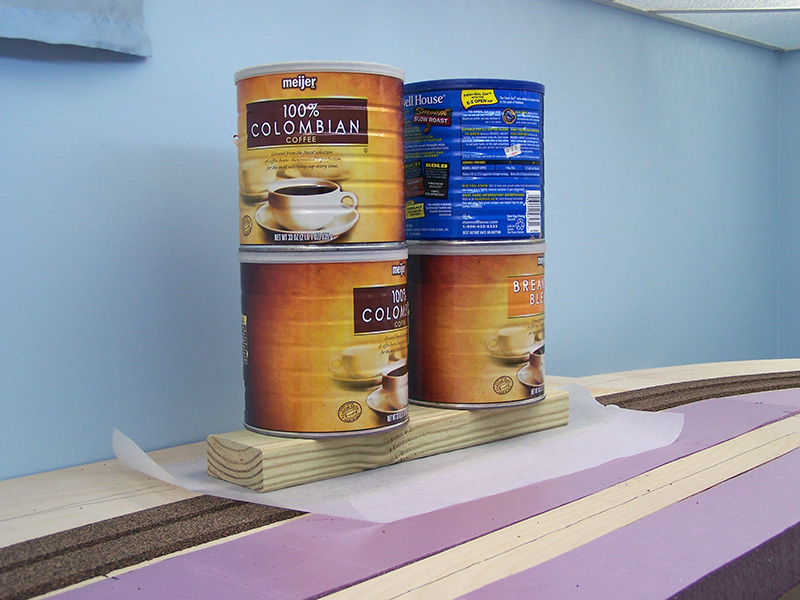
As you can see in the picture gallery below there has been a non-stop flurry of cork gluing going on. My trusty XTrkCAD track plan print has served well as patterns for the yard area cork. Once cut, the cork is glued to the plywood with wood glue and then weighted with my 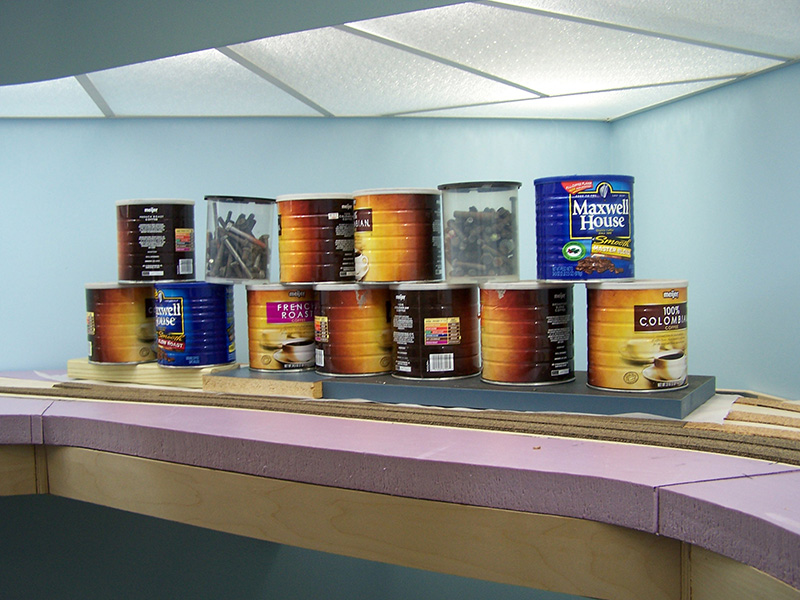 concrete filled coffee cans. Pieces of wood provide uniform pressure and a flat surface across the area while wax paper prevents the wood from accidentally becoming glued to the cork. Learned the need for wax paper on the first one I glued. 🙁 The cork sheet is porous enough that some glue will ooze up through it when the weights are placed. I have only so many coffee cans and other objects of serious weight so the gluing moves in sequence. Each evening I glue another one or two pieces in place. Slow but the 24 dry time means the glue is fully set up by the time I remove the weights. The process is working well. The cork comes out flat as a pancake.
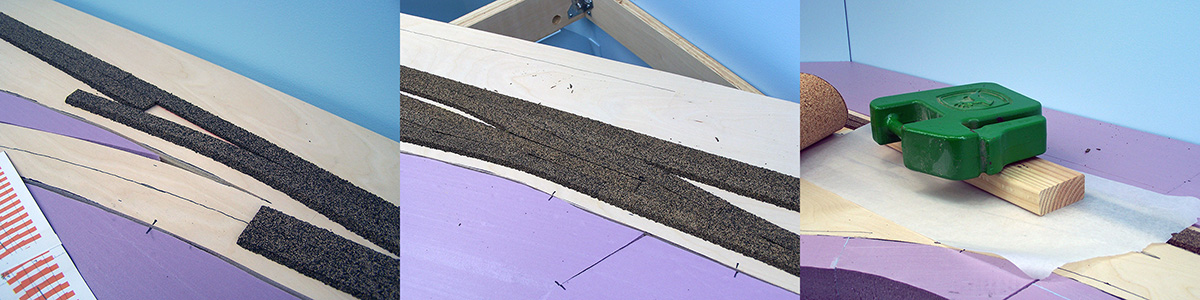
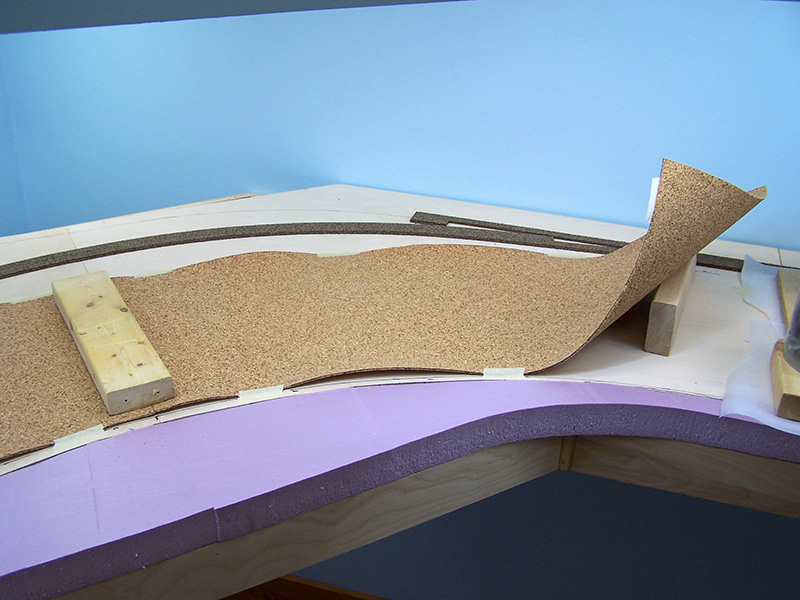
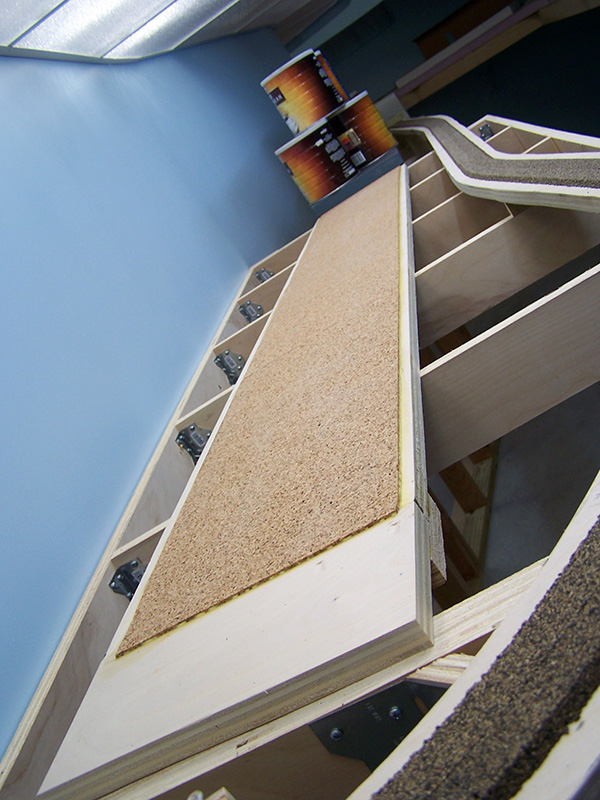
I couldn’t place glue at the very outer edges during the initial sheet gluing because with the wood and wax paper there was no way to remove or spread the excess. I had to keep my outer glue bead about an inch back from the edge. The sheet cork tends to want to curl slightly at the edge as the glue dries. This is unacceptable of course.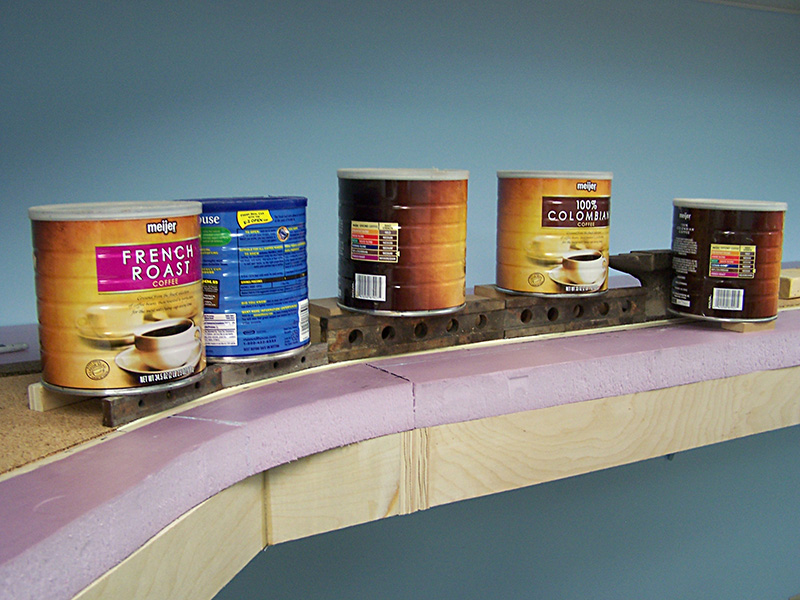 After the main weighting was removed I remedied the edge situation by running a glue bead along the cork edge and then place weights only on the edge. No wax paper was needed for this because wood glue doesn’t adhere worth a hoot to bare steel. With no wood or wax paper in the way it is easy to form the glue bead by finger while removing any excess glue. This worked out very well. Again, it was kind of slow going because I had only so many steel bars to use in the edge gluing process but eventually I made it all the way around.
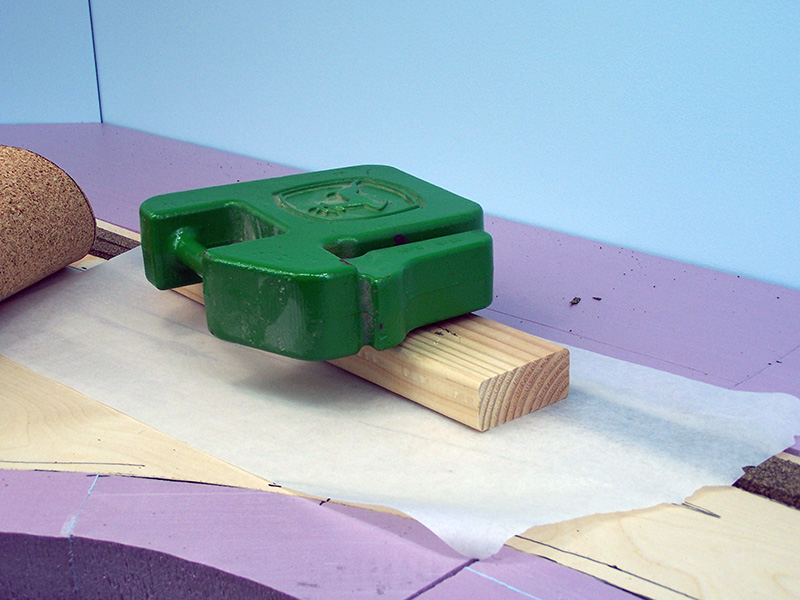
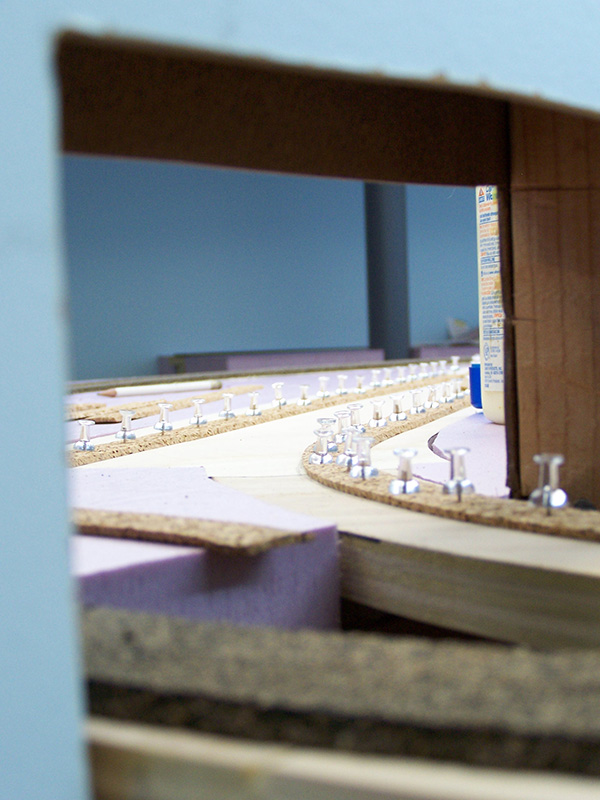
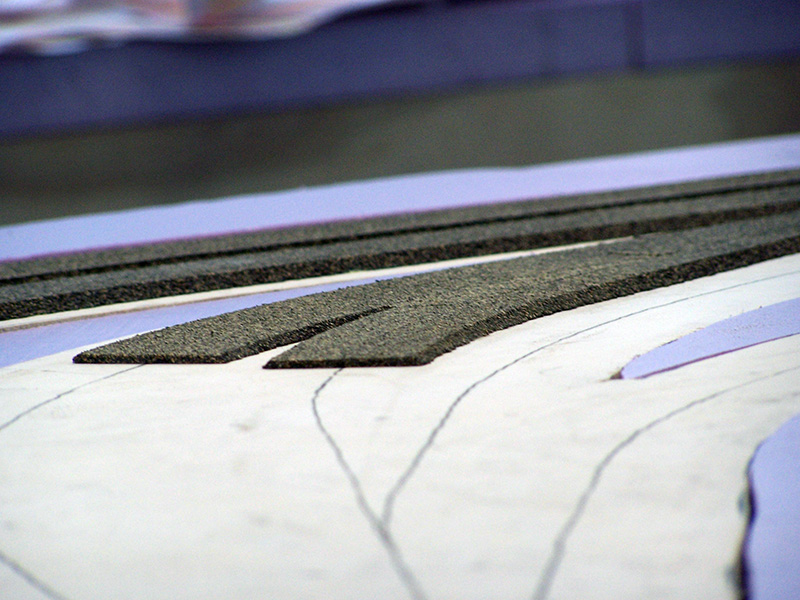
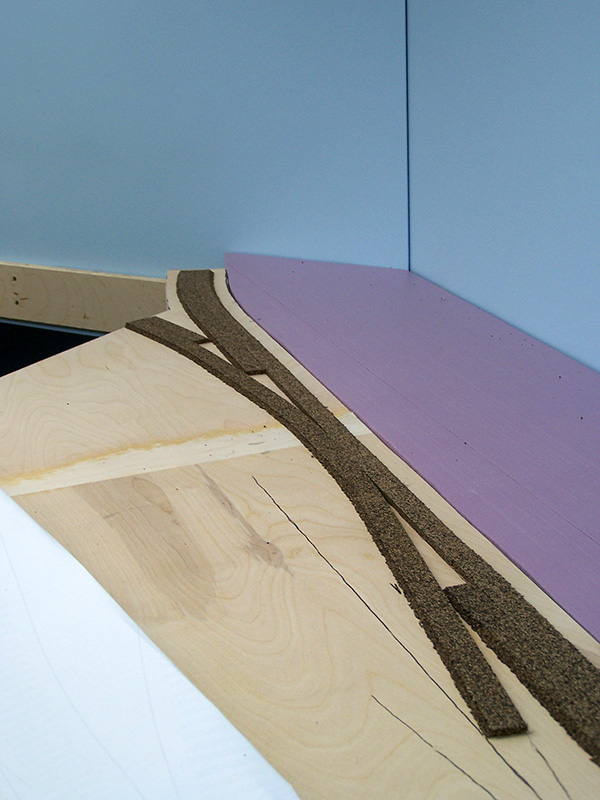
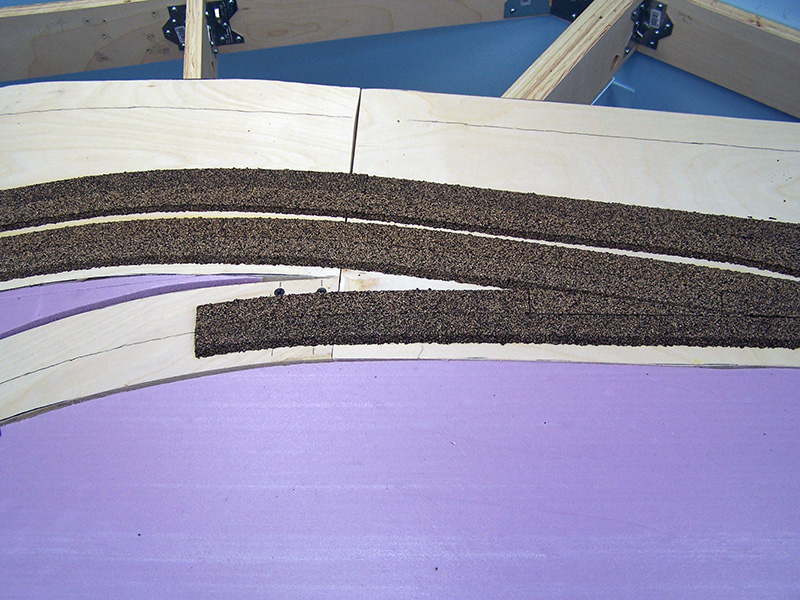
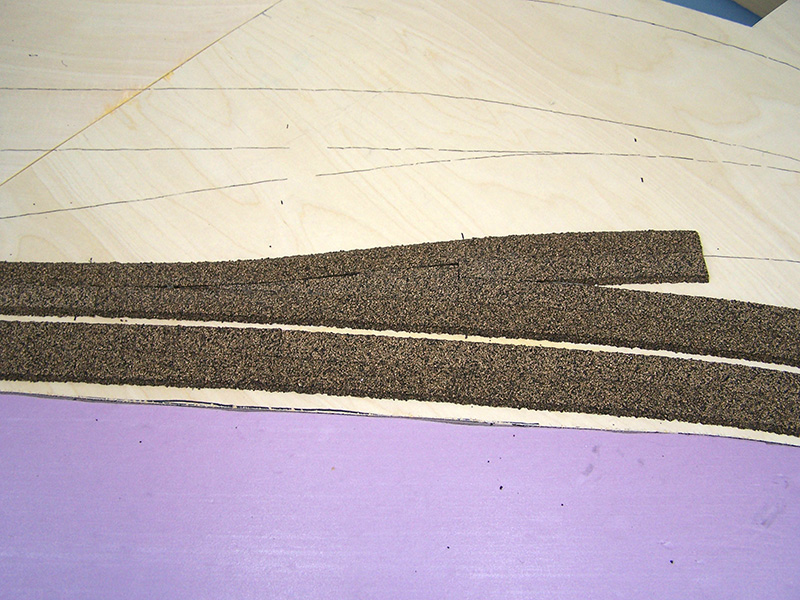
At the same time as I lay 1/8″ cork I am also filling in the cork voids at the turnouts and tapering the diverging legs where appropriate. To fill a void I simply cut a piece to the correct dimensions, slop in some glue, place the filler piece in position, and then (you guessed it) put wax paper, a board, and a ton of weight on it.
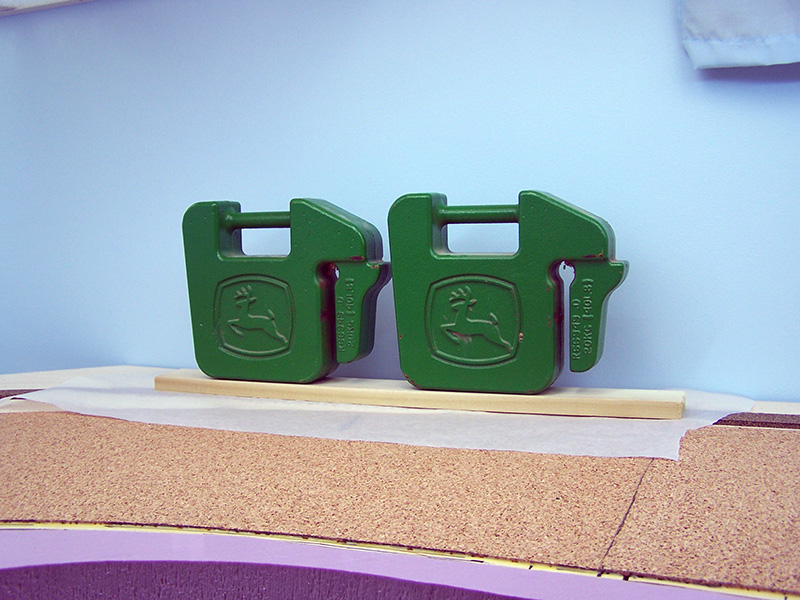
I use 80 lb tractor weights on the turnouts. Let me tell you, the turnout fillers are very flat when finished requiring almost no finish sanding. Speaking of sanding, 50 grit on a belt sander works wonderfully to sand in the taper from 3/16″ mainline to 1/8″ spur height.
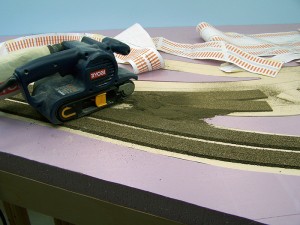
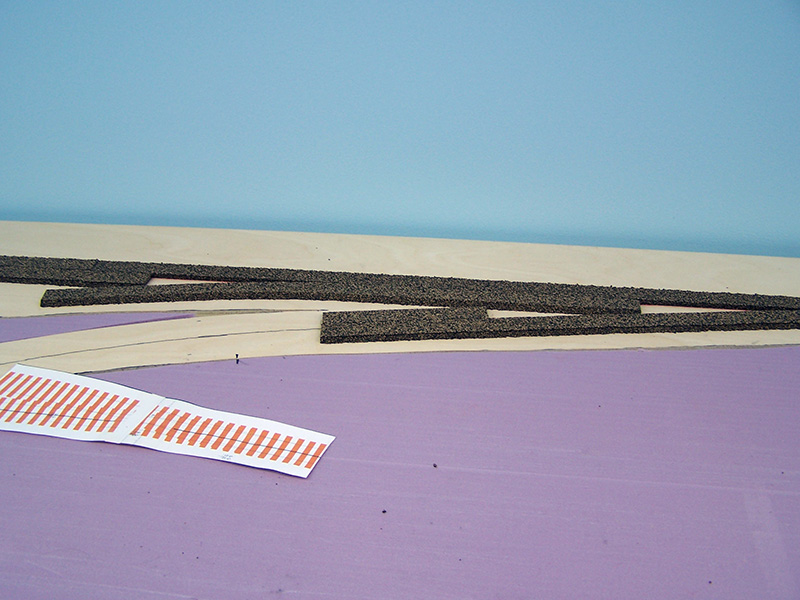
The speed of cut is fast enough so as not to become laborious yet not so fast as to be uncontrollable. The tapers were sanded prior to the 1/8″ cork being placed. This allowed me to control the belt sander sufficiently well enough to form vertical transitions in the taper. Sweet! A little finish sand with 120 grit on a flat board and the tapers are done. I am extremely pleased with how they came out.
I know it is difficult to get the full picture of what is going on just from my seemingly random photos. The next entry should be the total finished cork roadbed. I’ll give you a little tour around the entire right-of-way at that time and hopefully it will come into focus. Stay tuned and thanks for following along.


Simply Amazing! I stumbled across your website when I was searching for CAD software (XTrkCad). What a treat! Following the begin to end process in excruciating detail has inspired me to get started on my own basement prep! What thoroughness and detail….I can already visualize some of the construction on my own future layout! Working the graveyard shift, my wife asks at 9:00 PM, “Planning on going to bed anytime soon?” Ha! Like a good book, couldn’t put it down! I only found the website less than a week ago…. Now I must wait for the next post… At least I will have time to use what I learned. Thanks for sharing with us!