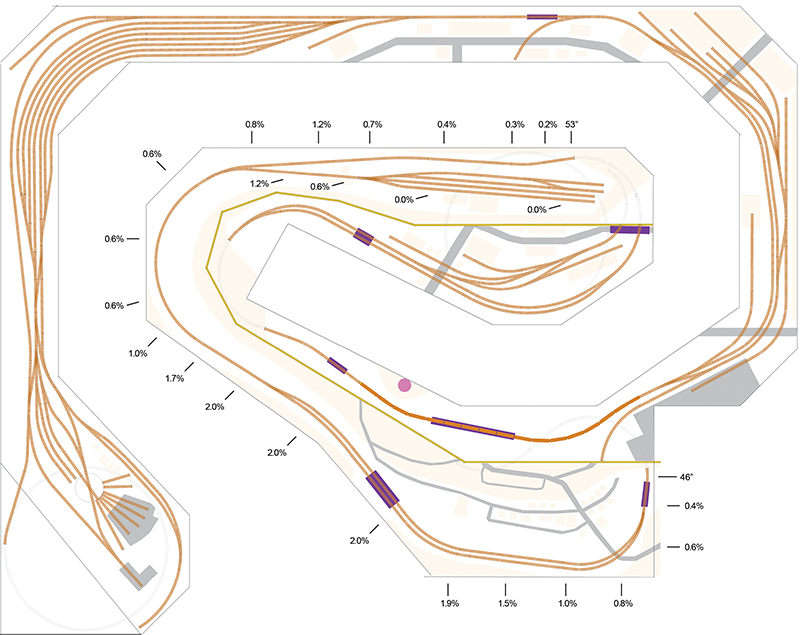
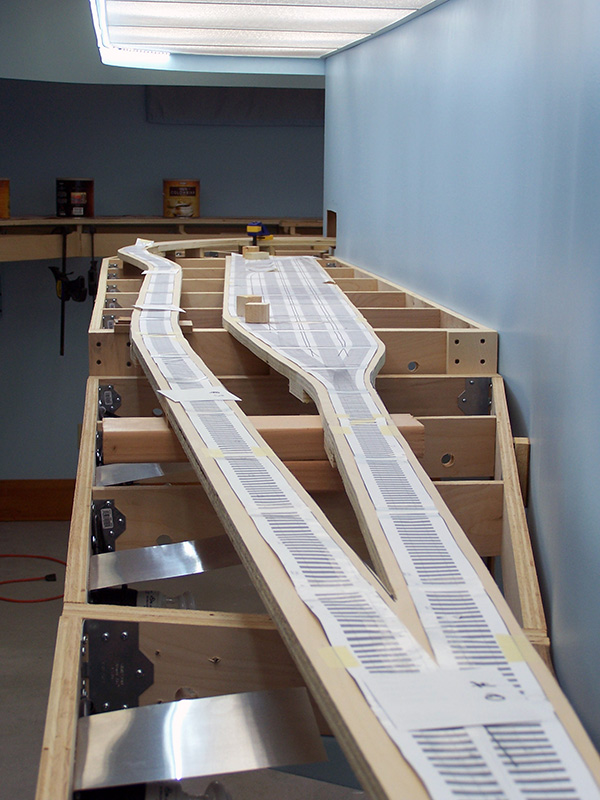
Securing sub-roadbed on risers continues with the grade from zero elevation (53″) down into the Potomac River valley through Kitzmiller. The final track elevation at Kitzmiller where the track enters the tunnel is 46″, lowest right-of-way point on the railroad. The distance from where the track exits the backdrop at the far end of Mettiki mine to where it enters the tunnel at Kitzmiller is roughly 38′. A total of 7″ rise (53-46) in a run of 456″ (38*12) = 1.535% grade (rise/run*100). Easy enough, right? Not so fast. Real railroads use something called curve compensated grades. The idea being it is harder to pull a train around a curve on a grade than it is to pull the same train up a grade of straight track. I am sure the railroads have calculations for exactly what the grade should be for any given curve/grade ratio. I did not get so precise. I simply wanted my curves to be less grade than the straight track on the hill.
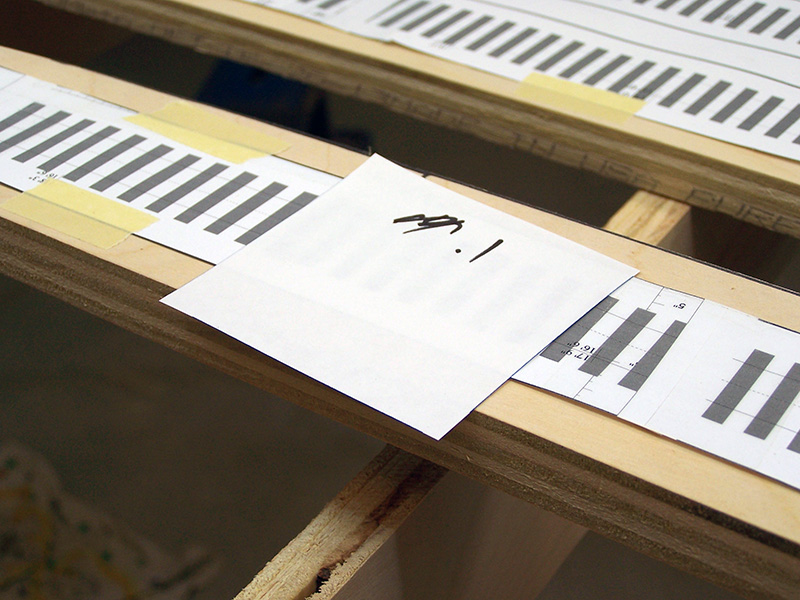
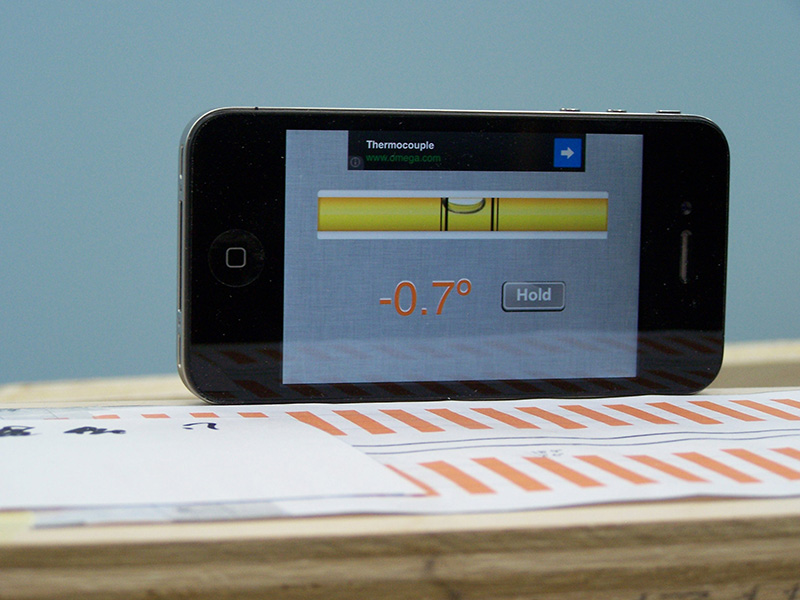
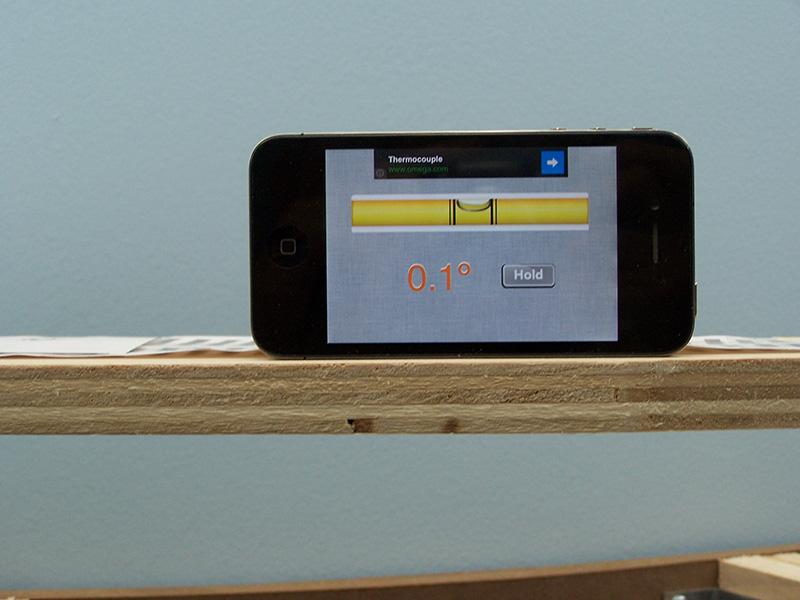
First, I shimmed temporary spacers under the sub-roadbed for the entire length of the run trying to make the grade appear by eye to be uniform. With the help of a a nifty little app for my phone called Bubble Level by Wen Studio I was able to refine the shimming until the grade was uniform all the way down the hill. Next came the grade compensation. There were three areas of concern:
- The run past the mine
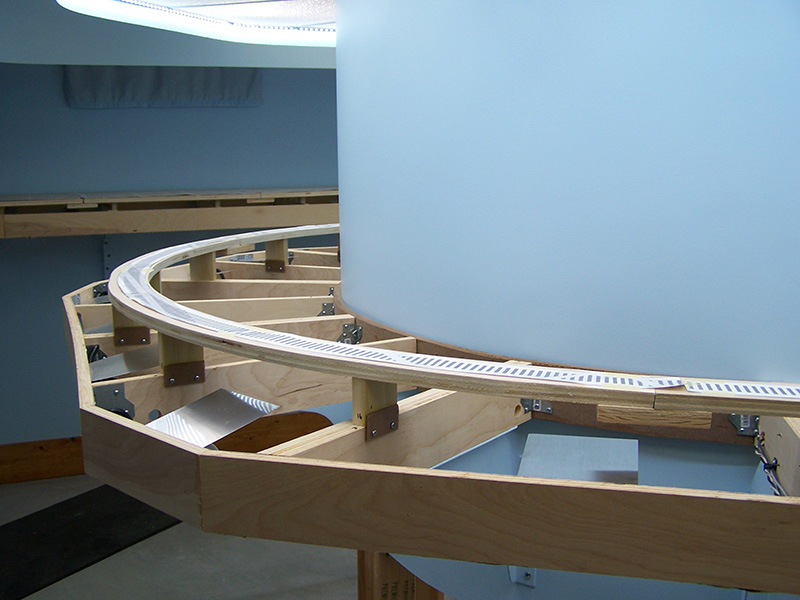
- The big curve around the peninsula end
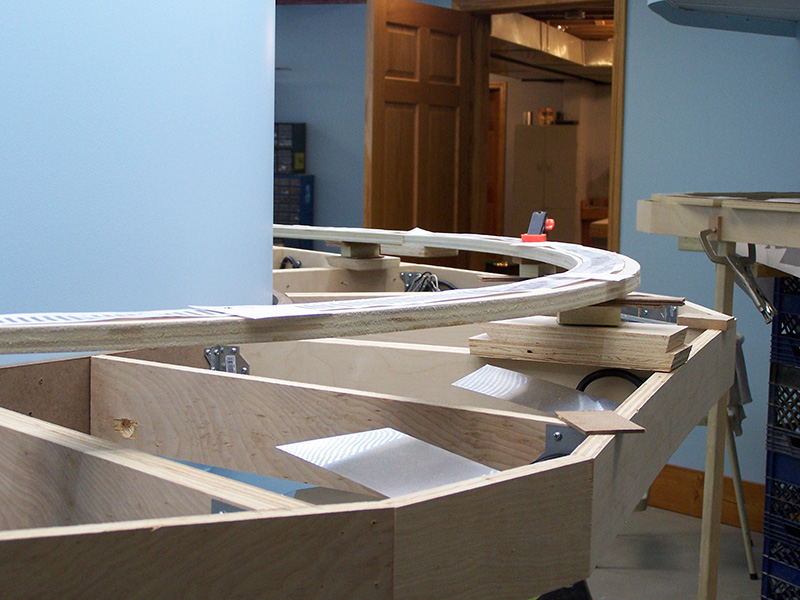
- The curve in Kitzmiller entering the tunnel.
I did not want the mainline to be on a steep incline as it passed the mine area just for aesthetic reasons. The big curve around the peninsula is long enough that quite a bit of train length would be on a curve at the same time. Finally, the curve in Kitzmiller is a relatively tight radius compared to other curves on the main.
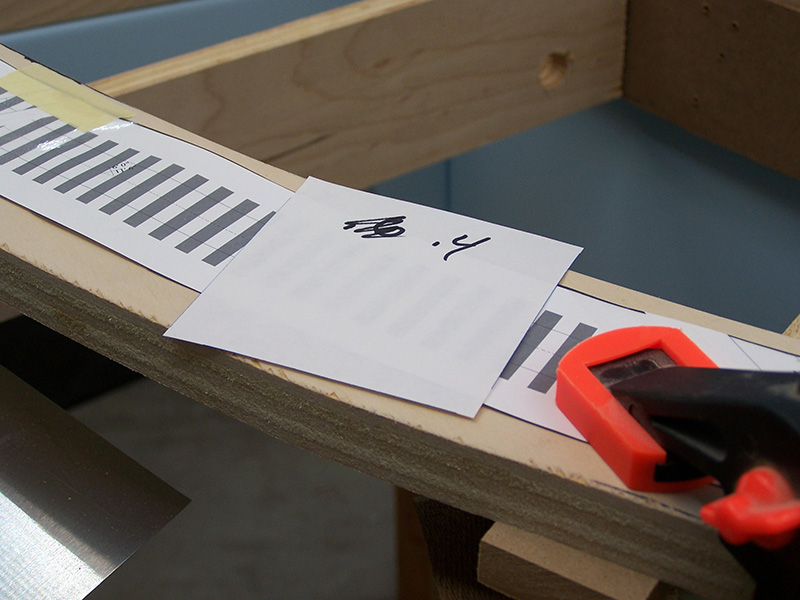
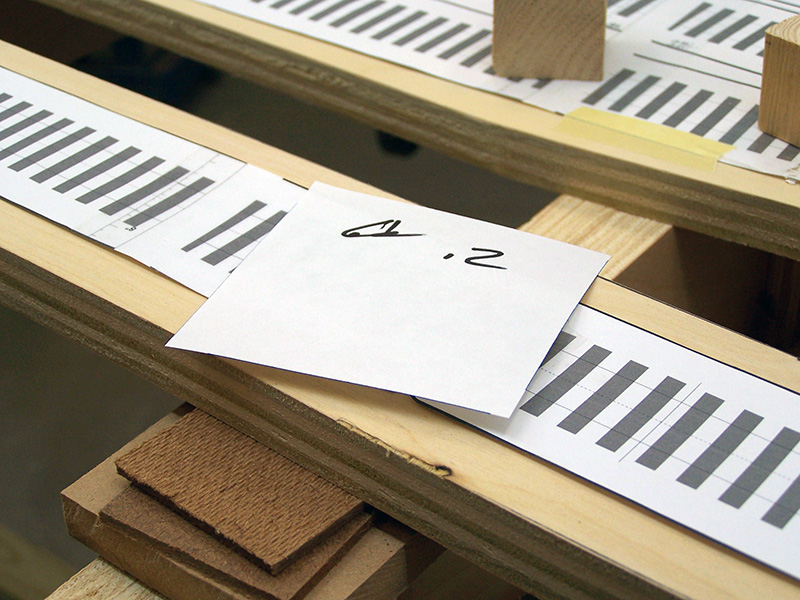
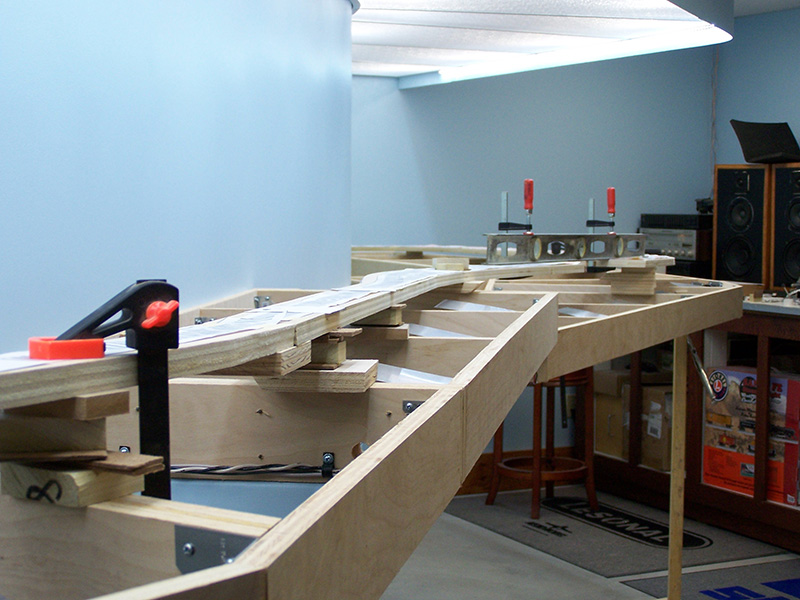
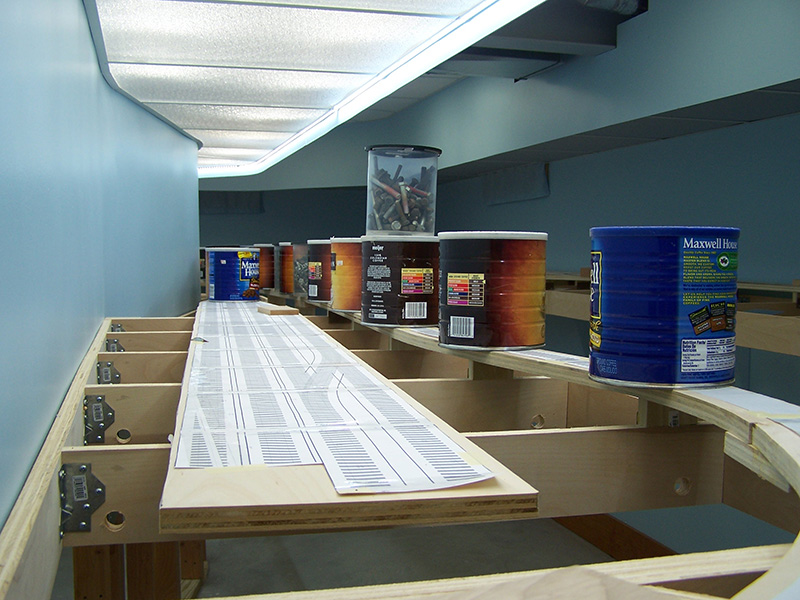
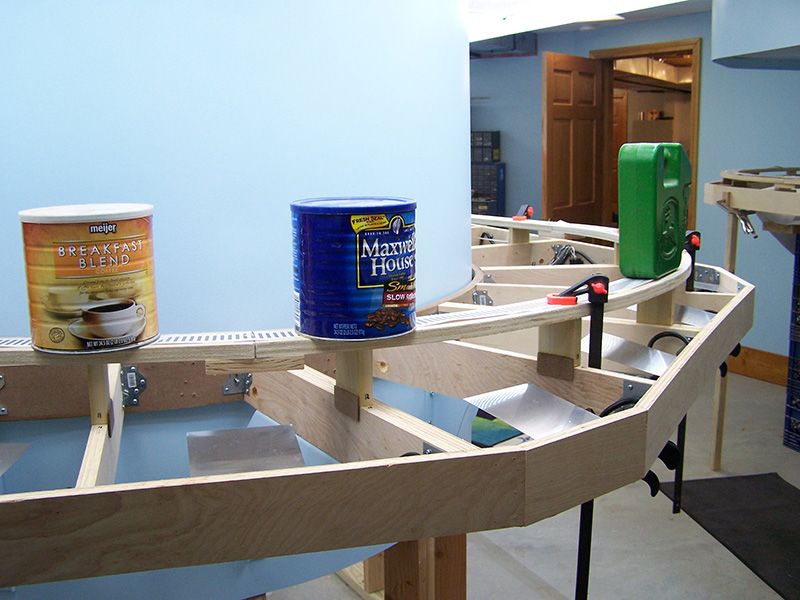
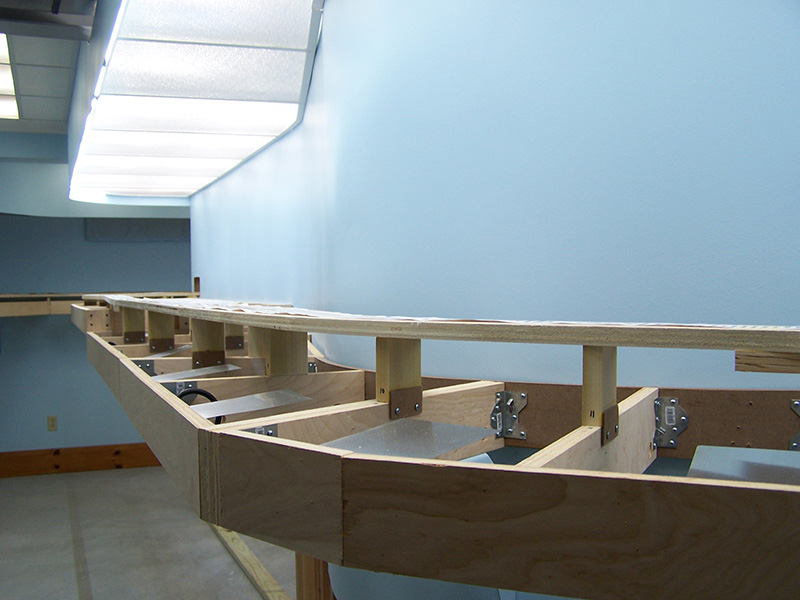
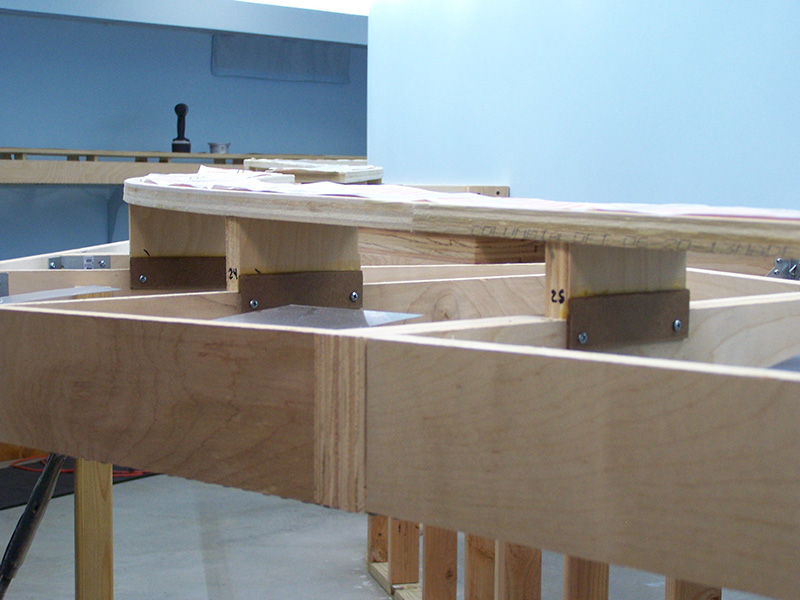
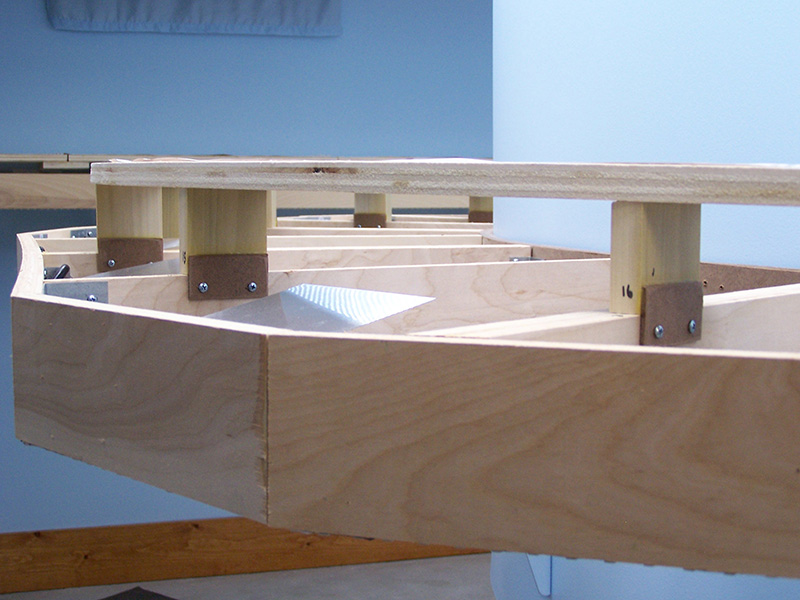
Under each of the three areas of concern I removed shims to lessen the grade somewhat. The plywood the sub-roadbed is made from is quite rigid so clamps were needed to force the plywood to follow the grade changes. With some shims removed in the three target areas naturally the grade had to increase in the stretches between them. Through a long process of trial and err I moved shims about until the desired grades were achieved. Just as a nice finishing touch, and the fact the iPhone app was sufficiently granular to allow doing so, I shimmed vertical transitions into the grades. This rounds off the grade changes so there are no “roof peaks” where grade changes meet. Doubtful the transitions will be noticeable in the final product but at least I will know they are there! The final results:
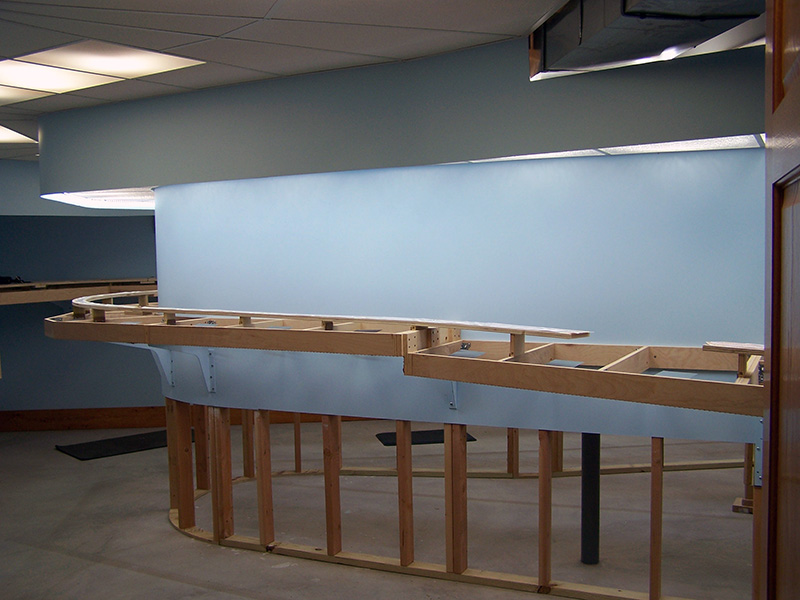
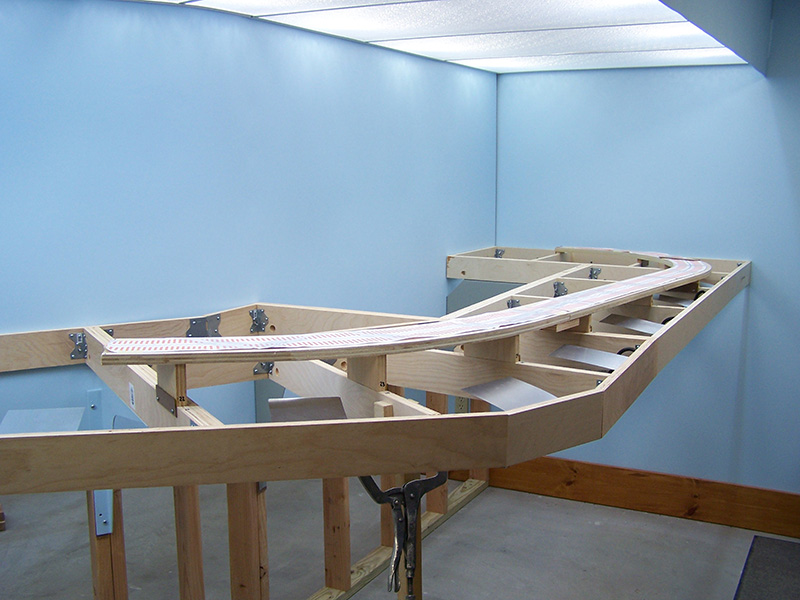
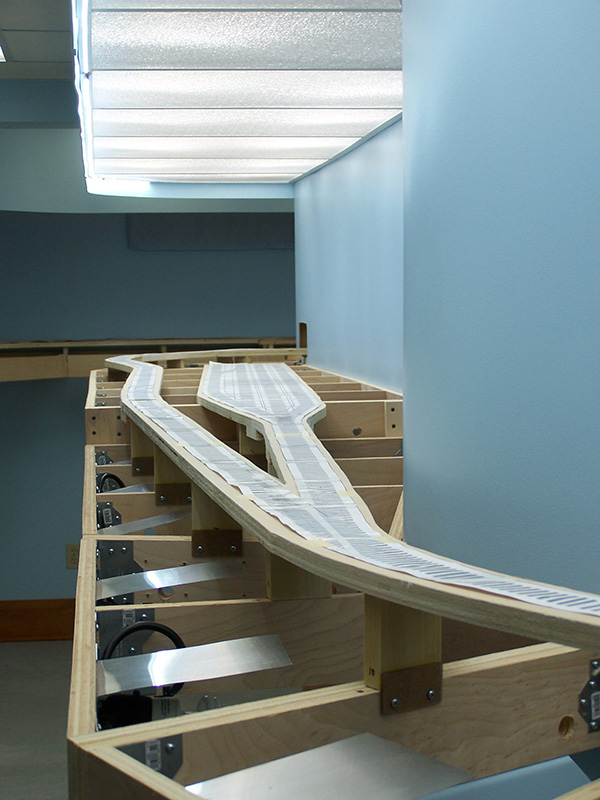
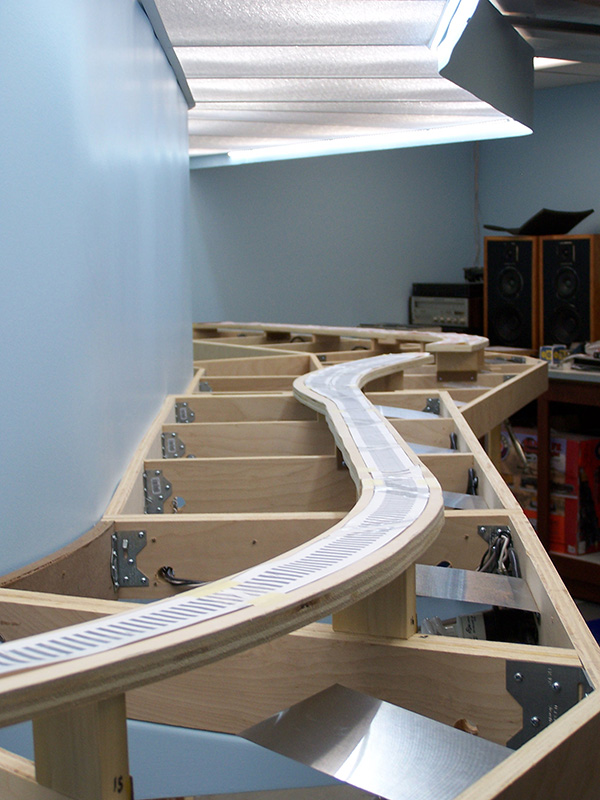
 The steepest grade is where the railroad climbs along the Potomac River and then up out of the valley. Squarely in center view as you walk into the train room. It should make for a visually pleasing site watching long trains labor up the hill. Well, at least pretend laboring. An HO scale locomotive can easily haul a 16 car train up a 2% grade. But we can imagine, can’t we? 🙂
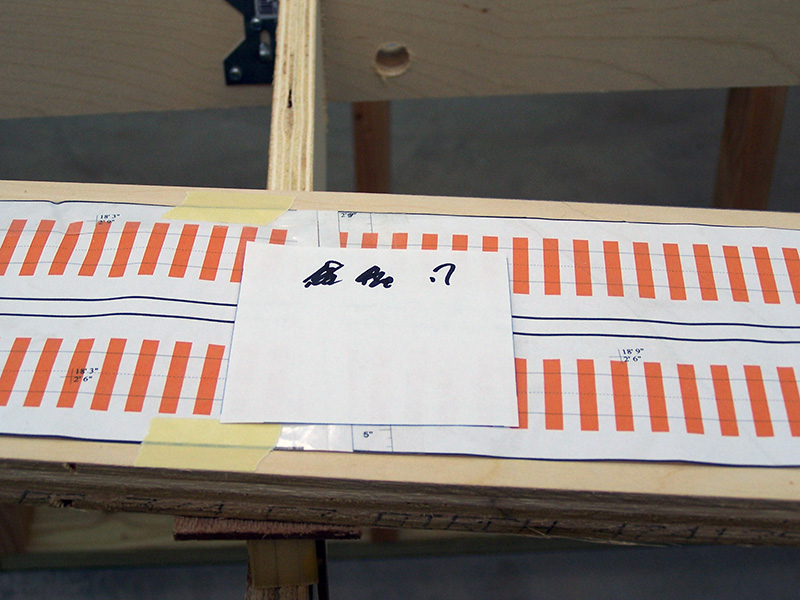
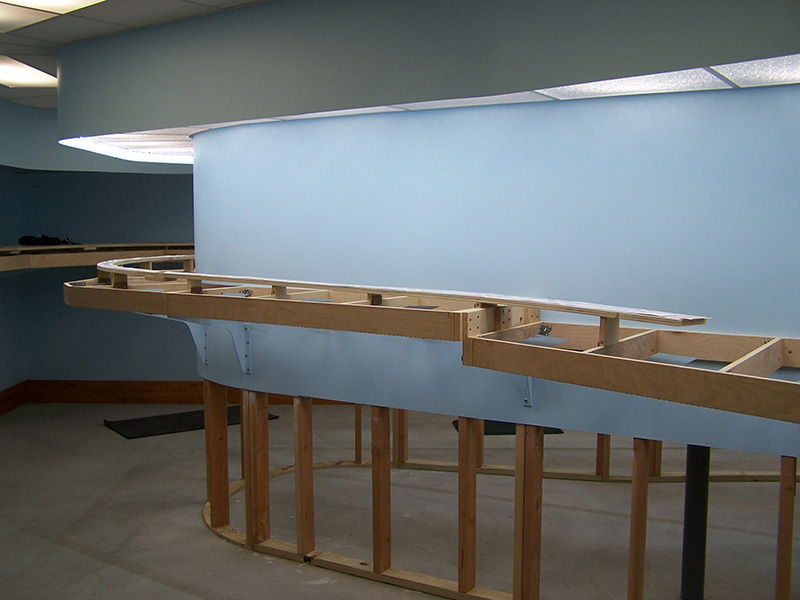
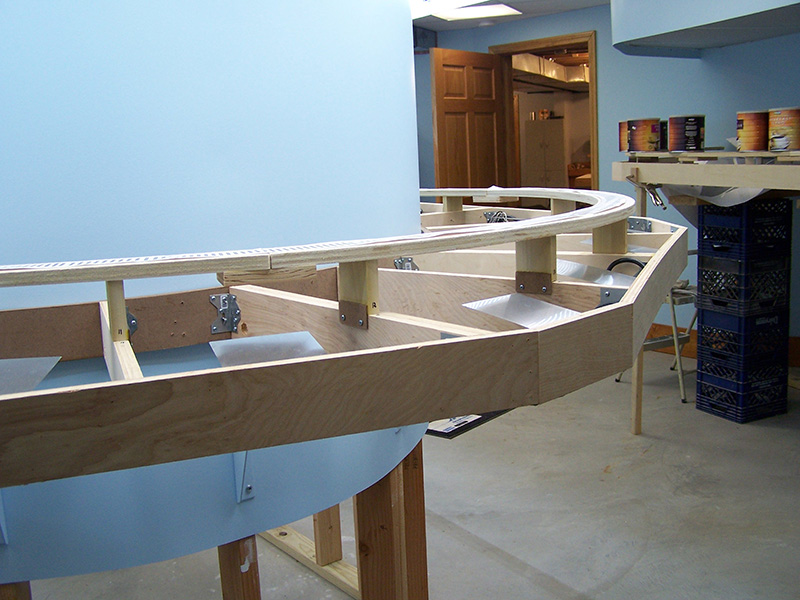
Here are a few pics of the work. Enjoy and thanks again for following along. I should note the pictures in the first gallery were taken when I first began the grading. By the time it was finished the little note cards were chock full of scribbled measurements. And I also finished installing the sub-roadbed that circles around the engine service area so I tossed those pics in as well.
Setting the grade
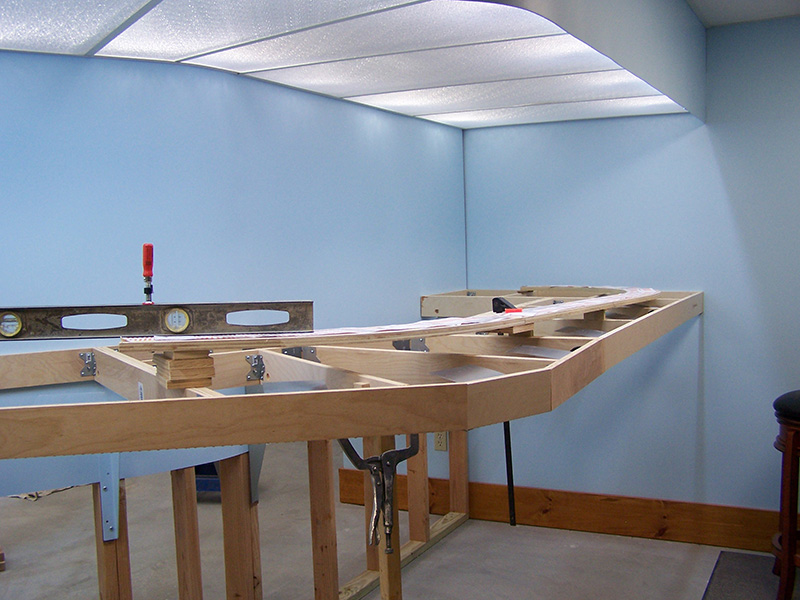
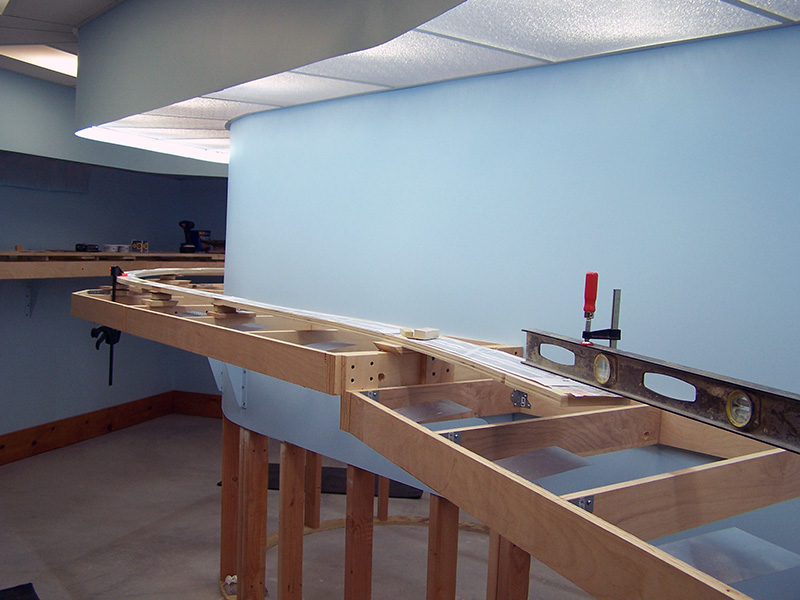

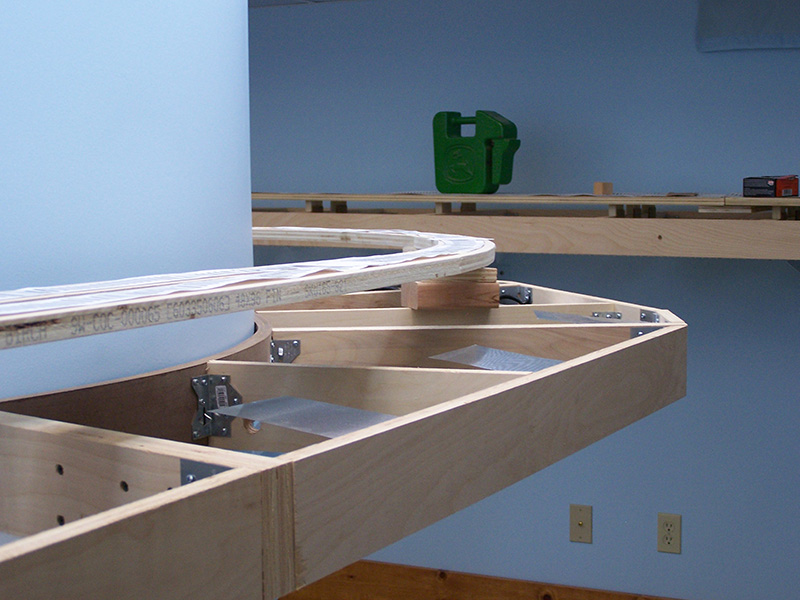


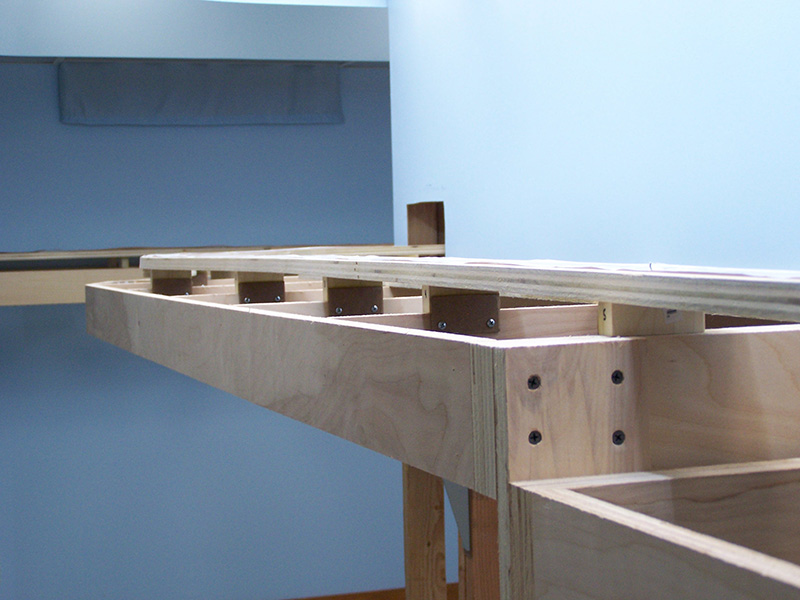
Risers measured, constructed, in place, and glued
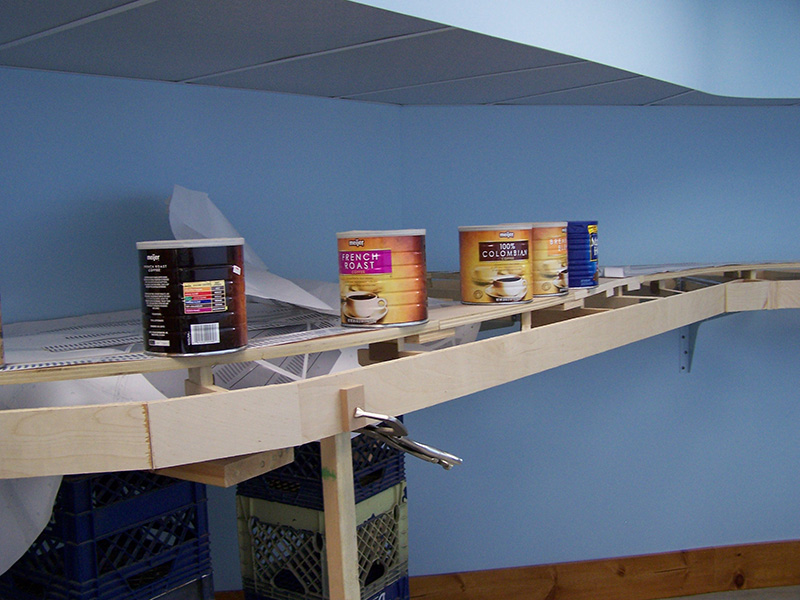
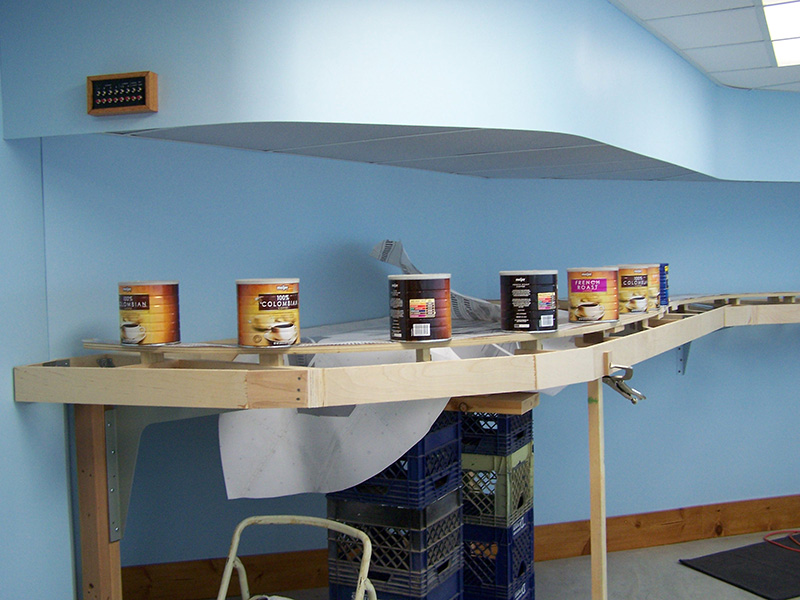

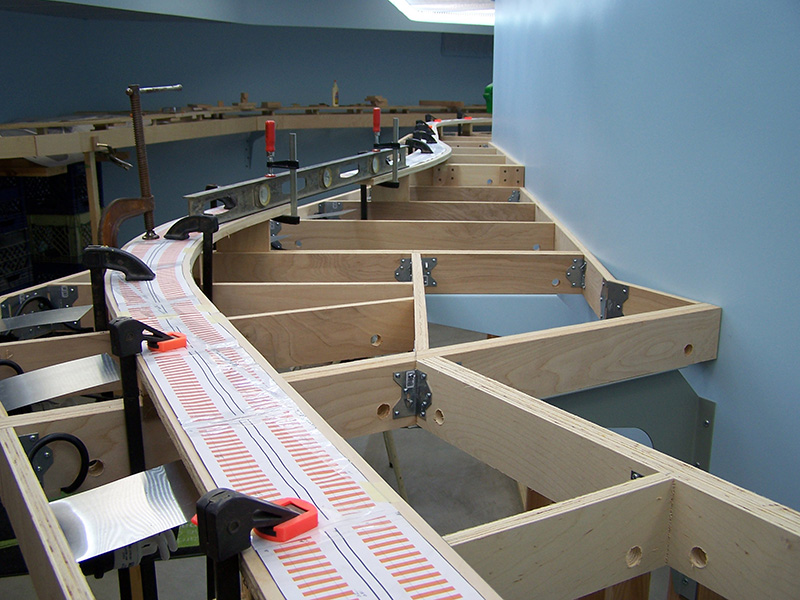
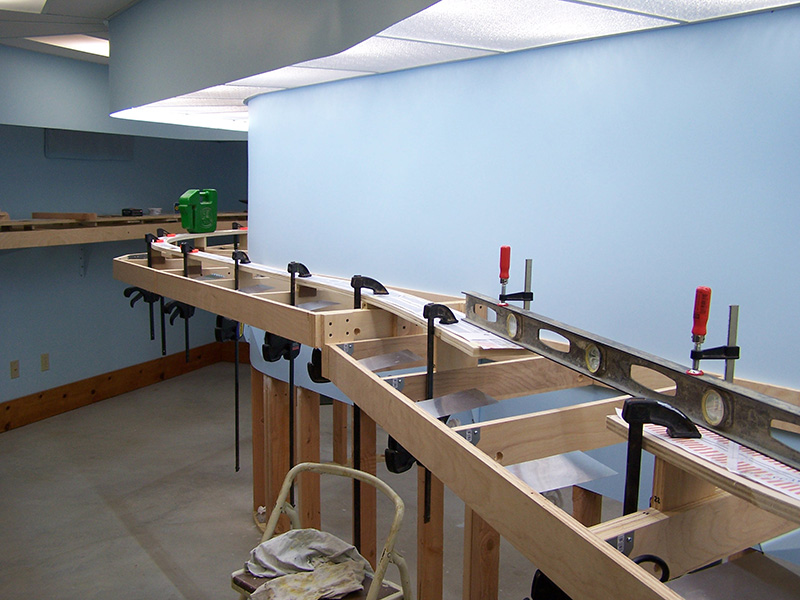
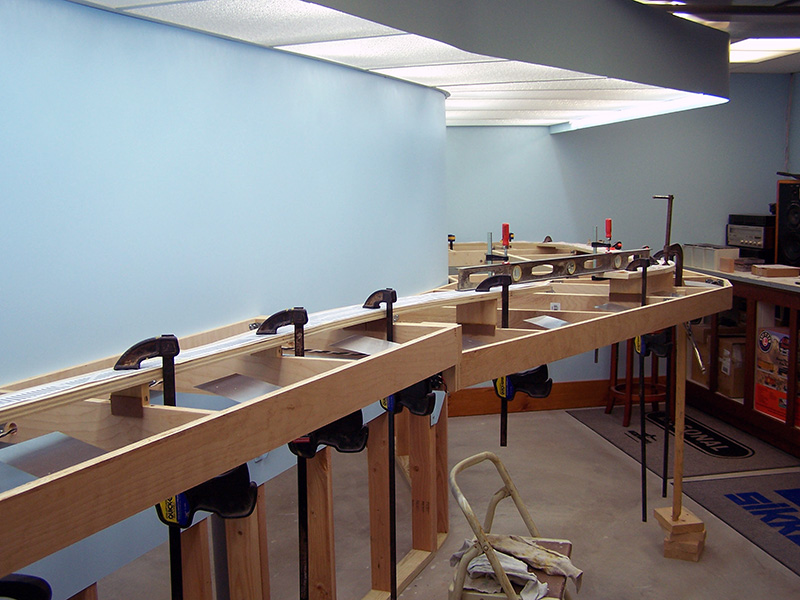
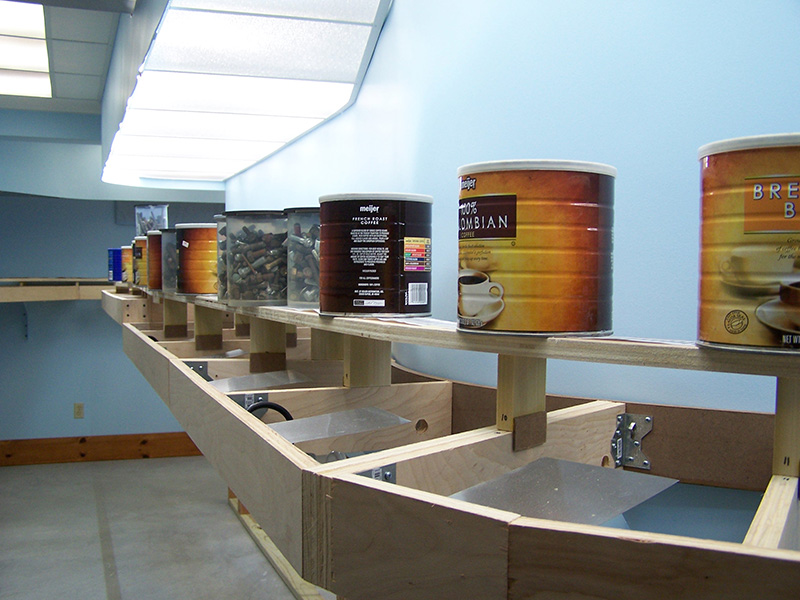

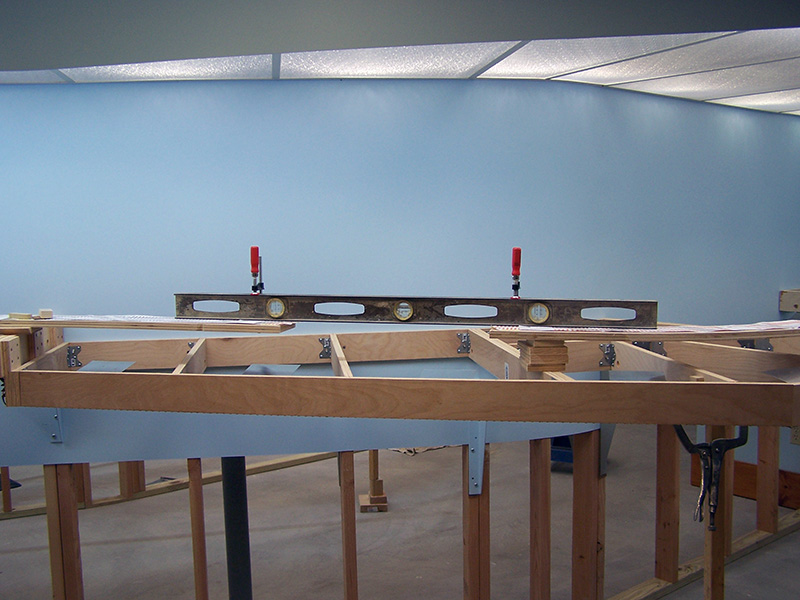
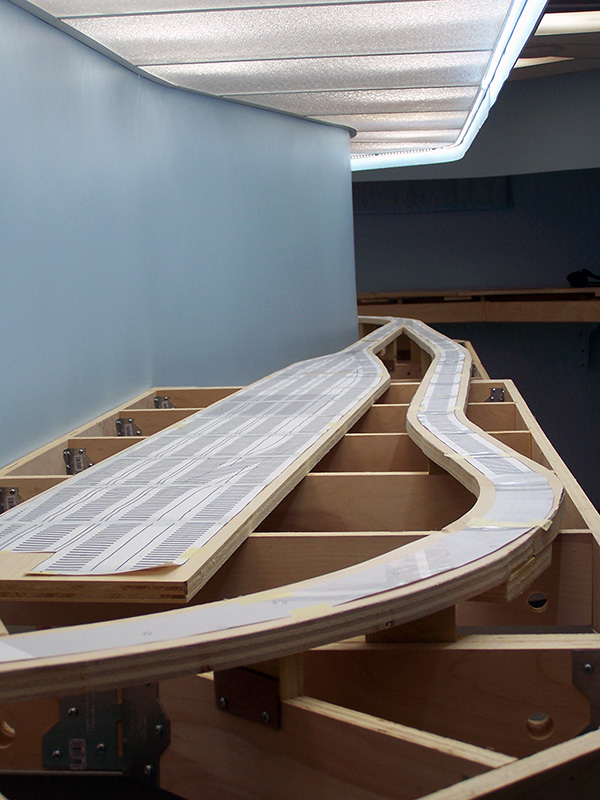
Finished compensated grade sub-roadbed

The place is looking good Alan. Should not be long now before the track begins to grace the plywood surface.
Rob
I came back to see if you had any more in the way of updates posted and reread your grade work. The curves have a very pronounced effect on the train and the drag it exhibits. Just for reference most of the curves on our club layout are 36 inches with some down to 28 in the yard loop.
If you put together free rolling wheels and trucks on your cars you will find that your curves will slow a long train more than a 2% grade. I have pulled trains in excess of 150 cars with two atlas train masters and the 2% grades are less of a factor than the curves. A pair of your H16 44s will easily pull your trains around the grades and curves and for your 16 car trains you should be fine with just one.
With your attention to detail and execution of your plan you should have a railroad that just runs flawlessly. Should you begin having friends over for operating sessions I can see your layout being everyone’s favorite and a catalyst to bring about improvement in the layouts of all who see yours.
Rob
Those are some really fine compliments Rob. Thank you.
Hey Rob,
I am familar with the area you are going to model,and appears your finished project will be just right! will check back time to time!!
The level apps are quite helpful. I use one called Clinometer that includes percentage (to a 10th of a percent), which is the main reason I bought it. Very useful to find locally steep grades. The bubble level function was a better fit for checking twist.
http://goodman312.zenfolio.com/p834311615/e581d126d
[…] one unit to eliminate the need for a module connection in the middle of the big curve. During the construction of the sub-roadbed I placed a connector between Module 11 and Module 13 (yet to be built) to keep Module 11 from being […]