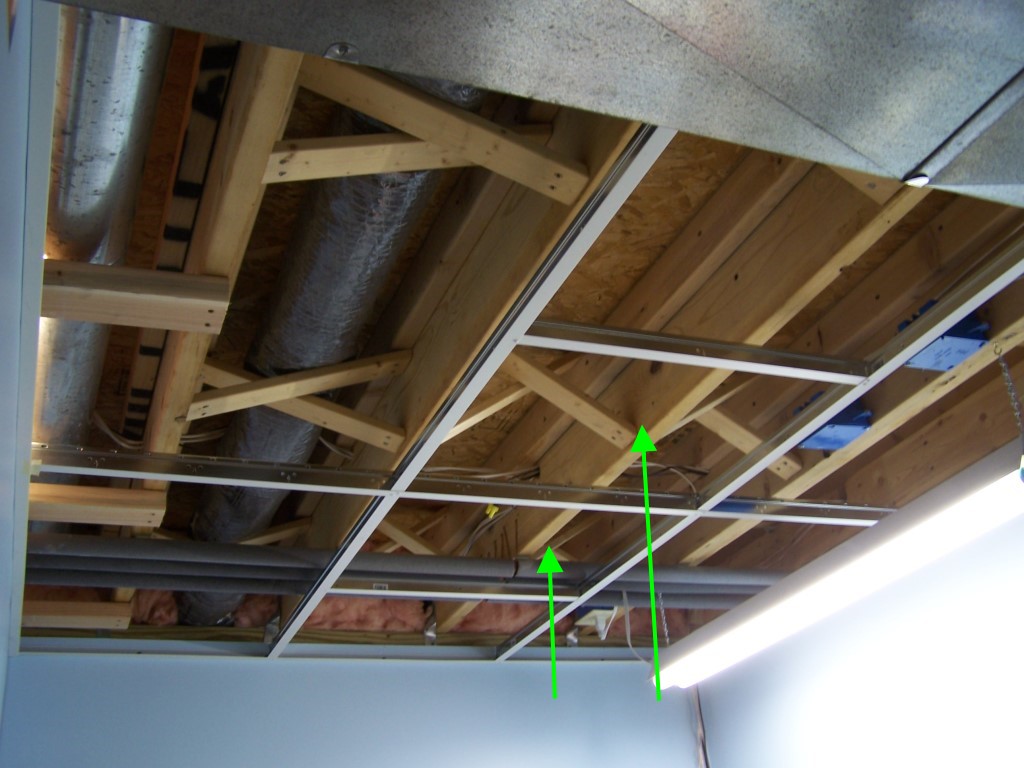
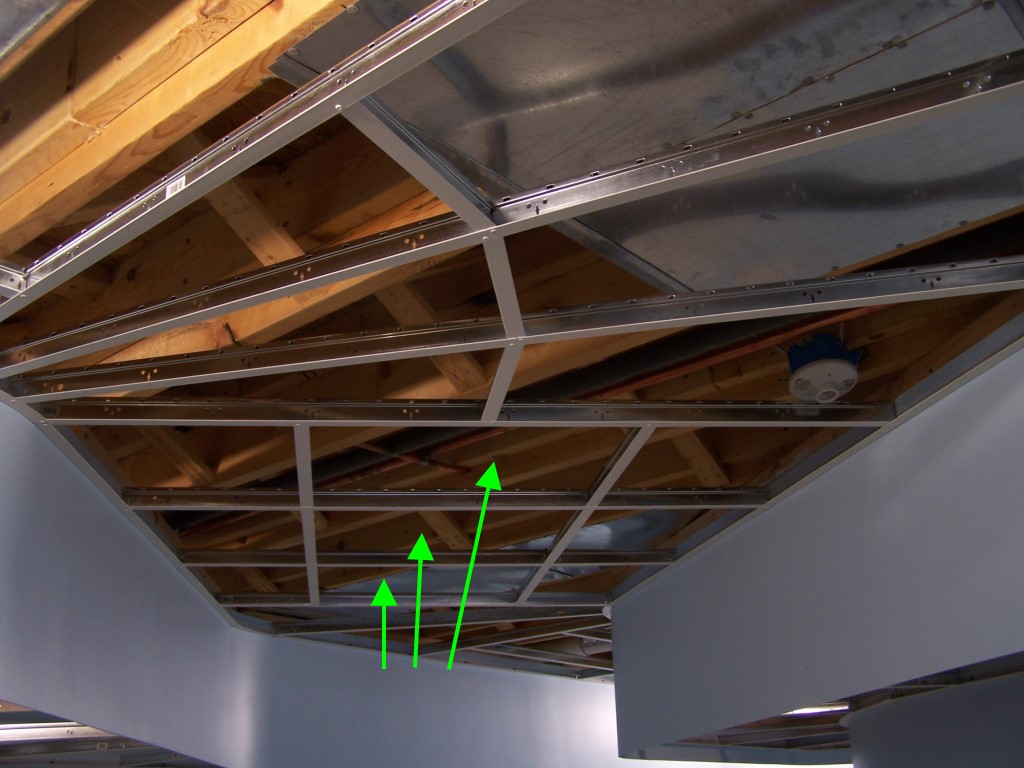
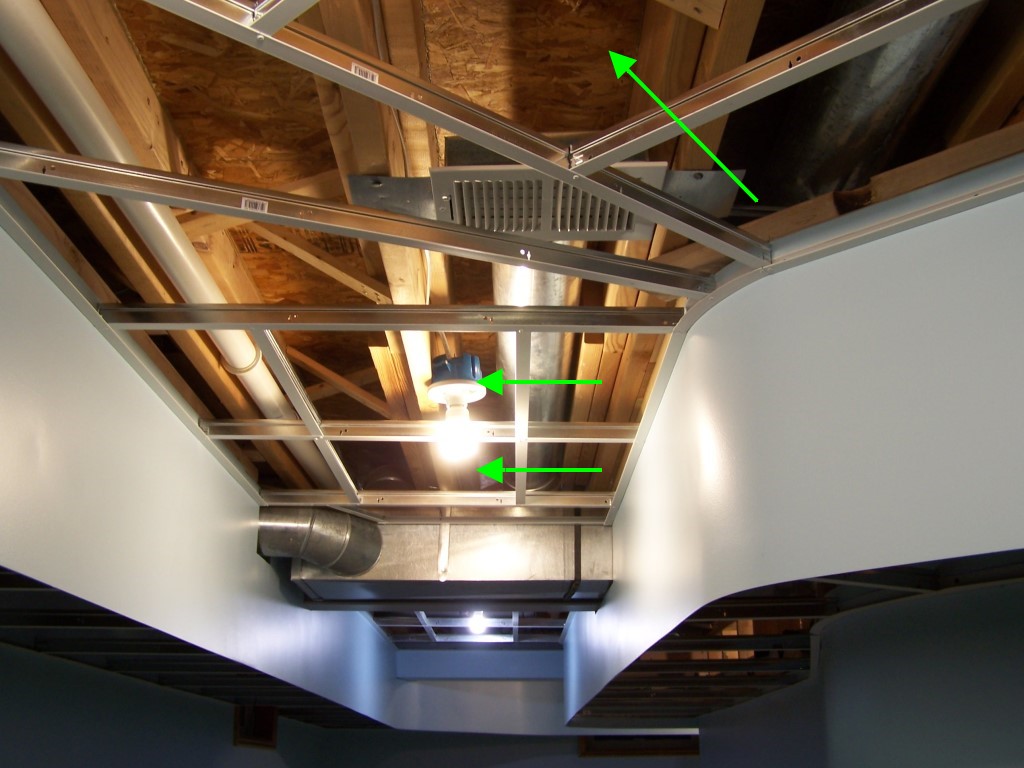
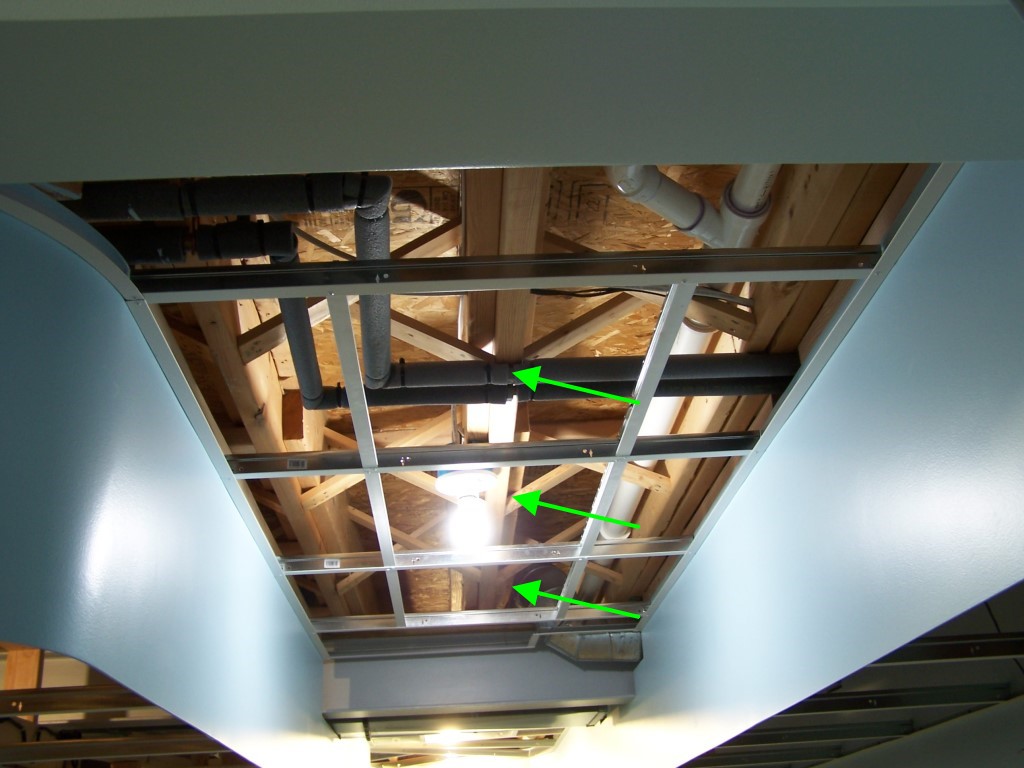
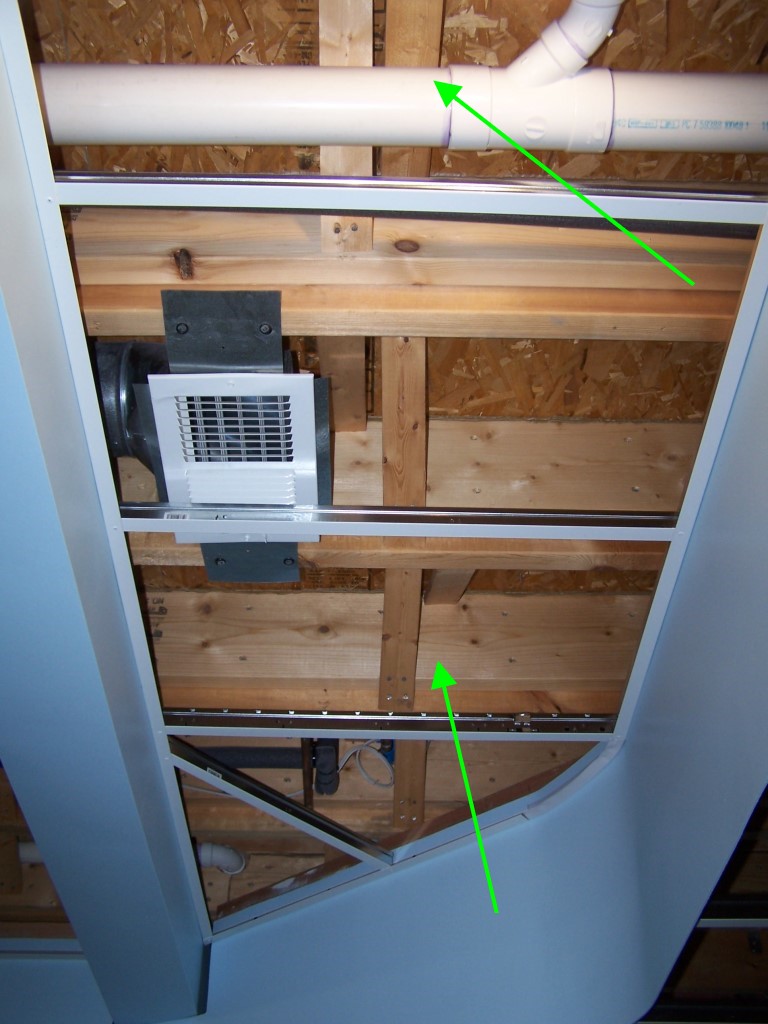
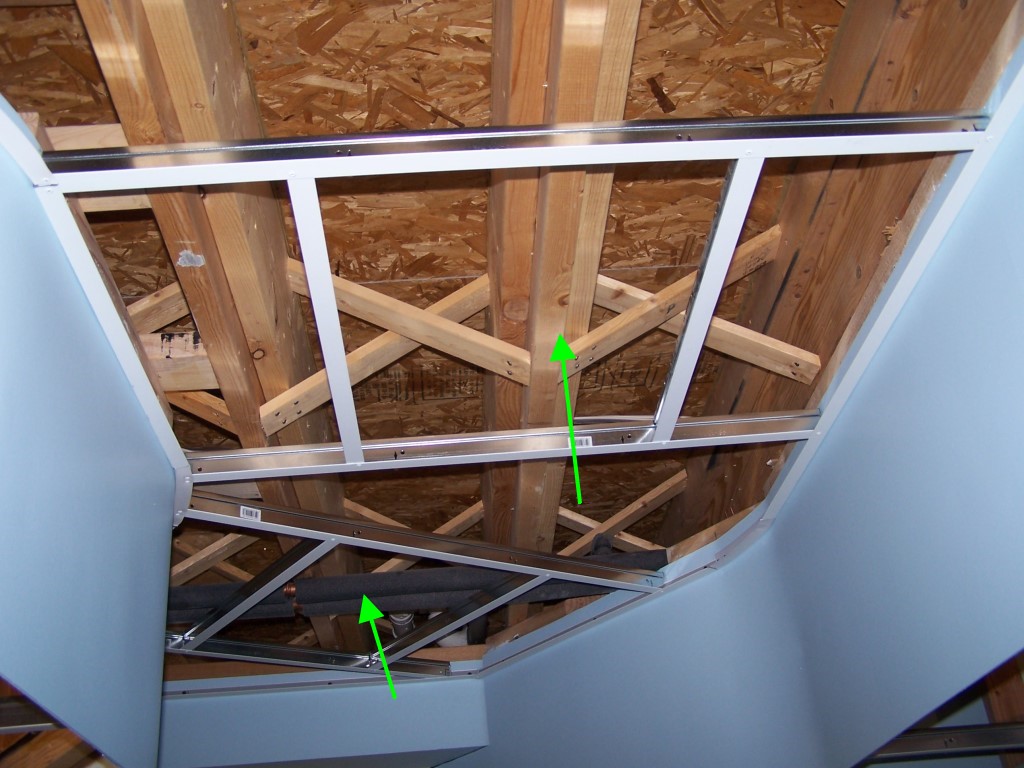
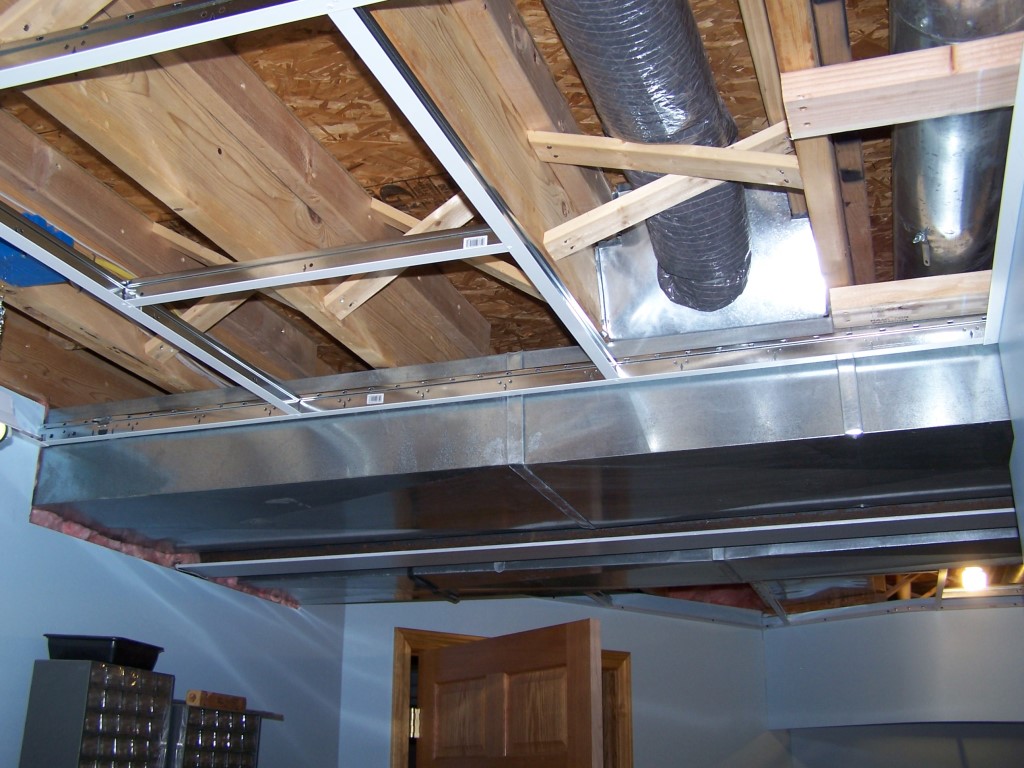
The ceiling grid for the train room ceiling is installed. A traditional suspended ceiling is done in squares. Put up the wall angles around the perimeter, mount the main tees, and everything snaps in place from there on out. My ceiling was not nearly so simple. The only walls I had to work with were the wall behind the workbench and a little bit of the wall adjacent to it. All the rest was following the lighting valance around the room. This necessitated custom cut, custom fitted ties and angles all the way around. That is why you haven’t seen a blog post from me lately. I have been busy making metal shavings!
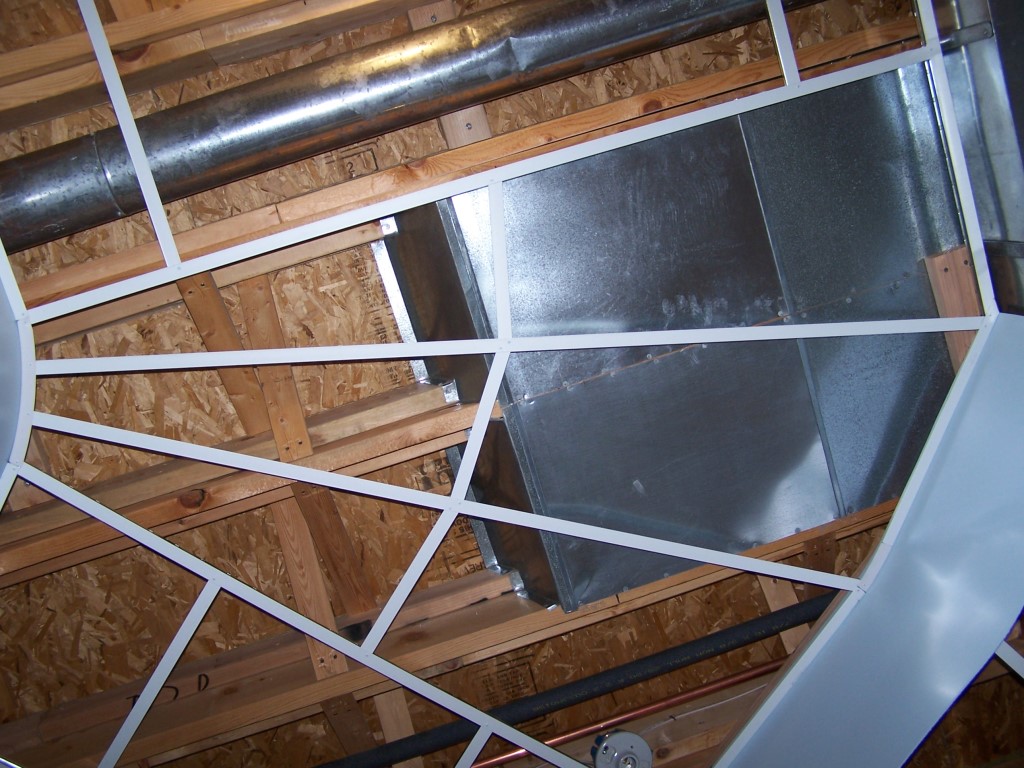
My process was much the same as the lighting grid in the valance. First I located points around the room with a water level 3-1/2″ below the bottom of the joists. Next, I cut a couple spacer boards to clamp on the valance that supported the wall angles in place as I mounted them one by one. My tape markings on the floor were once again used with a plumb bob to locate the ends of the wall angles. Once all the wall angles were in place I continued by fitting the TrimTex flexible angles in the curved corners. Unlike the lighting valance wall angles, fastener visibility was not an issue for the ceiling angles so I used 3/16″ aluminum pop rivets to install the vinyl angles. This made installation a bit quicker than the machine screws used on the lighting valance.
Railroads move stuff from here to there. Freight goes on a journey. I want to enhance the “taking a journey” effect so I used a follow-the-yellow-brick-road style of laying out the cross ties. With the wall angles in place I laid out the cross ties with mason’s string as before with the ties at a right angle to the valance and following the curves in the aisle. This layout made for a bunch more measuring, a bit more tie waste, and a more challenging installation but now finished I am convinced it was well worth the extra effort. The ceiling pattern really does give you a sense of following a path as you walk the aisle. Much cooler than a plain Jane rectangular ceiling pattern.
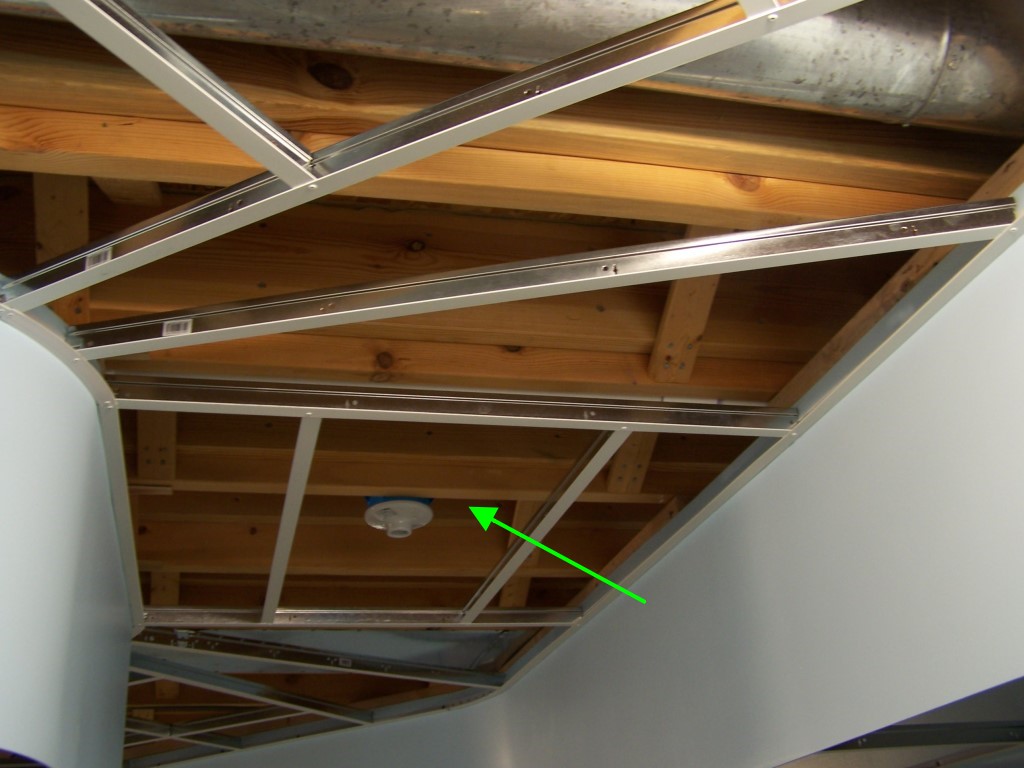
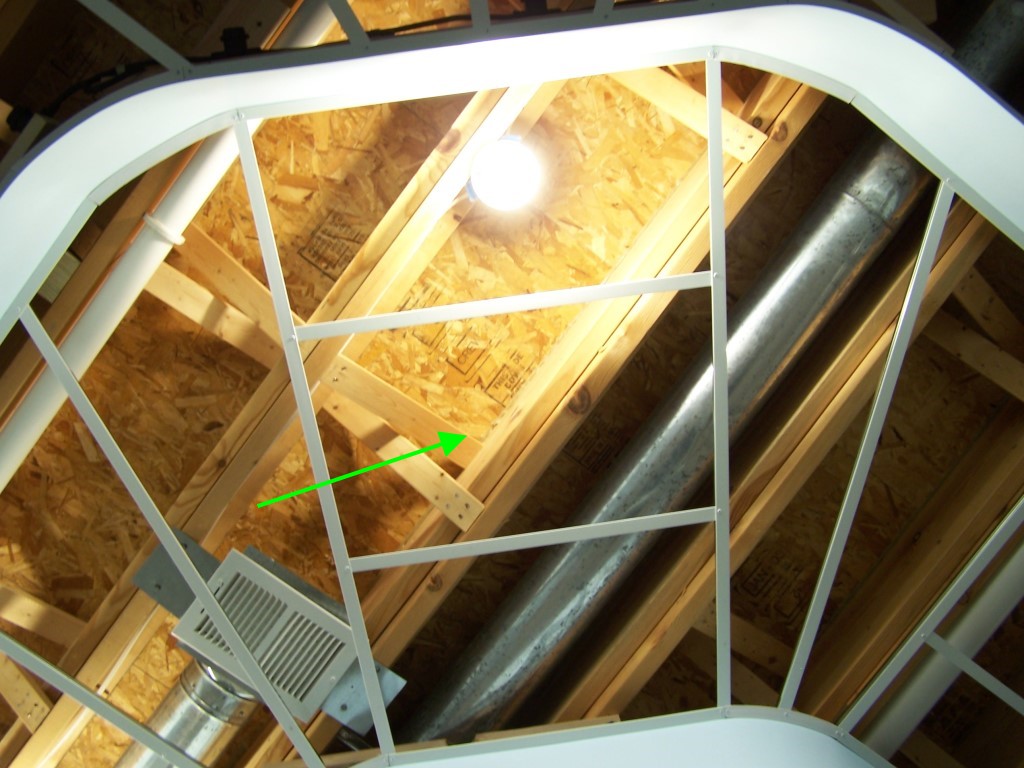
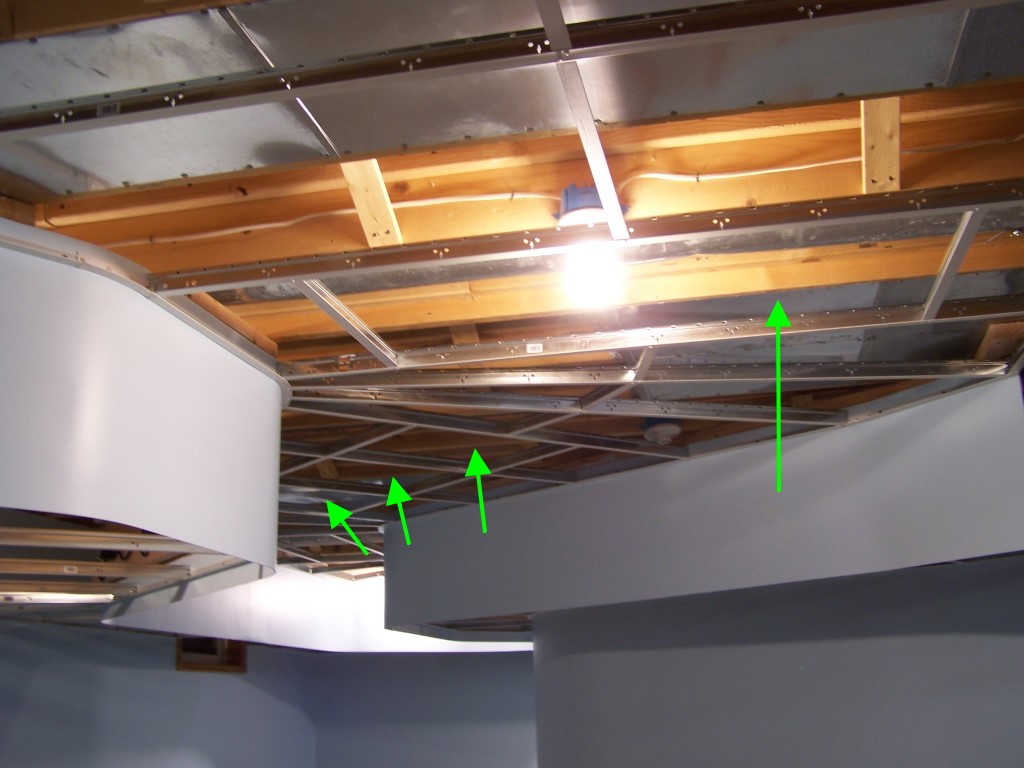
The aisles are lit through 16″ wide lighting panels in the ceiling. I added green arrows to the pictures below to show which panels will be lighting panels. Fitted to them will be the same white cracked ice acrylic sheet used over the layout. Speaking of lighting, that is my next step – add CFL lamp sockets in all the right places. My box of 50 Leviton ceramic sockets arrived earlier this week so I am all set to tackle lighting this weekend.
Until next post, enjoy the grid-ular goodness!


Leave a Reply