I am coming down the home stretch of getting the upper deck basic benchwork built and in place. Good thing too because the plywood boards pile has just about run out. In fact, it looks like I may be a few boards shy by the time I get to the end of the benchwork at Kitzmiller. We’ll see. I would rather not mess around fetching and ripping more plywood in the middle of the winter if I can avoid it.
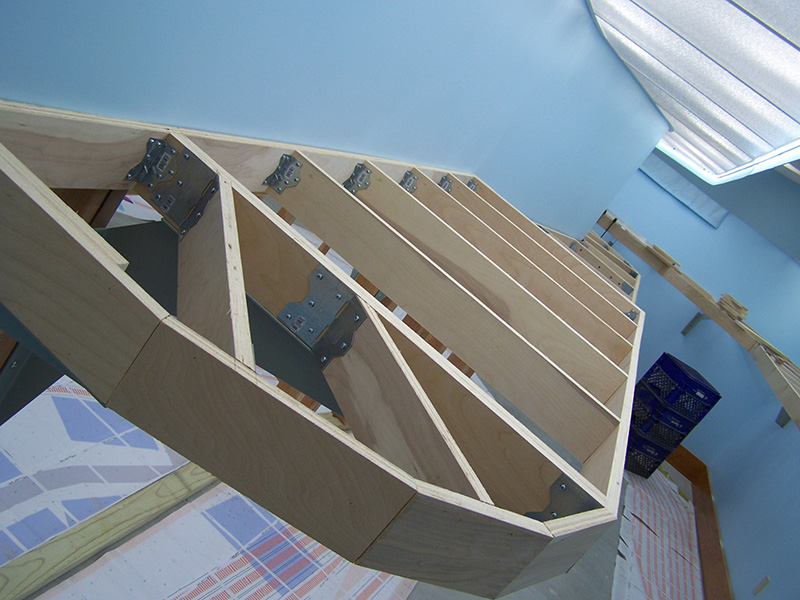
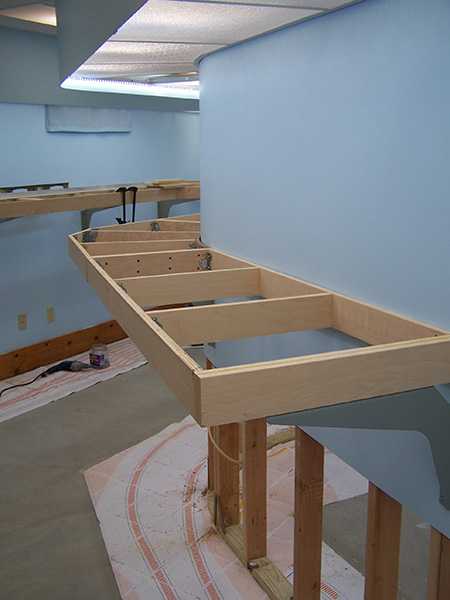
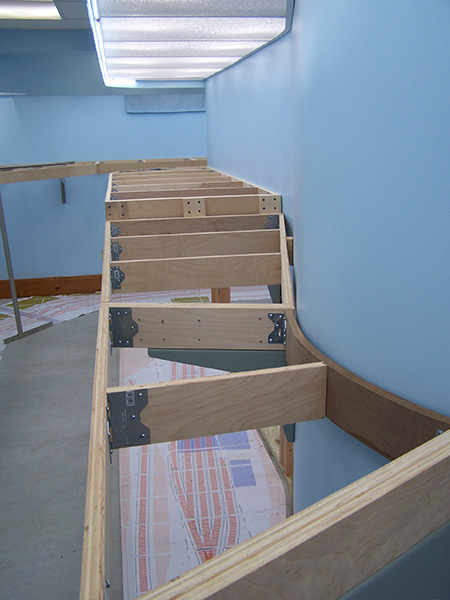
The Mittiki coal mine area was straightforward to construct because it was straight and right angle work except for the corner. There are only two switches in the track work in this area so it was easy to set the cross members at evenly spaced intervals. It is also the area where the benchwork makes one of two elevation drops. The foreground benchwork in this photo is above the north helix so it is at the standard 53″ zero elevation. Just beyond the helix the benchwork drops 3″. This is to allow for the beginning of the downgrade into the Potomac River valley at Kitzmiller. Two big 18″ x 24″ brackets support the benchwork on either side of the helix opening in the backdrop wall. Plenty sturdy and does not encroach into the helix area whatsoever.
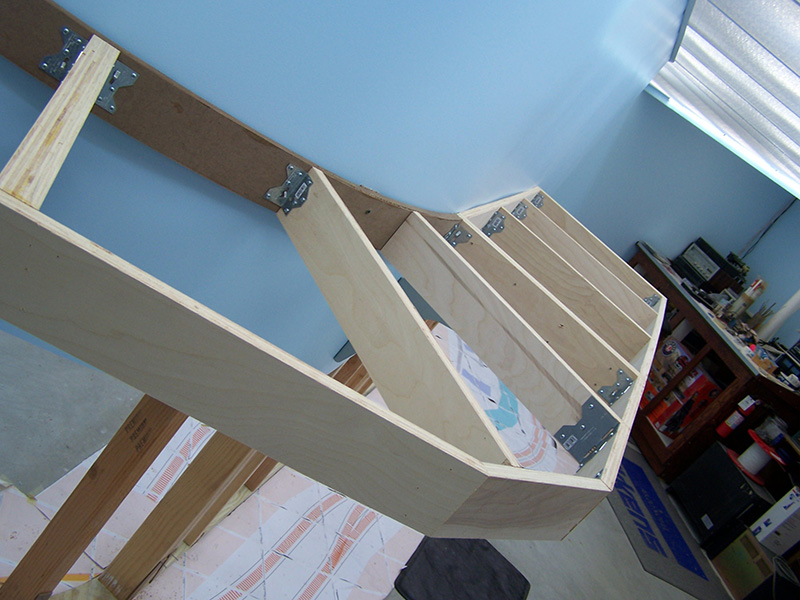
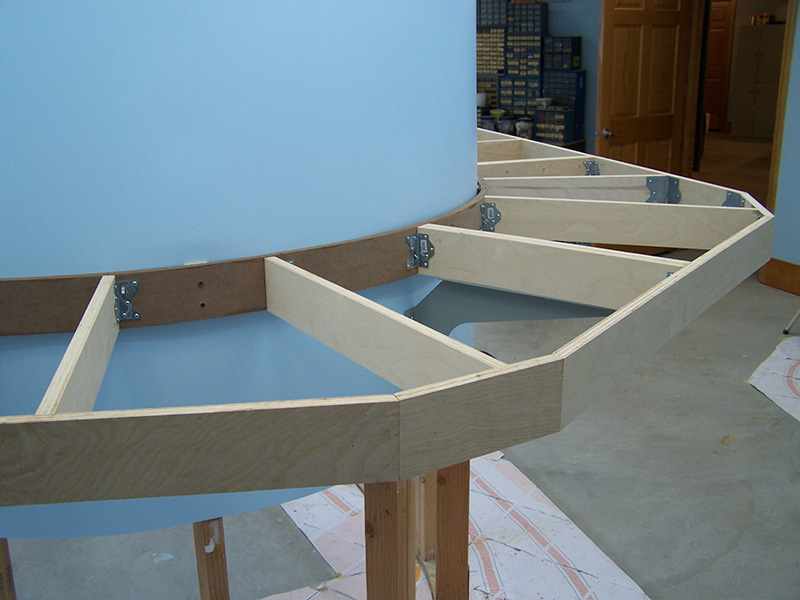
The big curved end to the backdrop wall posed an interesting challenge. The outer perimeter shape and location is fixed by the lighting valance so it needed to be constructed the same as all the other benchwork. But the wall board side was different from all others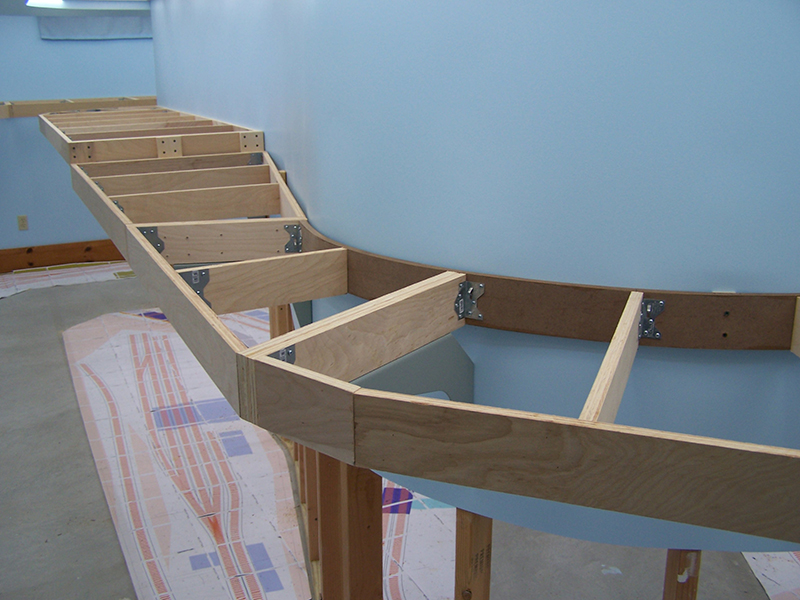 in that it needed to be curved into a six foot diameter half circle. To go around the curve with stick lumber and angles would have resulted in a lot of very short boards with a lot of shallow angle joints. Not pretty nor I suspect would it have been very rigid. Instead, I turned to laminating hardboard together into a do-it-yourself plywood. This ‘spline’ technique is popular in the model railroad camps for making sub-roadbed under the track where long flowing curves are needed. Here, Charlie Comstock details how he uses spline on his Bear Creek and South Jackson layout. I employed the same concept except applied to benchwork instead of sub-roadbed.
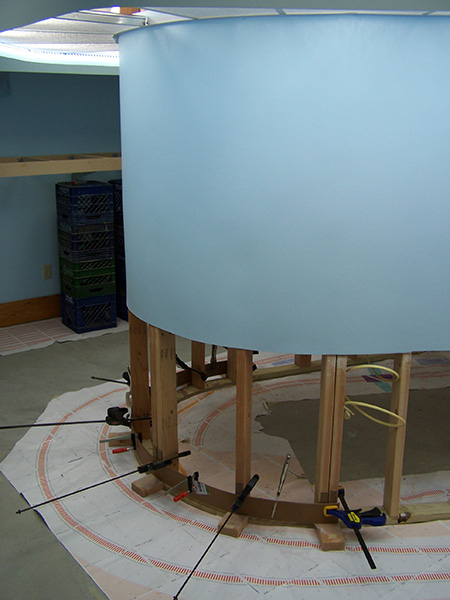
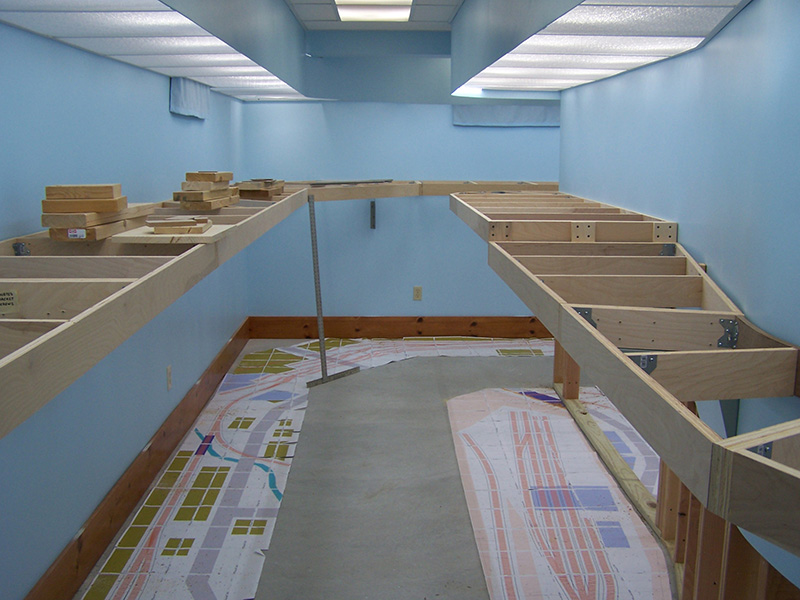
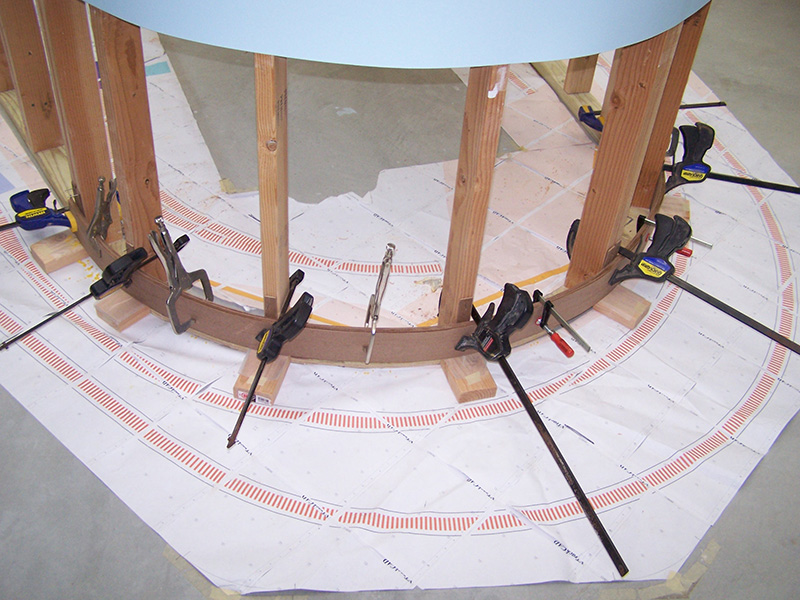
The bottom of the backdrop wall provided the perfect jig to form the spline. All I had to do to match the backdrop shape was add hardboard spacers simulating the hardboard backdrop thickness. Six strips of 1/8″ hardboard left over from building the lighting valance were ripped to 3-1/2″ x 96, same size as the plywood boards. The first spline was wrapped around the jig and clamped. To this I added a second spline liberally coated with Titebond glue and repositioned the clamps. The laminating process was continued one strip at a time with an overnight’s dry time between strips. OK, I cheated a little on the last two strips. They were applied in the same day.
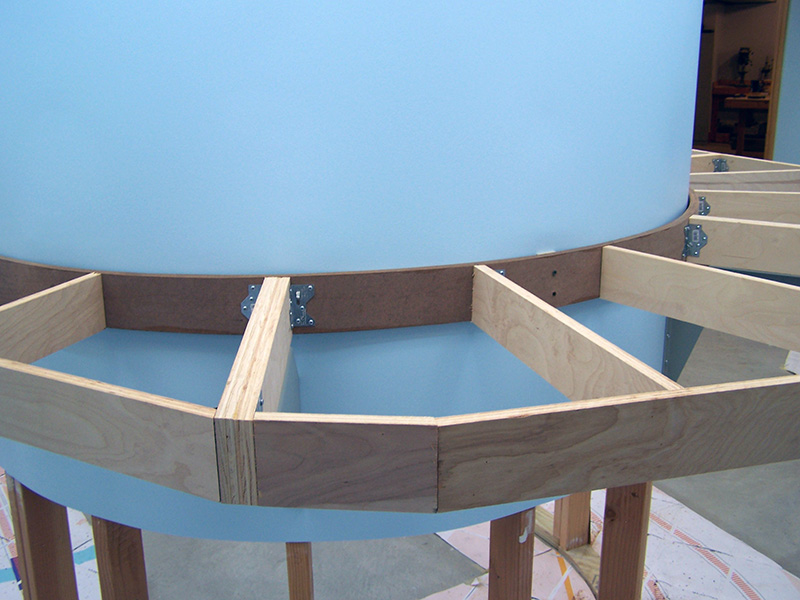
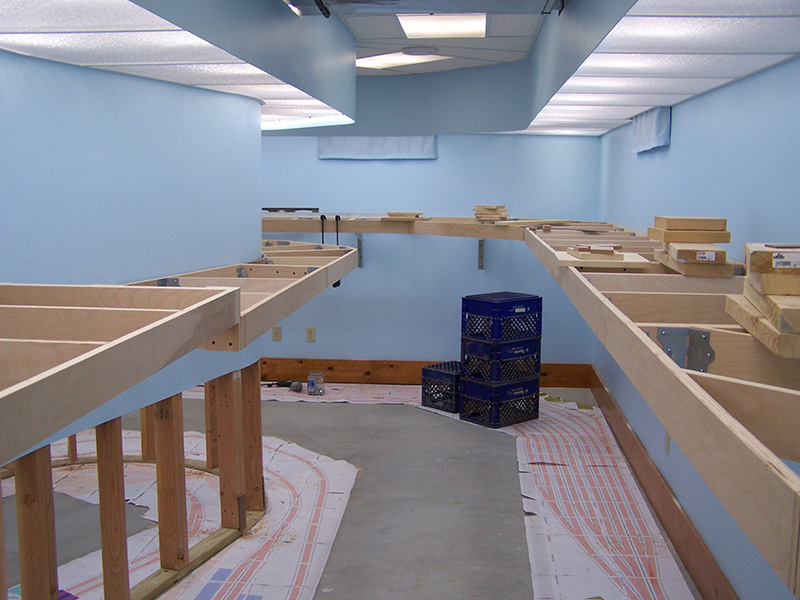
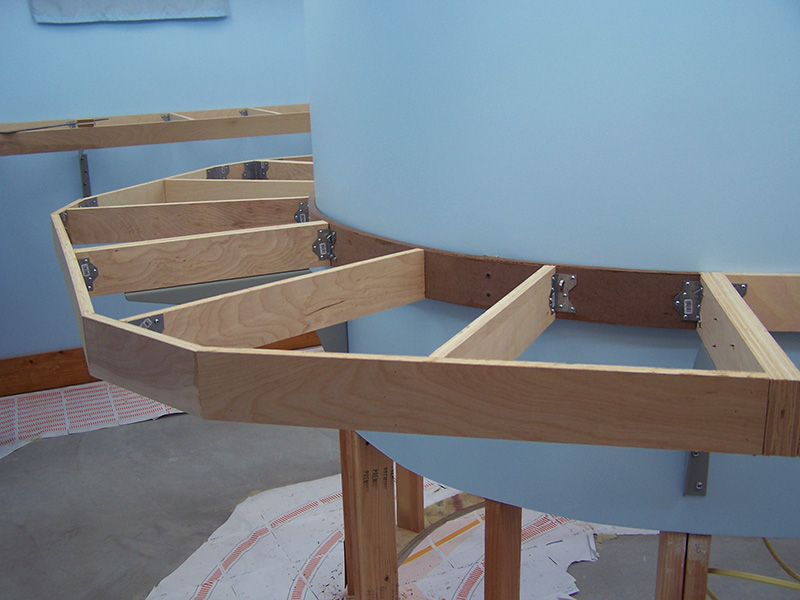
Once the spline was completed, construction proceeded along the same as the other benchwork. The hardboard spline is extremely rigid and strong although it is seriously heavy compared to plywood. No weight worries, it made a clean, effective solution to the curved wall benchwork problem.
Next at bat is the final elevation drop into Kitzmiller and the Kitzmiller area itself. More to come!


Leave a Reply