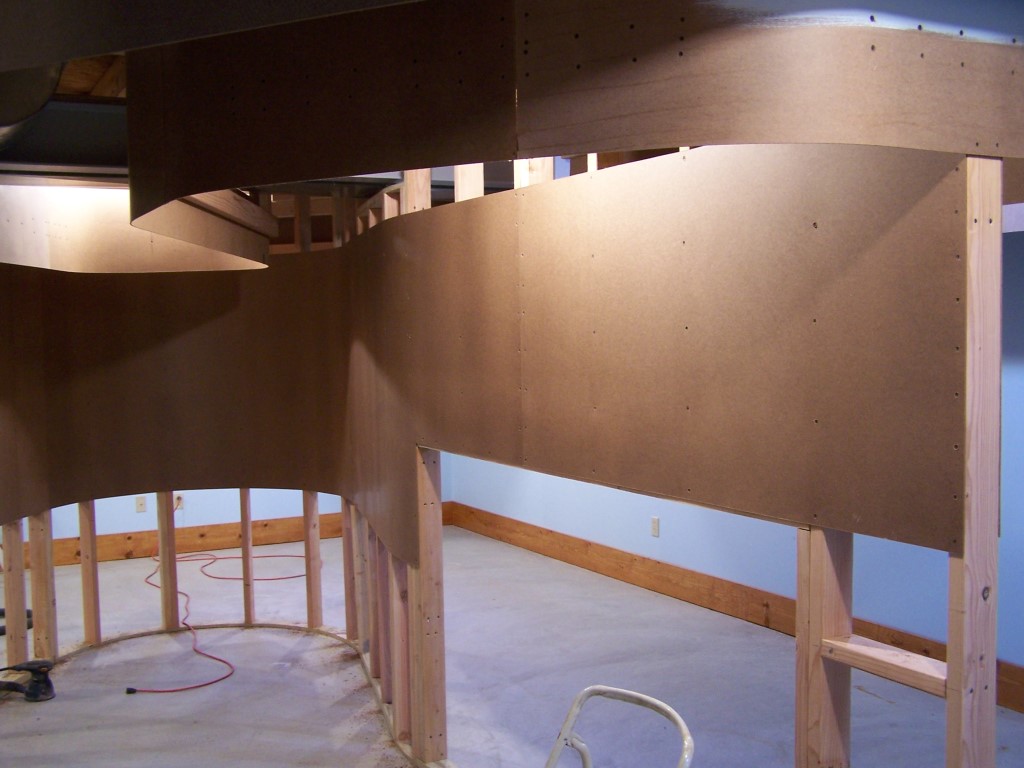
I have been making slow but steady progress on the railroad. With the completion of the south helix wall I was able to move on to putting in place the hardboard backdrop panels.
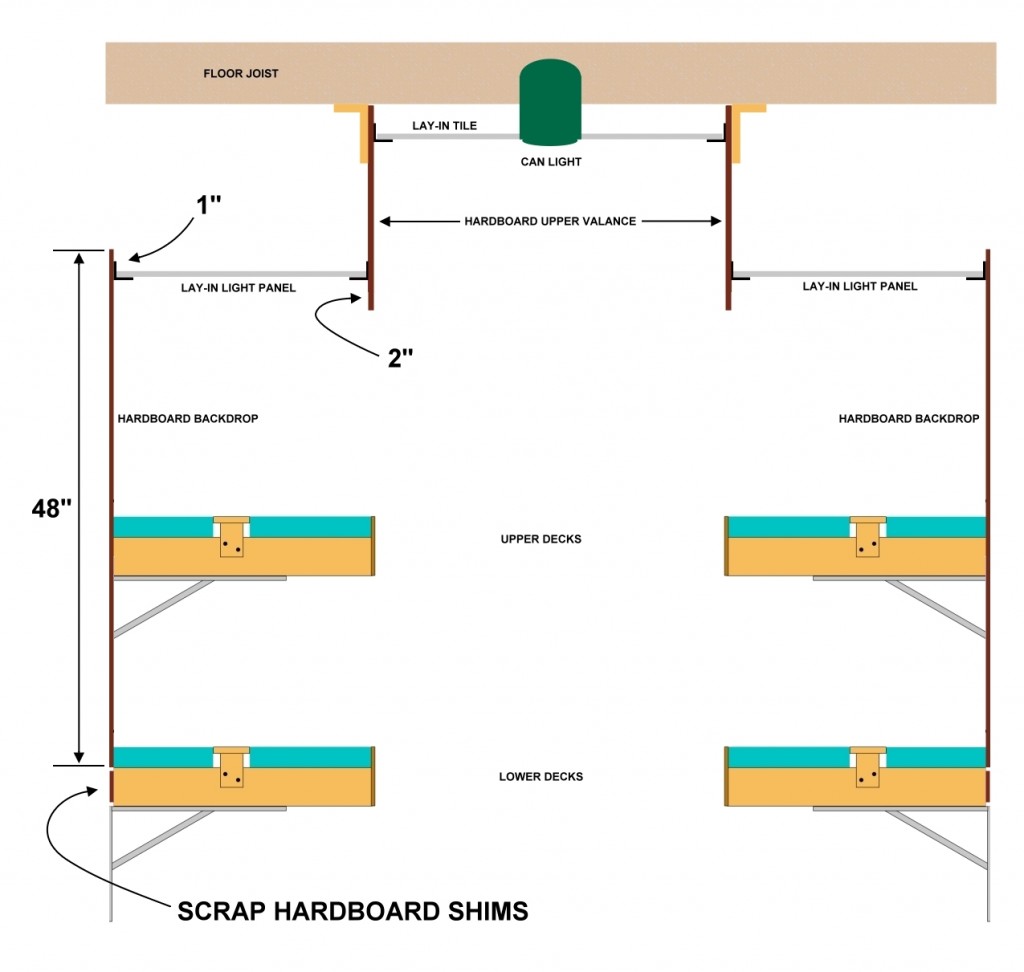
As a design feature of the deck spacing, the backdrop panels are used at their full 48″ width which greatly reduced the amount of board ripping needed. The bottom edge of the backdrop is at the same height as the top of the lower deck bench work. 2″ foam for scenery will sit atop the bench work and in front of the bench work / backdrop seam. The top of the backdrop panel is 3″ above the bottom of the upper valance. The suspended ceiling grid will attach 1″ below the top of the backdrop panel which is 2″ above the bottom of the valance. Small scrap pieces of hardboard as spacers will be glued on the back of the lower deck bench work to get the spacing right so the upper and lower decks are flush at the front. Confused yet? Perhaps a picture is a better way of describing what is going on:
 I found that drywall screws can’t reliably be used in hardboard as you would in sheet rock. Without a countersink either the screw won’t pull down into the hardboard without stripping or when the stud is tight wood the head of the screw often blows right off when the drill gets a good bite on the screw. I ended up countersinking all the screws. Word to anyone that uses their countersinking bit on hardboard – it wears out fast. The countersink actually worked best when it did get a little dull. With the hardboard only 1/8″ thick it was tedious at times to get sufficient sink without removing too much depth and having the screw pull right through. A dull countersink gave a little more control of the depth simply because it cut much slower. Anyway, another half bucket of drywall screws consumed.
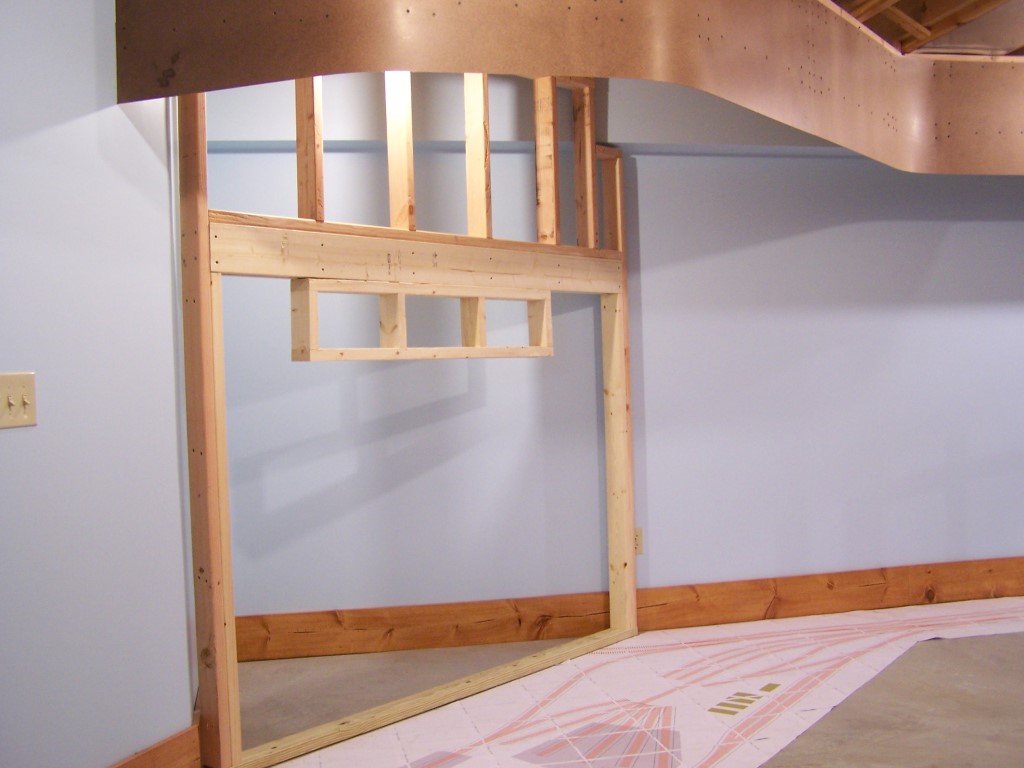
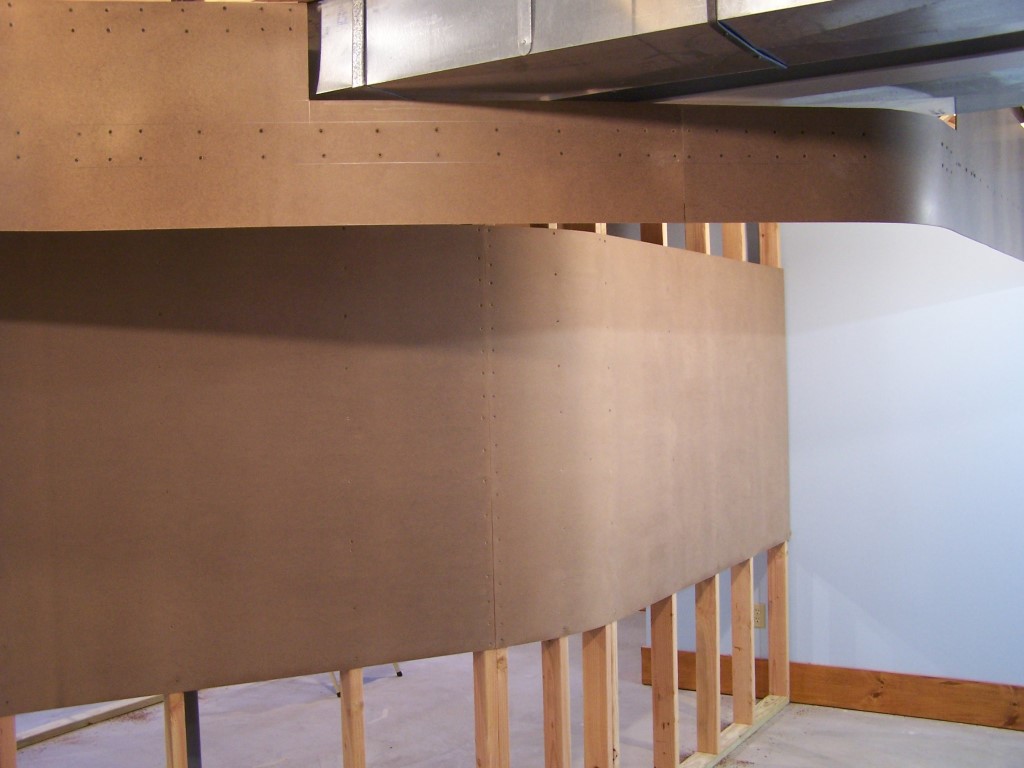
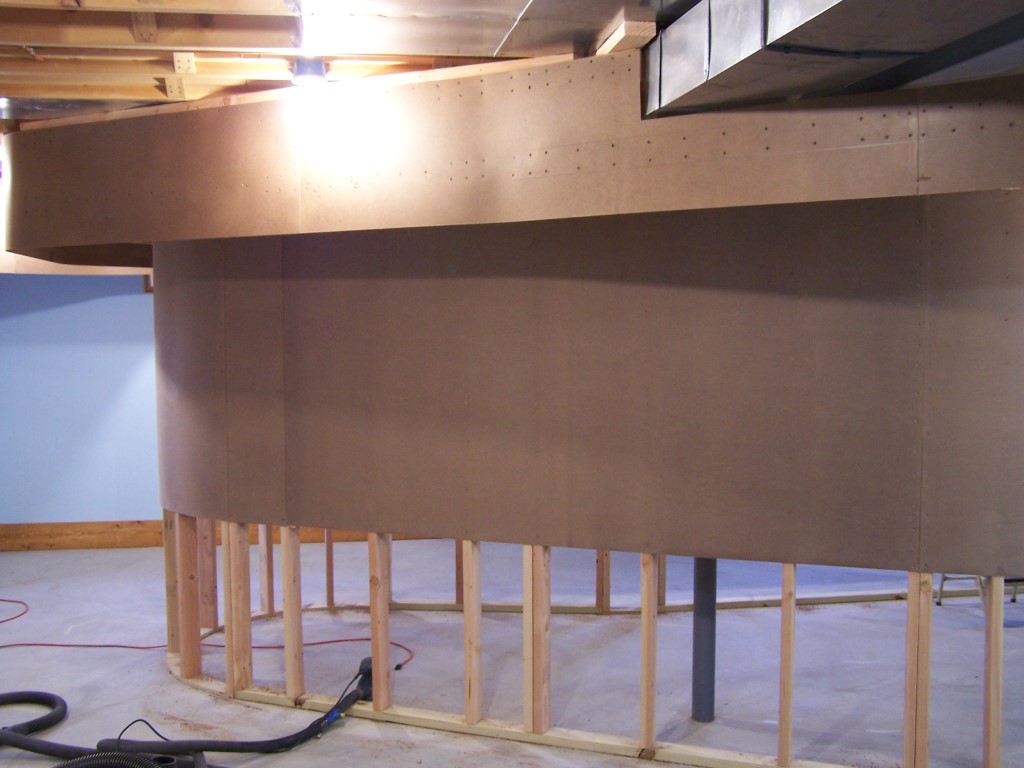
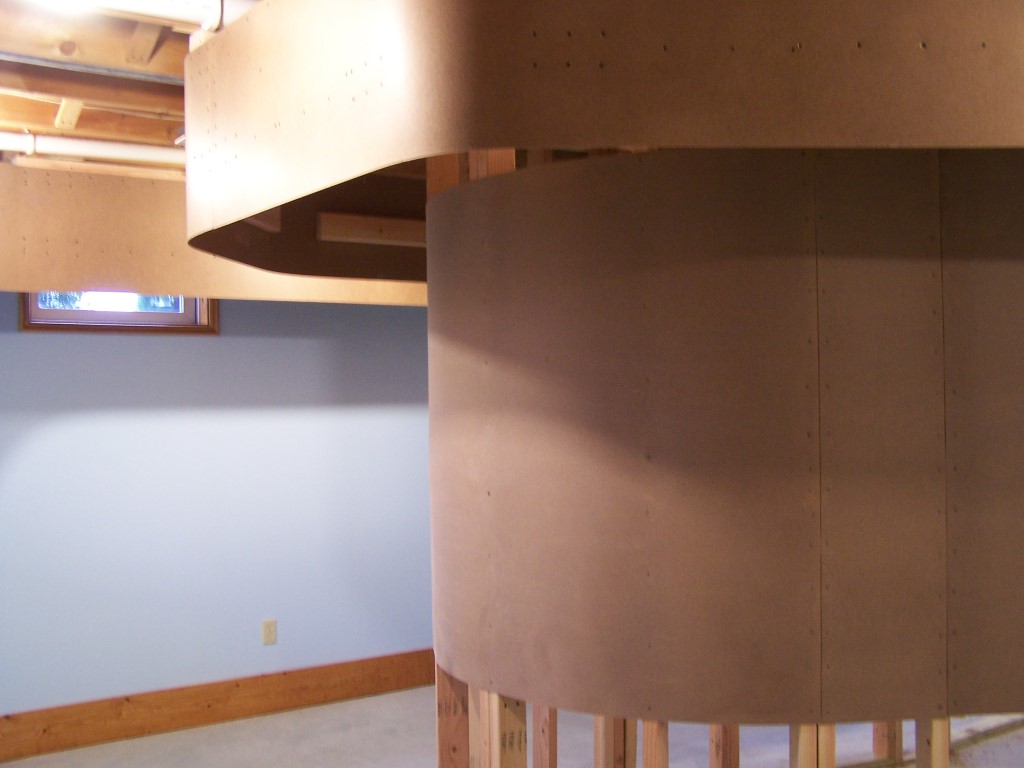
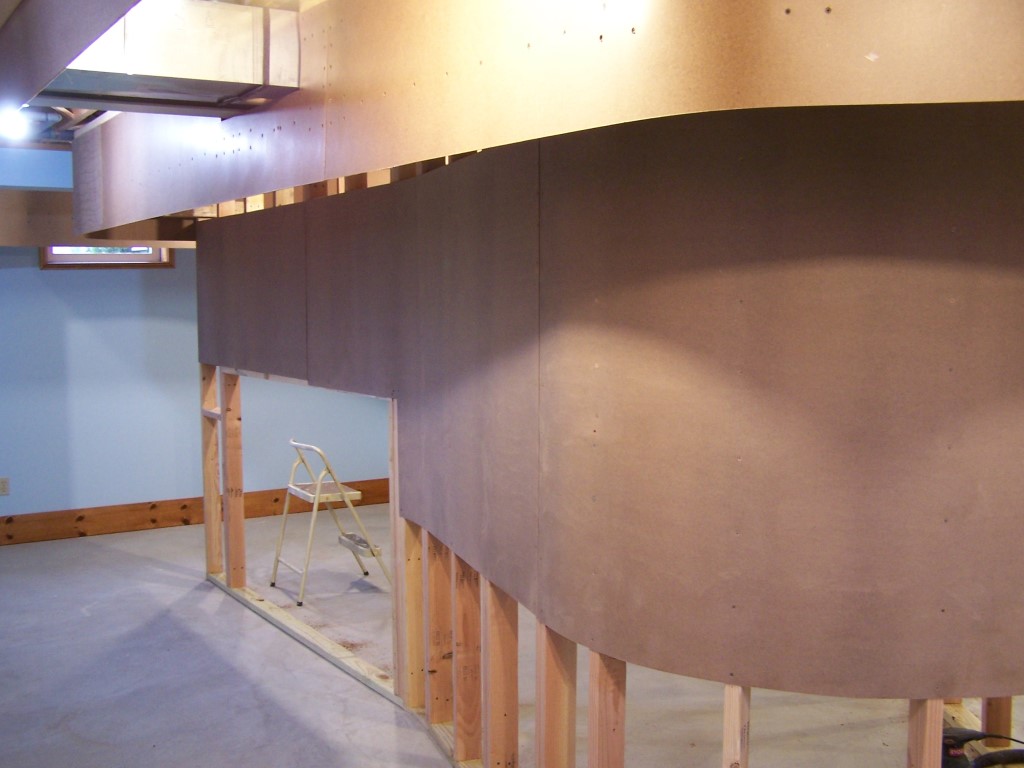
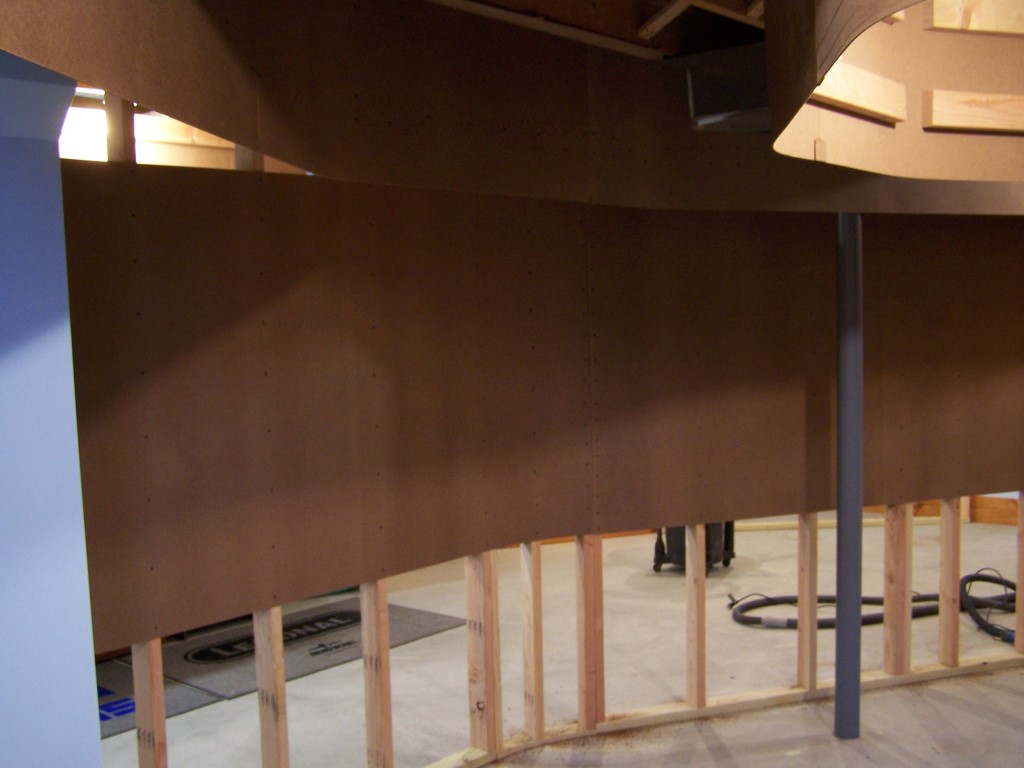
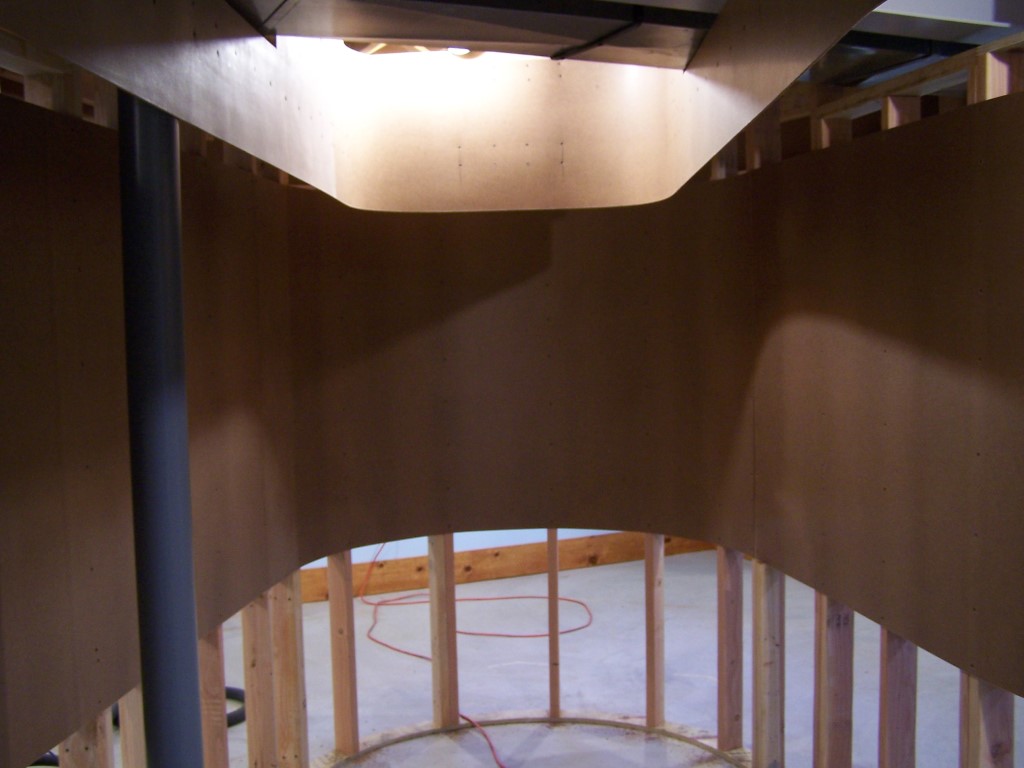
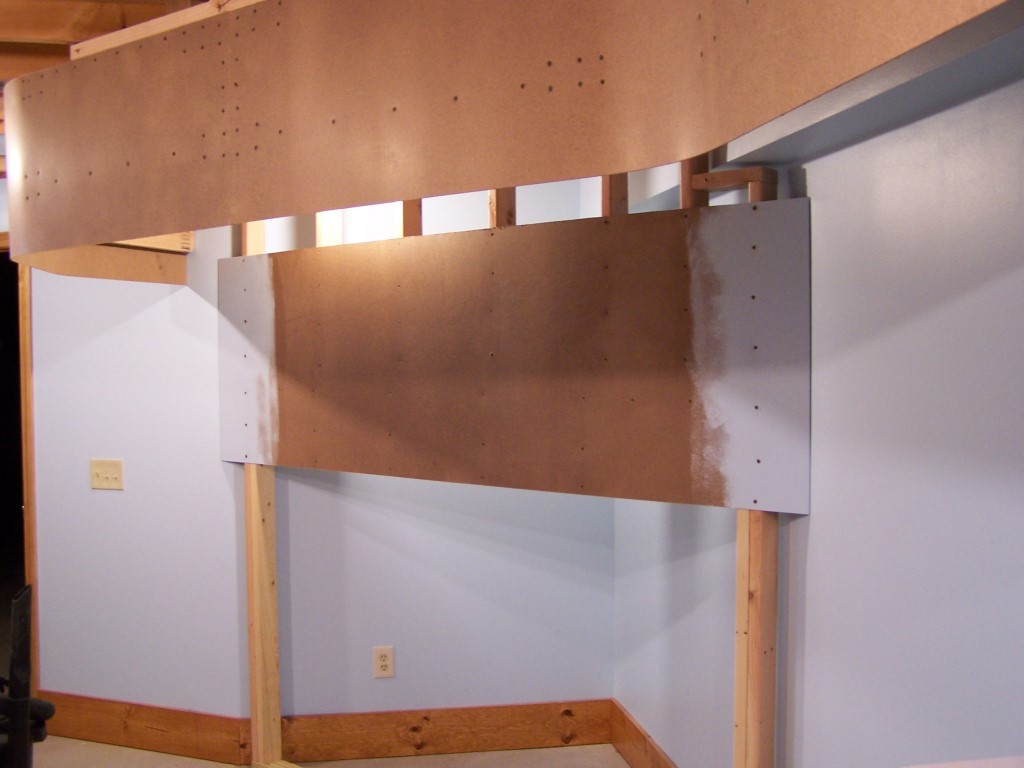
Below is a little photo tour of where it stands at the moment. I am about halfway finished sanding the backdrops. The upper valance will also get sanded. Tape, mud, and paint are next on the backdrops. The upper valance can’t be finished out until the ceiling grid wall angles are in place so I can mud over the attaching screws. So the process going forward looks something like this:
- Finish sanding backdrops and valance
- Mud and tape backdrop screws and seams
- Prime and paint backdrop blue
- Prime and paint inside bottom 5″ of valance blue
- Install wall rails of grid on backdrop and inner valance
- Mud and tape valance screws and seams
- Prime and paint valance blue
Once step 7 is complete I must make my final lighting method decision as lighting will have to be in place before I install the cross ties in the ceiling grid above the upper deck. I’ll cross that bridge when I come to it. For now, back to sanding.

Leave a Reply